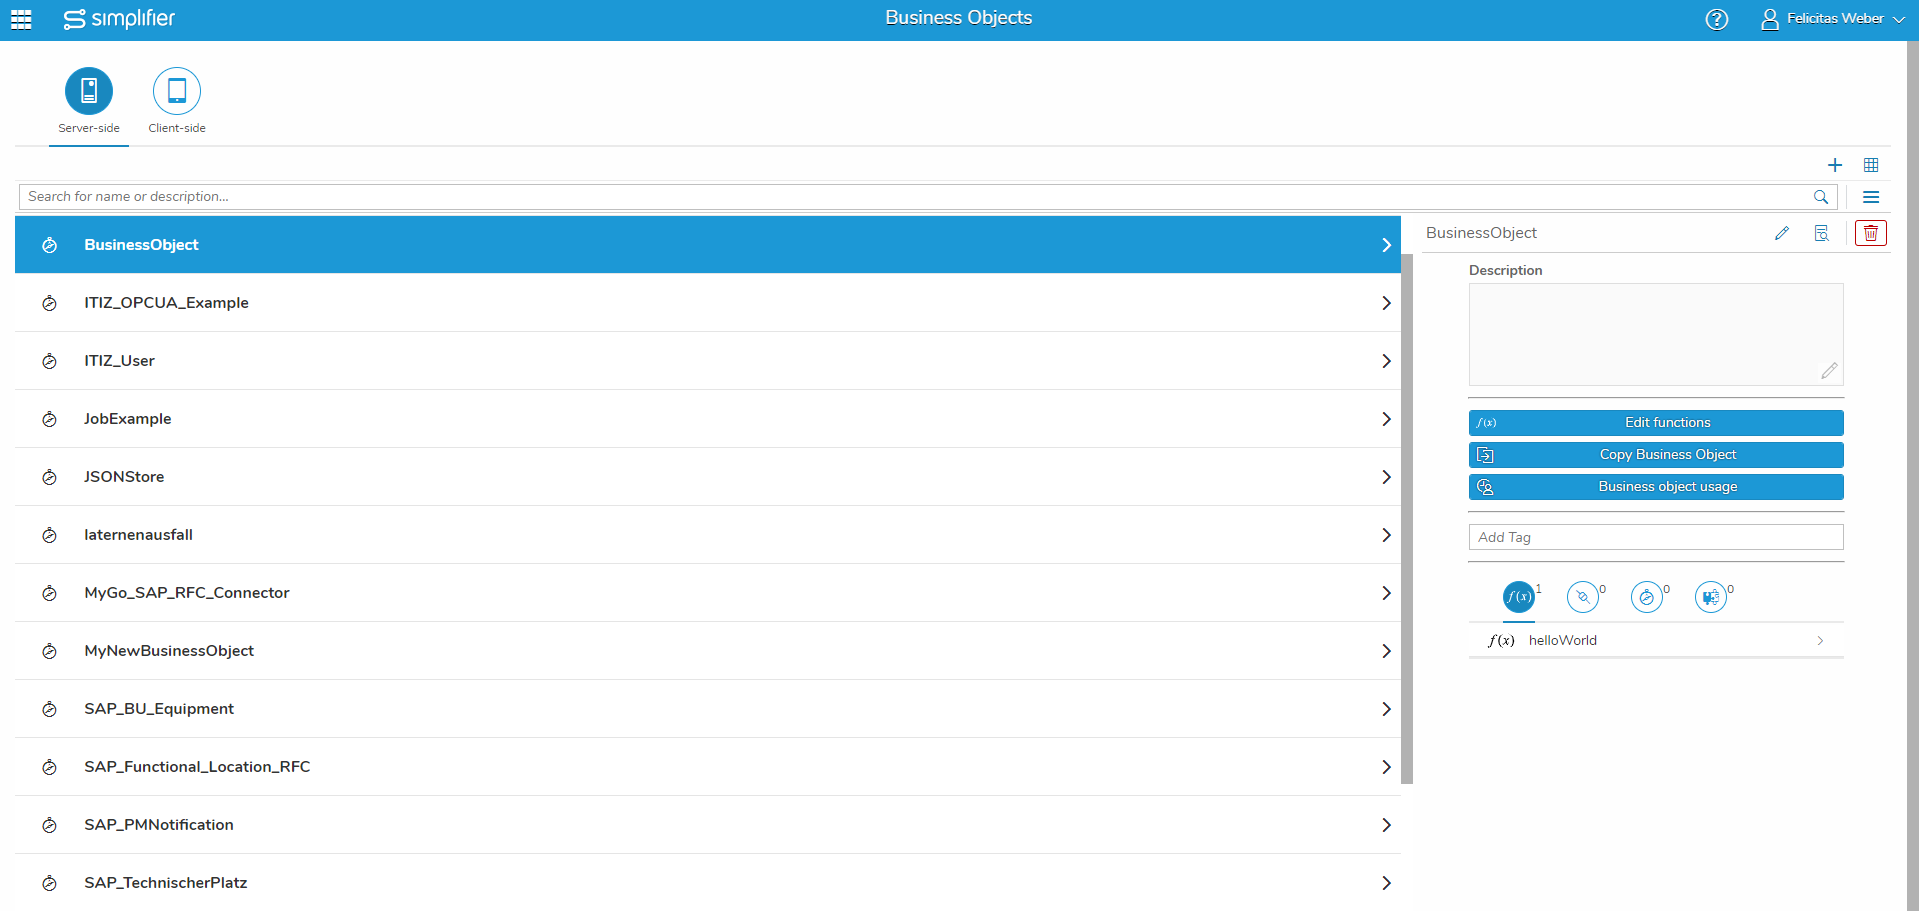
Business objects are managed in the tile ‘Business Objects’. The main screen lists all existing business objects in table form. On the top left, you can switch between server-side and client-side business objects.
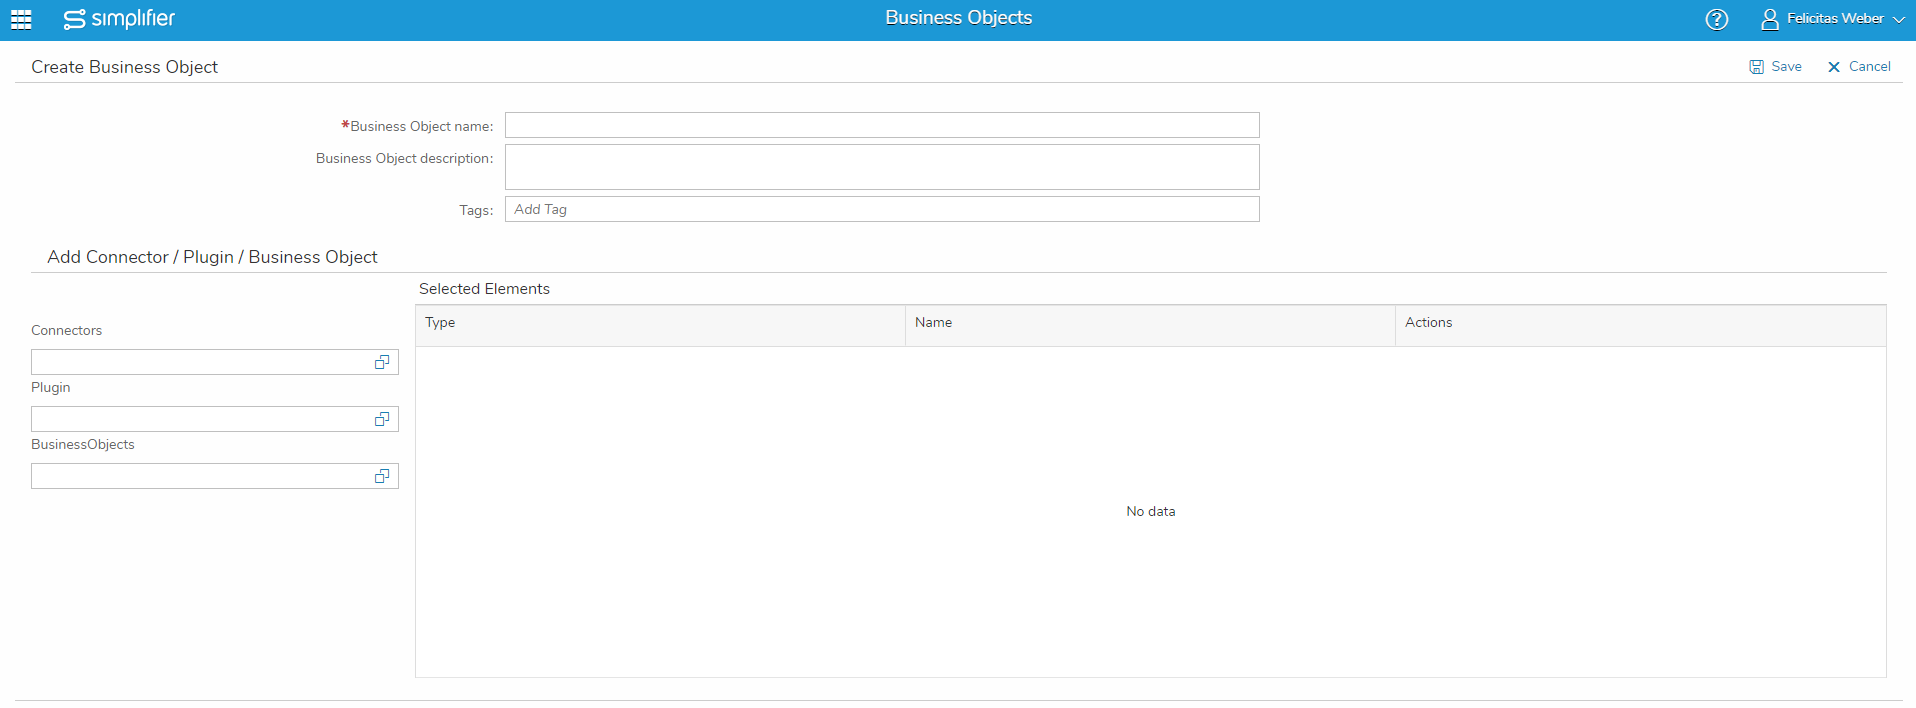
Press ‘+’ in the upper right corner to create a new one from scratch. This fires up the following screen:
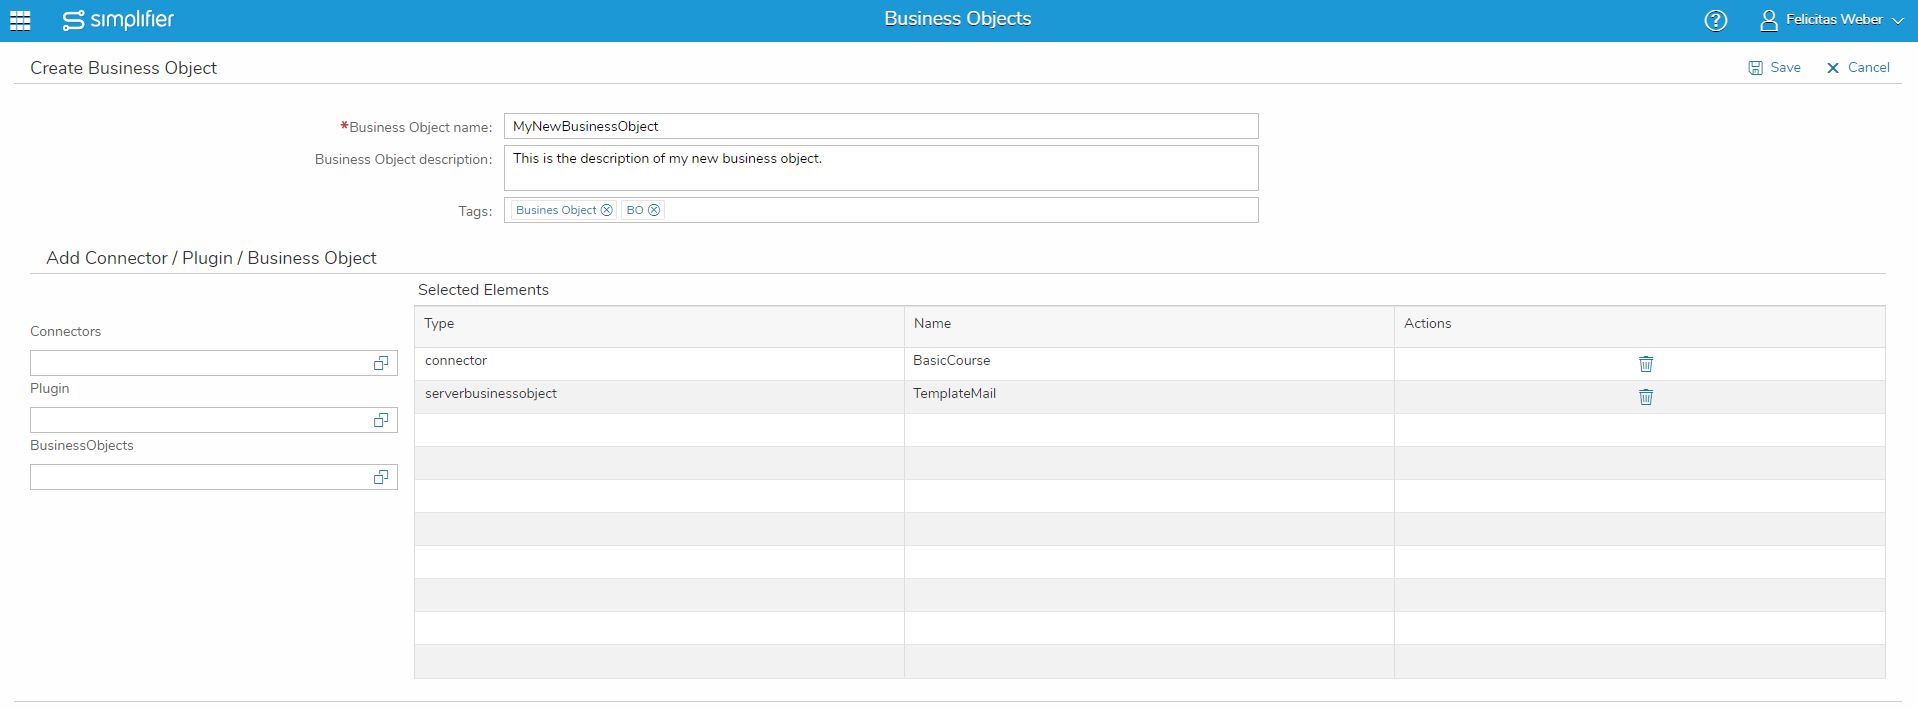
First, choose a name for your business object and define a description (optional). Add some tags, so you can search in the overviews and the UI Designer by the tags.
You may then select any connector, plugin or other business objects you want to refer on the left side. It opens a dialog where you can select it. Each selected item appears in the list below, from where you might also remove it again by clicking the delete icon underneath ‚Actions‘.
When you’re done, leave the screen by hitting the ‘Save’ button and return to the overview page. Your new business object appears in the table.
Usage of server-side Business Objects
You can see which applications or interfaces are using the business object. For that, click on the appropriate icon on the right.
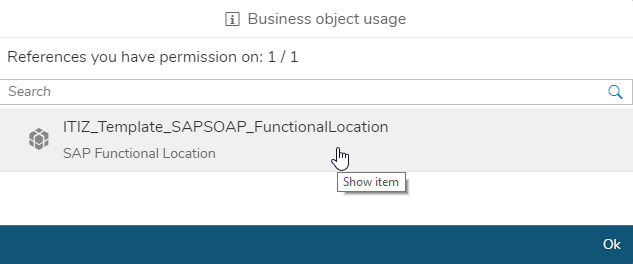
It opens a popup that displays all used applications:
By clicking on an entry, the application opens so that you can edit it directly.


