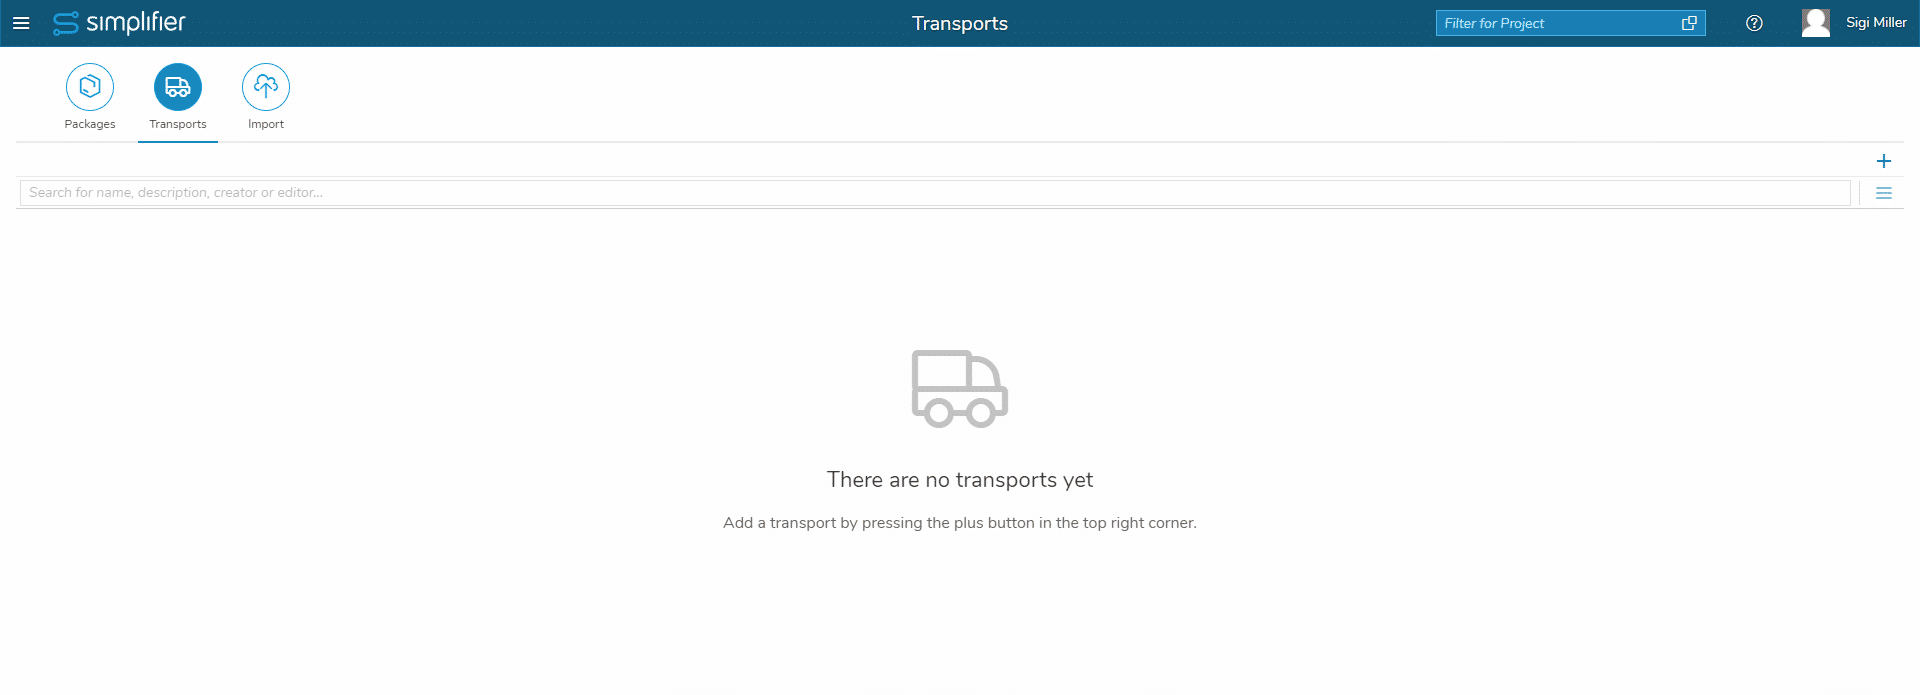
If you switch to the Transports tab, the overview of transports appears. It allows you to define transport requests that group one or more packages.
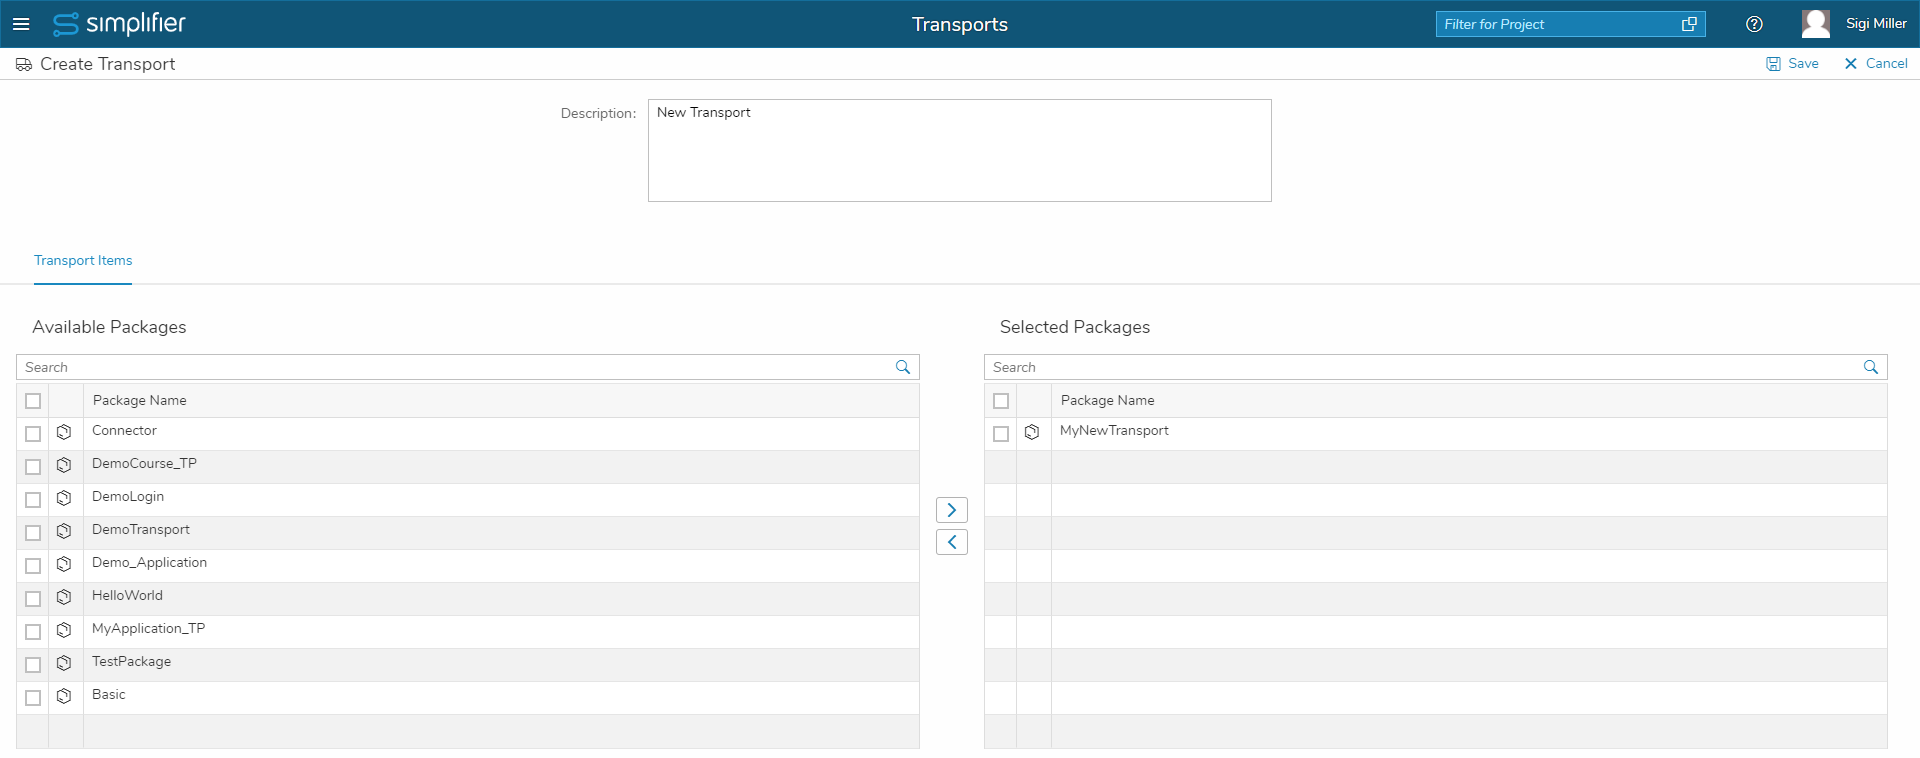
Click on the plus icon to create a new transport. The name of a new transport is generated automatically and is unique within the server environment. It always consists of the instance name and a 10-digit number.
You can add a description, that will be displayed in the overview, and below you can add the packages to your transport with the > button and remove them again with the < button.
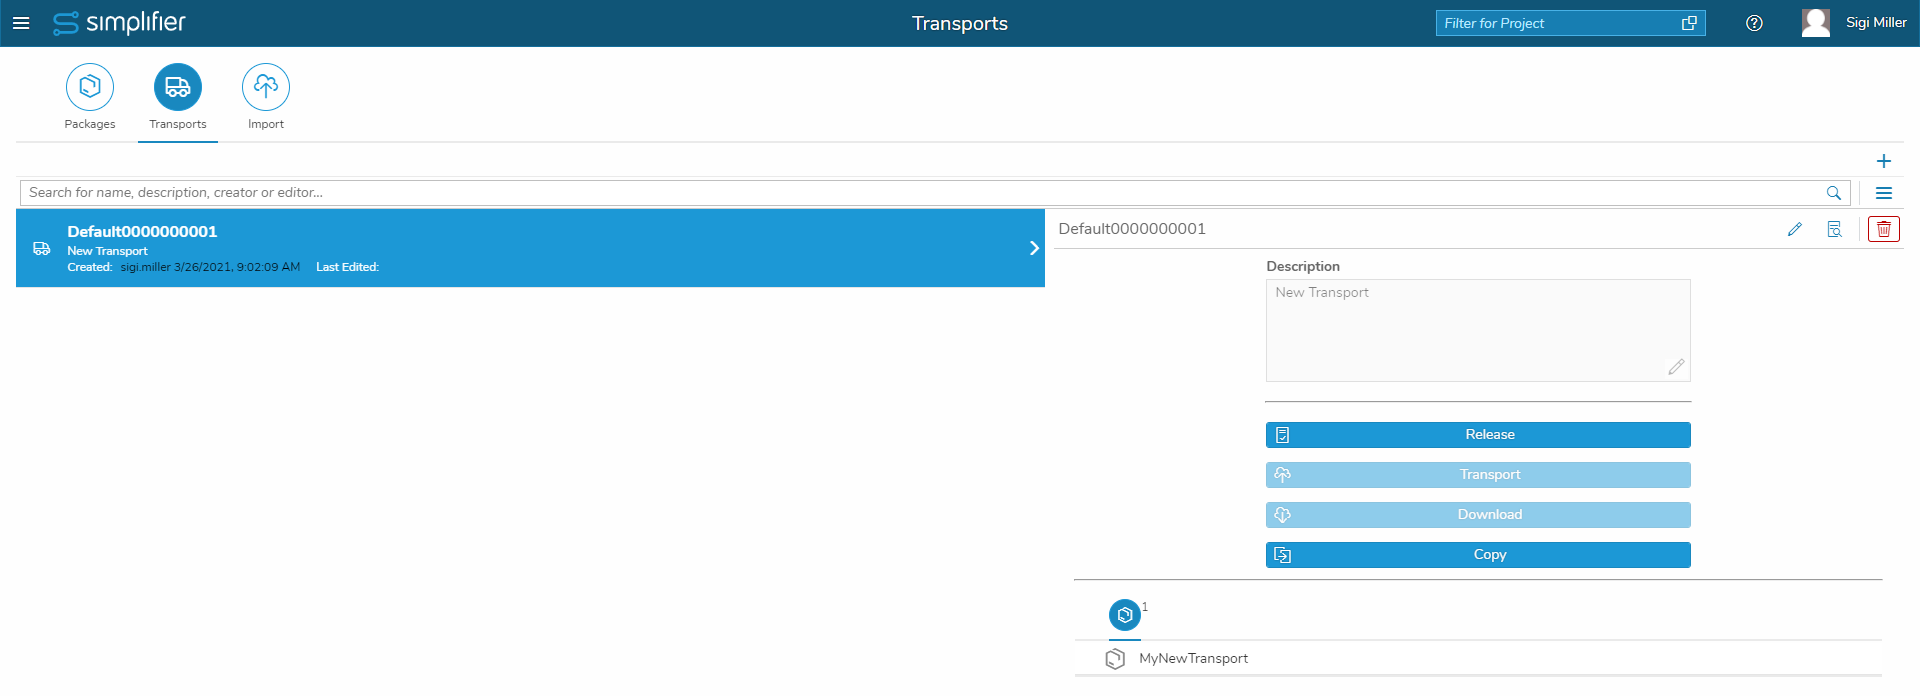
After you have saved your changes, you return to the overview of transports.
On the right side you have the following possibilities:
|
It executes the export, which contains all the items of the selected packages. A transport can only be released once and is stored in the file system of the current Simplifier instance. It retains the items at the time of the release and additional metadata about the release creation. By releasing an application, you can no longer edit the transport. |
|
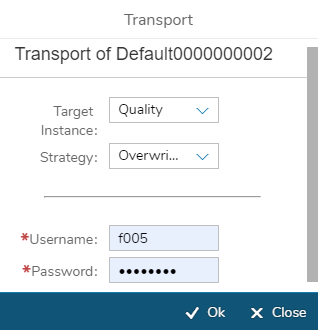
| It triggers automated transport to a remote Simplifier instance. The import-target can be selected from the instances that are defined within the Server Environment. In addition, the strategy (Overwrite or Don’t Overwrite) and login credentials on the remote instance must be specified.
During and after the import, a summary of the artifacts is collected and displayed in a progress dialog. |
|
| It downloads the transport file so that it can be imported manually. | |
| A copy of the transport is created. The copied transport is not released automatically. |
