This Article refers according to the Official Documentation
Open the user interface of Simplifier, open the settings and select “Authentication”.
Here you create a new authentication method with the “+” icon, set a name for this method e.g. “ADFS”, set priority to “0” and select Mechanism to “SAML 2.0”.
Now you can specify a display name and set the maximum lifetime to “486000” seconds (8 hours) as suggested by us.
Important: The ADFS setting for maximum lifetime is 480 minutes (8 hours), so increase this value when authenticating with an ADFS service.
Copy the Service Provider Endpoint and paste it into the Service Provider Entity ID.
For using Microsoft ADFS as SAML Service Provider, you must build an XML metadata file with the use of SAML TOOL.
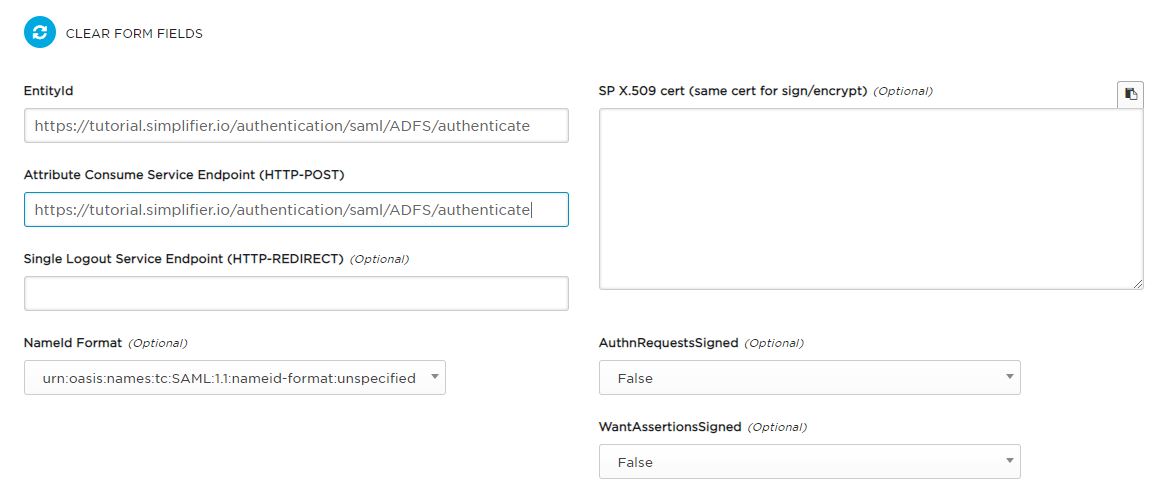
Go to SAML TOOL to build the XML metadata and fill out the required fields:
| SAML TOOL | Simplifier | Description |
| Attribute Consume Service Endpoint (HTTP-POST) | Service Provider Entity ID | Endpoint URL that needs to be configured in SAML IDP. It is set by the instance name and the previously assigned authentication name by Simplifier. |
| EntityId | Service Provider Endpoint | At default, the entity ID of your application (Service Provider) is equal to the callback URL, but you can force your own entity ID by setting this parameter. |
| SP X.509 cert | The certificate bundle is created in the next step and inserted into Simplifier data storage. | Only the certificate (*.crt) is required. |
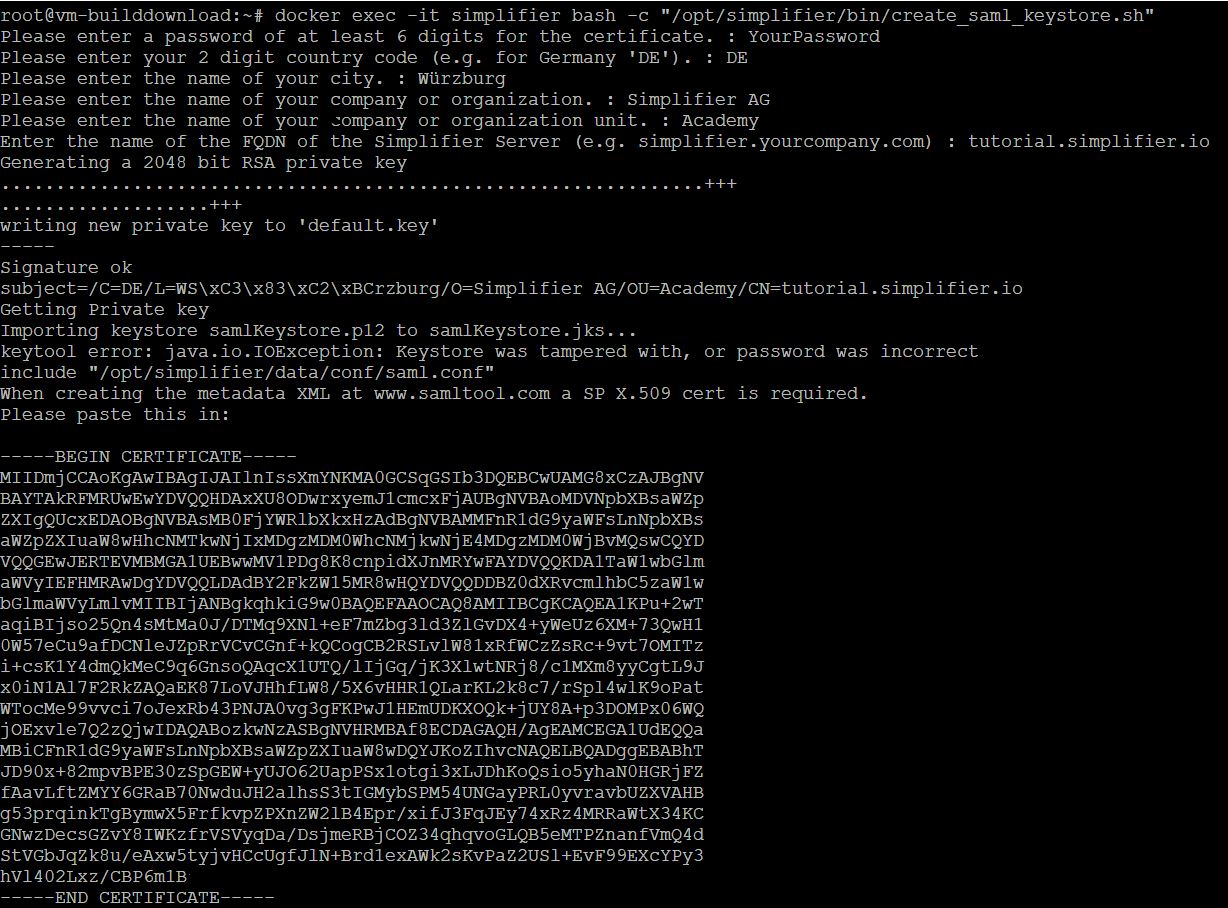
A certificate bundle is required for SAML authentication. To create the XML metadata, the CRT in x.509 format is needed and Simplifier needs a JKS bundle.
To create the required certificates, we have created a bash script in the Simplifier Docker Container.
docker exec –it <Simplifier Container Name> \ bash –c “/opt/simplifier/bin/create_saml_keystore.sh”Insert the output of the script (certificate) into the SAML tool and click on the button ‘BUILD SP METADATA’.
Now copy the content into IDP Metadata into a text editor of your choice and save the IDP Metadata File with a suffix equal to .xml
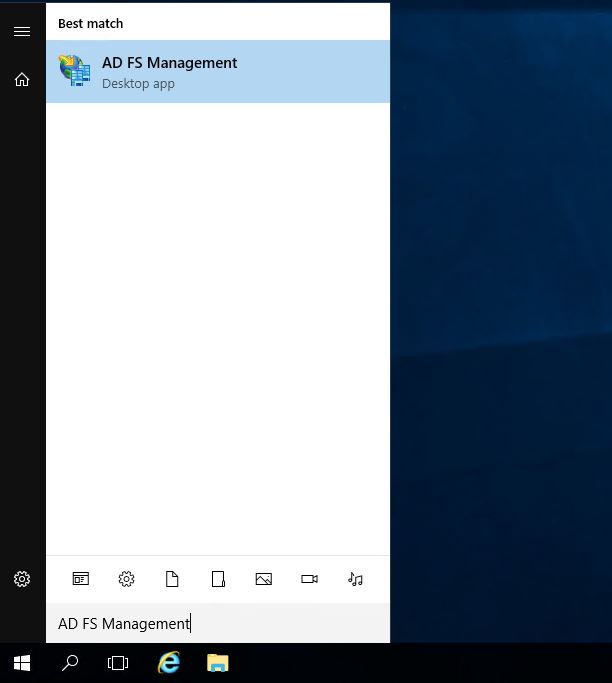
Now open the AD FS Management.
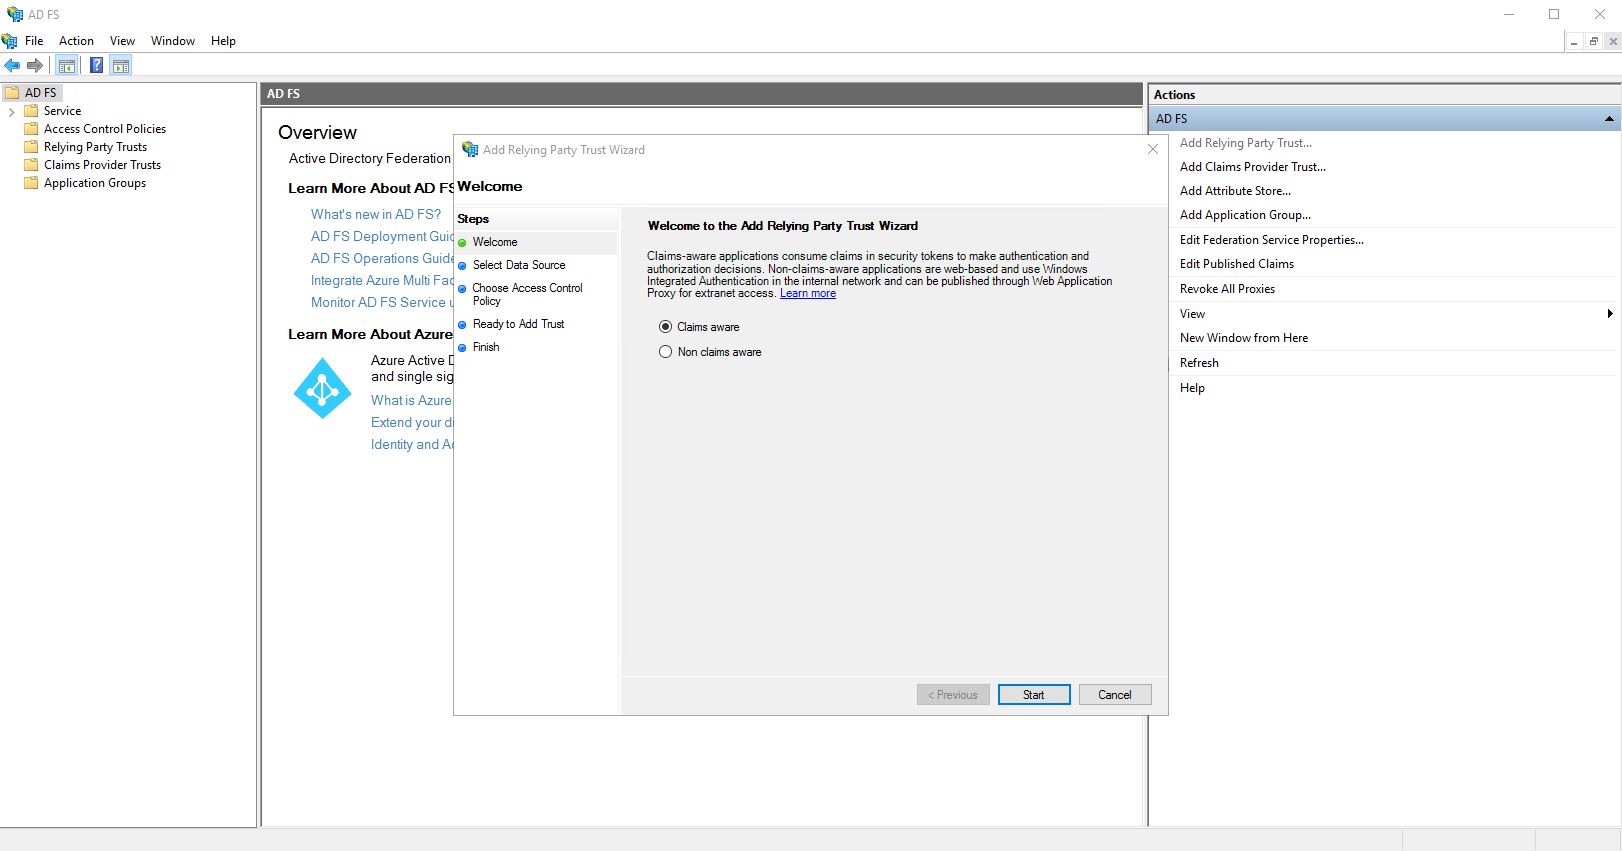
Open the “Add Relying Party Trust…” wizard, choose “Claims aware” and click on “Start”.
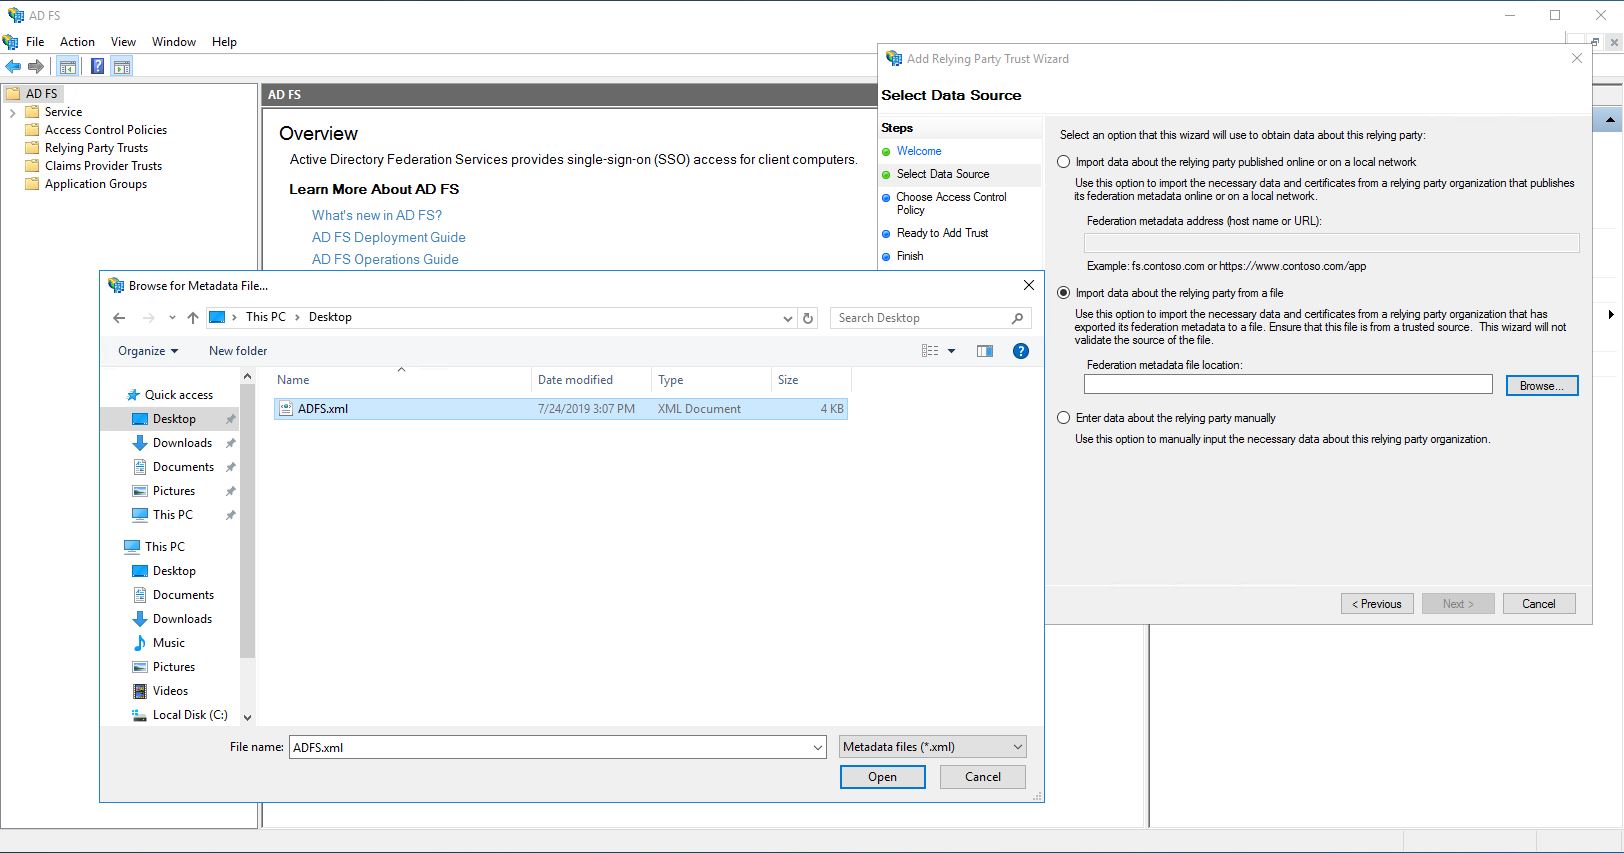
Use the option “Import data about the relying party from a file”, upload the previously created XML file and click on “Next”.
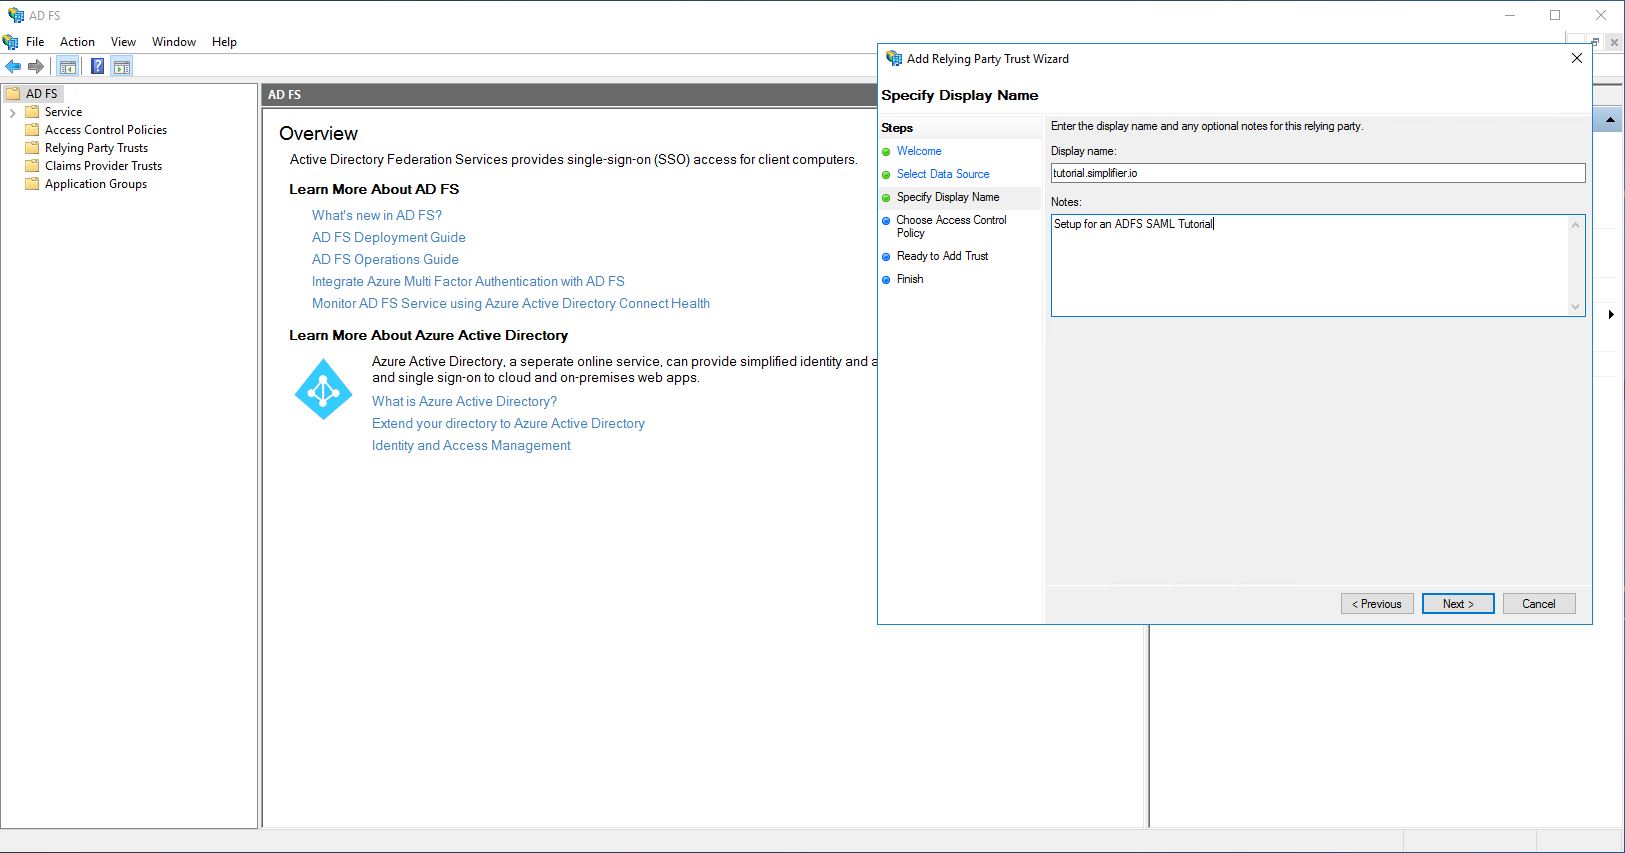
Enter a name, a note if necessary and click on “Next”.
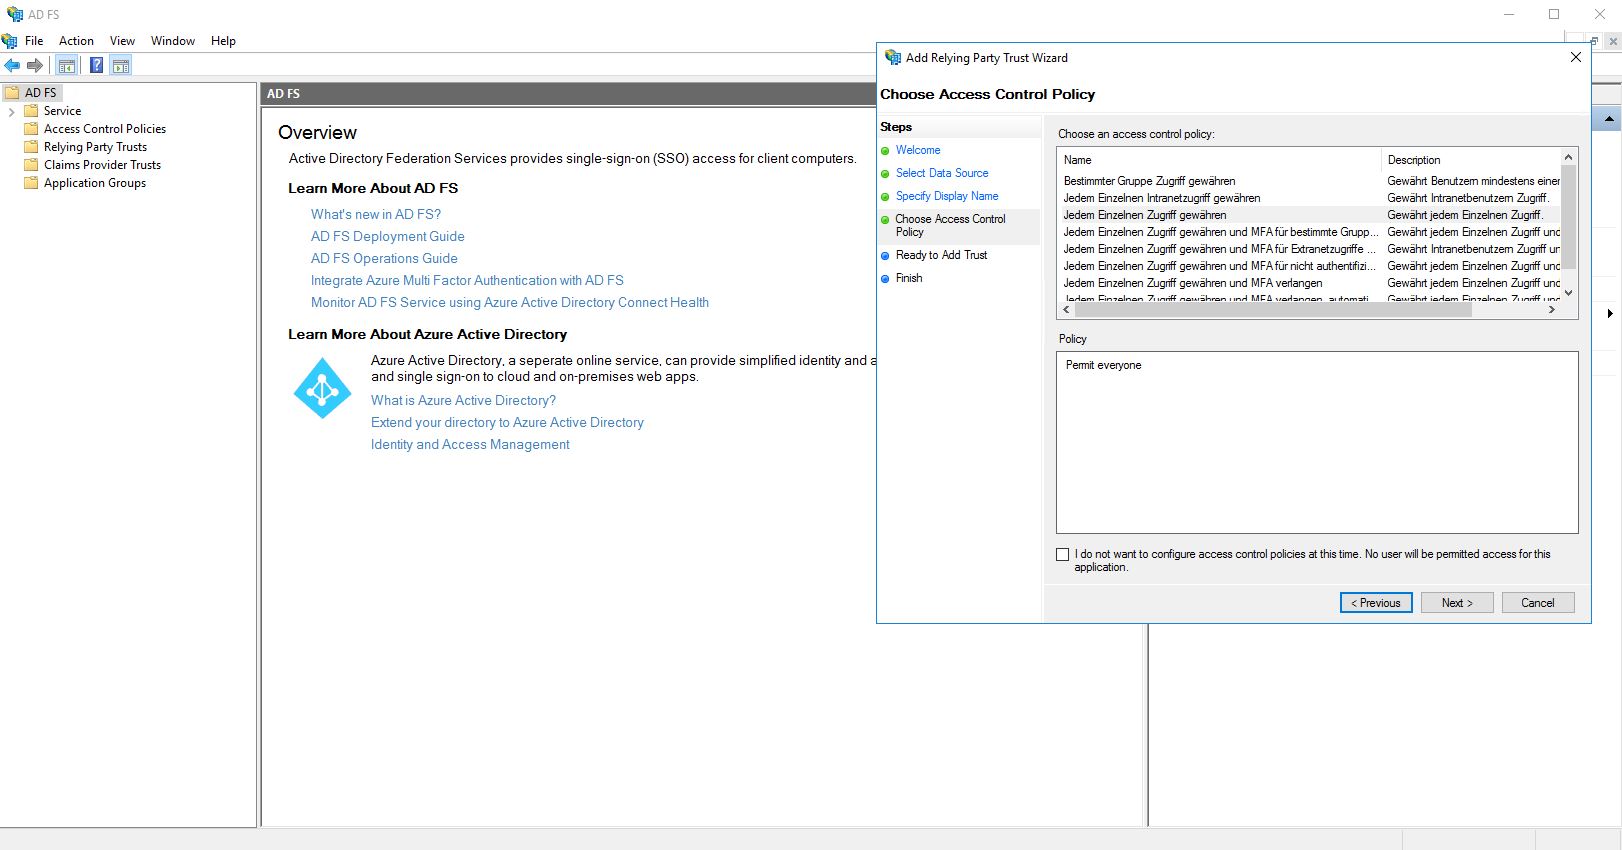
Use the default setting “Allow everyone access” and click “Next”.
Make sure that the checkbox “Configure claims issuance policy for this application” is ticked.
Then click on “Close”.
A new pop-up will open, in which a new rule has to be created.
Set: “Send LDAP Attributes as Claims” and click on “Next”.
Enter a name for the rule, select Attribute store to “Active Directory”, transfer the values from the Simplifier Admin UI to the role and add an additional entry:
“User-Principal-Name” -> “Namens-ID”
Press “Finish” and then “OK”.
The IDP metadata file required for Simplifier can now be obtained from the SPE. This must be entered in the IDP metadata field.
With ADFS ( Windows Server 2016 ) this would be:
https://<ADFS-SERVER>/FederationMetadata/2007-06/FederationMetadata.xml
After you have saved the Simplifier settings, the Simplifier Container must be restarted.
docker restart <Simplifier Container Name>
Now you can log in to Simplifier via SAML.

