To create a new connector, click on the plus icon on the upper right corner within the connector overview. It navigates you to another page where you can configure the connector in two steps.
Step 1
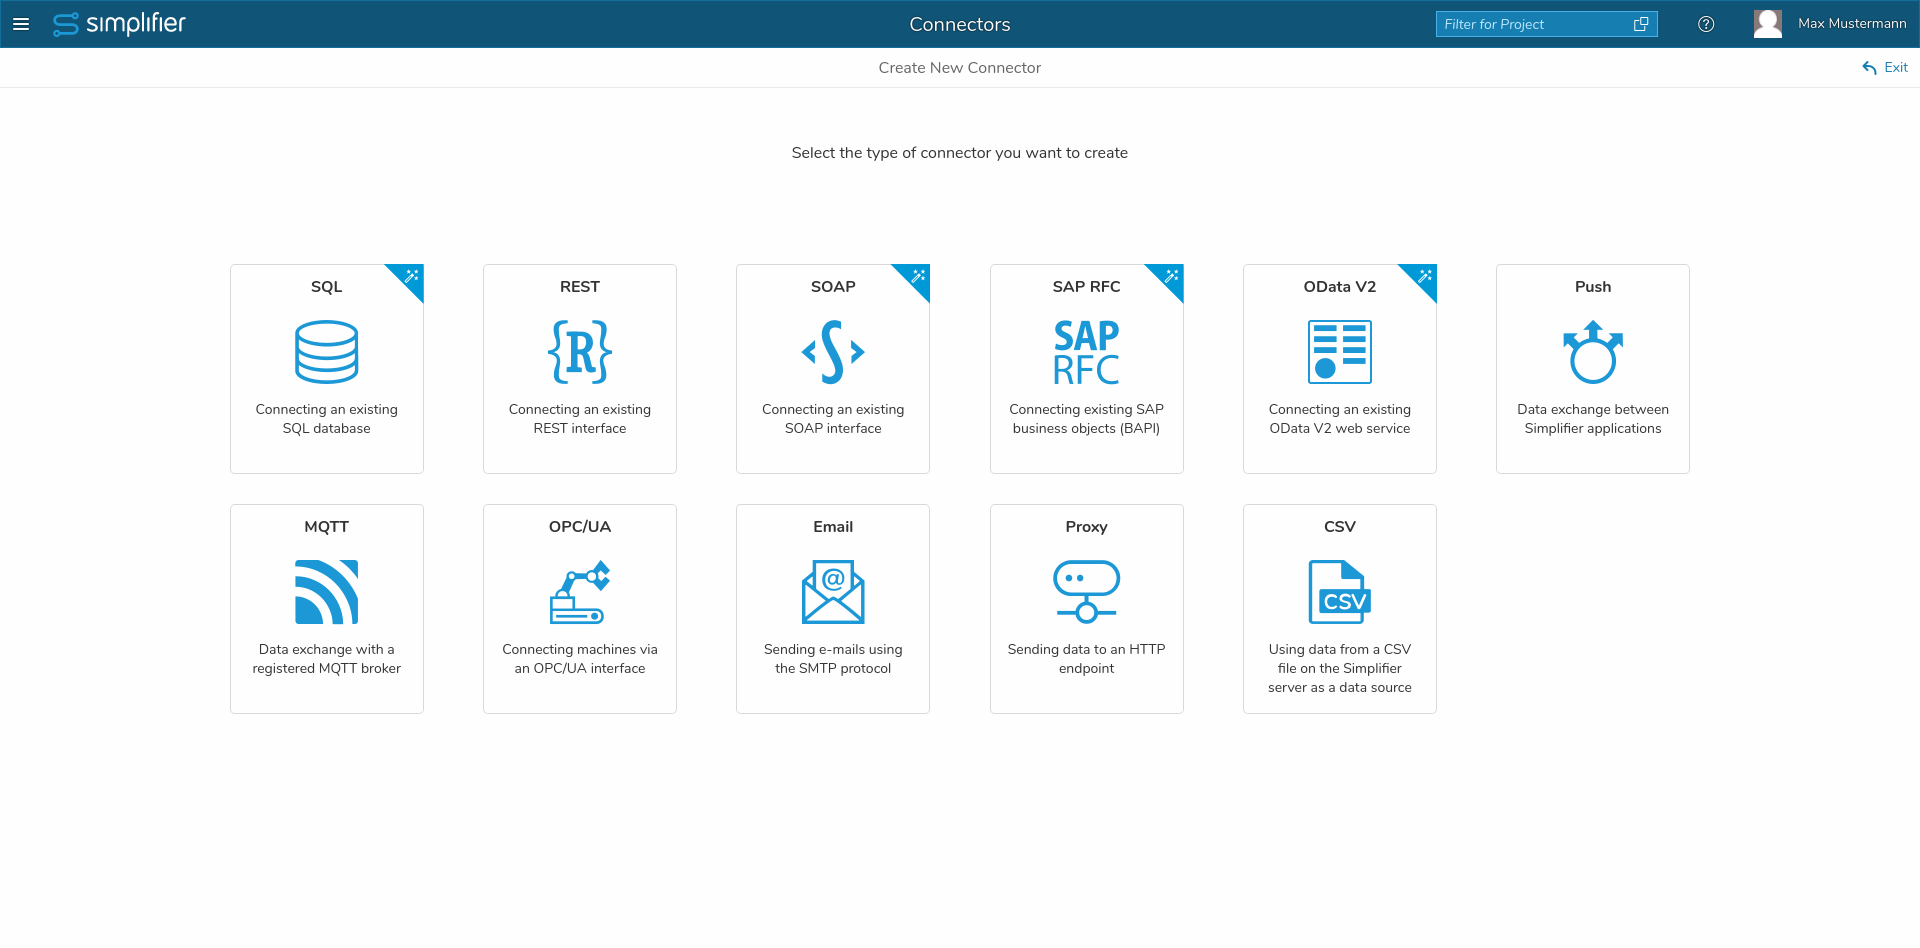
On the first step you select the type of the connector. The connector types are displayed with tiles. You can choose between “SQL”, “REST”, “SOAP”, “SAP RFC”, “OData V2”, “Push”, “MQTT”, “OPC/UA”, “Email”, “Proxy” and “CSV”.
There is also a magic wand icon in the upper right corner of the “SQL”, “SOAP”, “SAP RFC” and “ODATA V2” tiles. This indicates that this specific types have wizards.
Step 2
Tab General
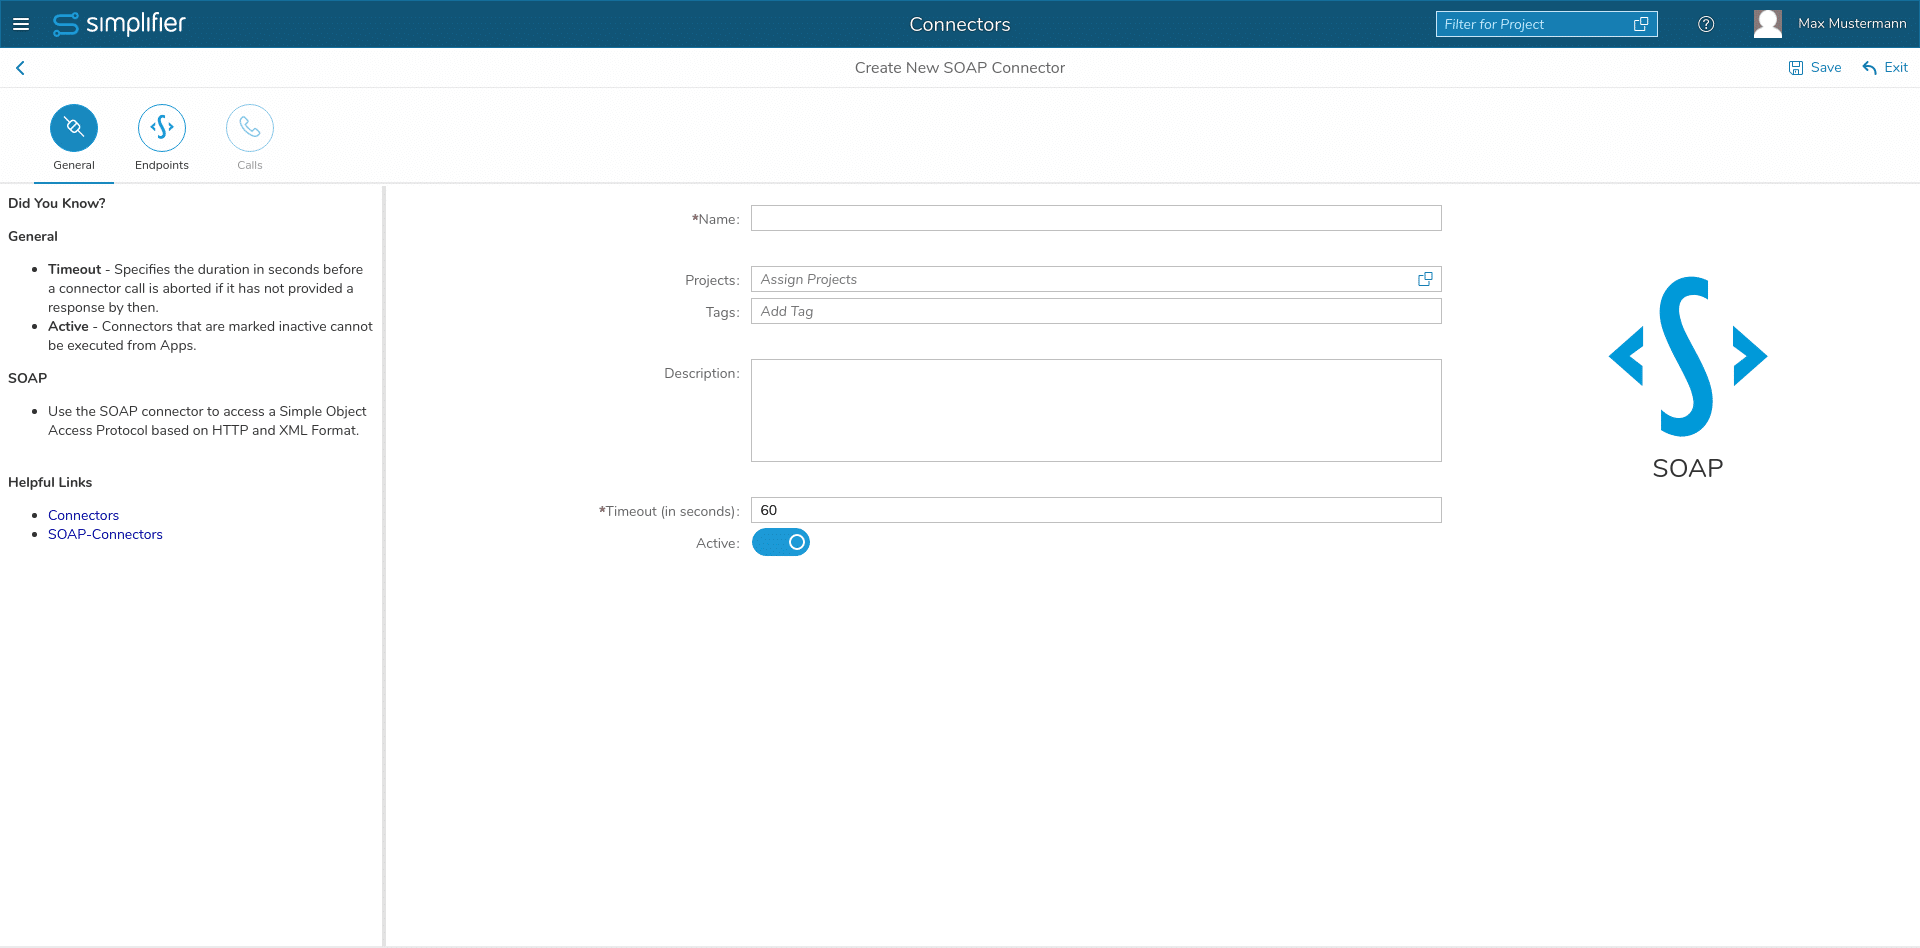
In the second step you configure general informations. The dialog area consists of two icon tabs. The left and first tab is for general information. The area is divided into two parts. The width of the parts can be modified by moving the splitter. The left part shows helping informations about the formula data which can be configured in the right part. In the right part of the connector dialog you can edit general information about the connector including “Name”, “Projects”, “Tags”, “Description”, “Timeout” and “Active”. Besides the formula inputs there is also an image of the selected type so that you can immediately recognize which type you are working on.
Tab Endpoints
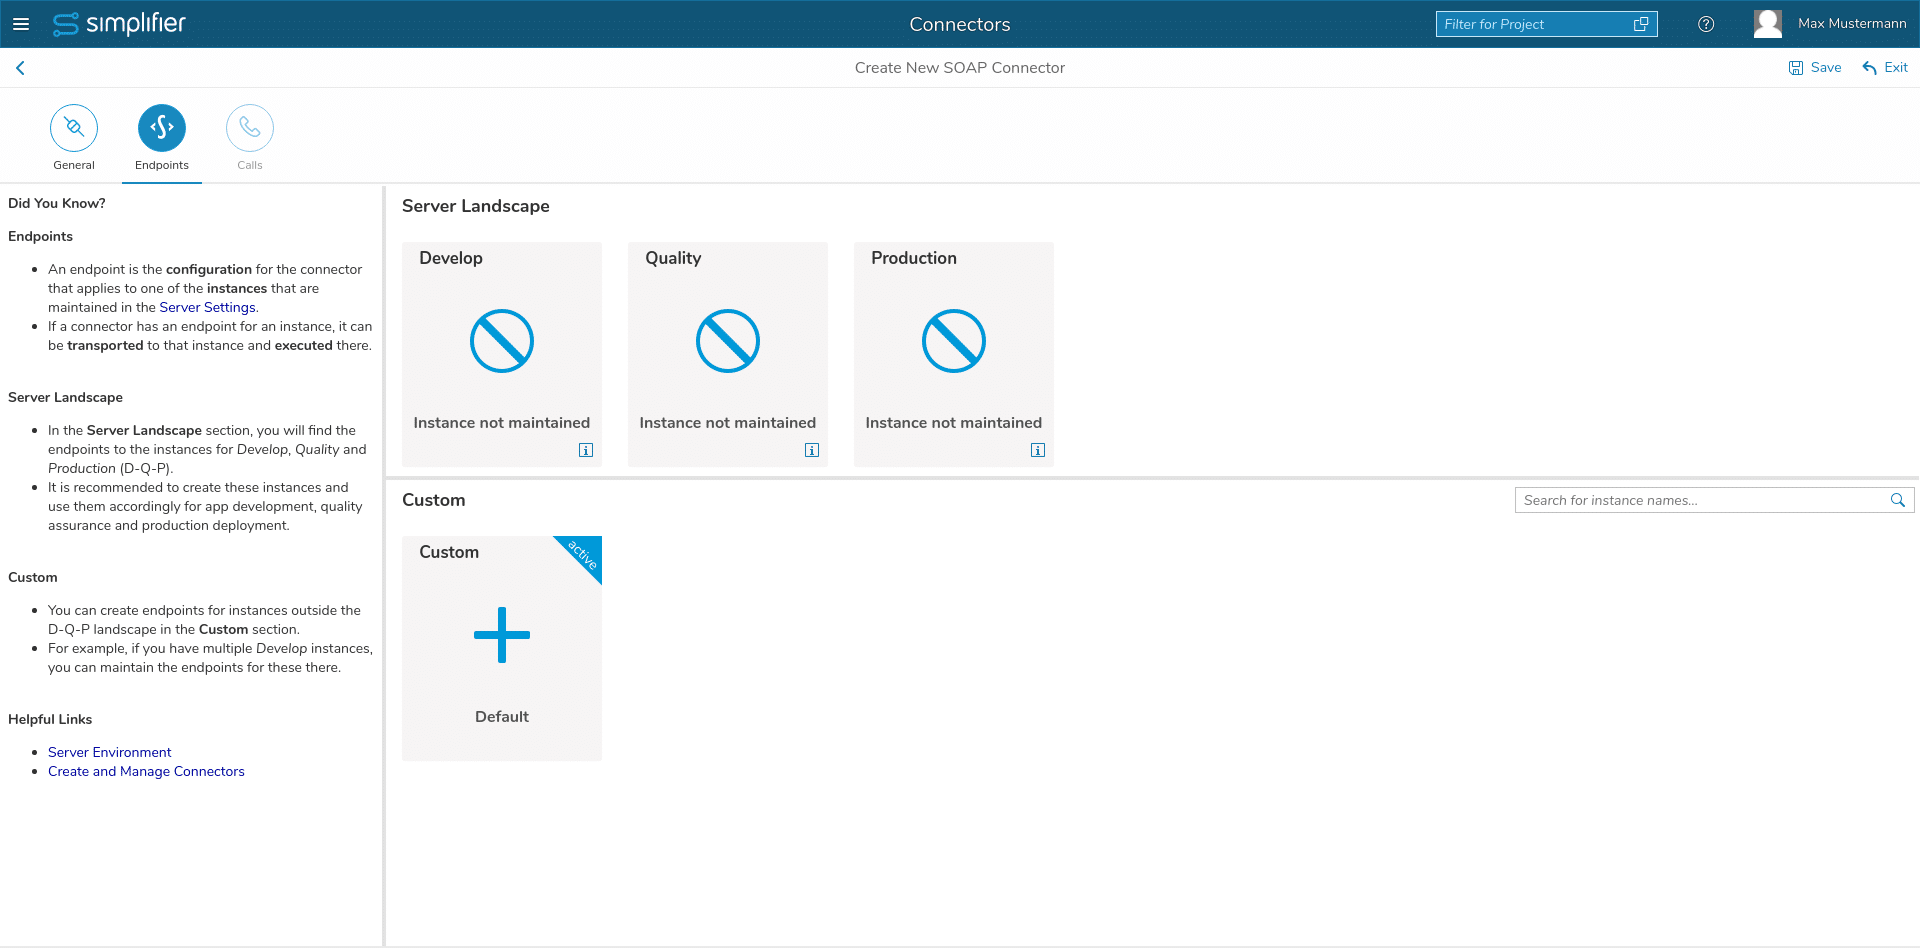
The second tab also consists of two parts. The left part is includes helping informations about the right side just like the general tab. The right side displays all server enviroments which exist on the server instance as tiles. The server enviroments are divided into two parts horizontally. The upper part is for default server landscapes including “Develop”, “Quality” and “Production”. The lower part is for all other custom instances. There is also a search field above the tiles on the right. This can be used to filter the entries of the custom instances.
The tiles are constructed as follows:
- The type is at the top left
- In the middle there is an icon indicating whether the instance is maintained or not.
This icon can be either a “plus” or a “no sign”.
— The “plus” icon is visible if the instance is maintained. Maintained instances can be configured over a click on the tile.
— The “no sign” icon is visible if the instance is not maintained. - Below the icon either the name of the instance is displayed if the instance is maintained or a standard text with “instance not maintained” is displayed. If the instance is not maintained, there is also an “information” icon in the bottom right corner. If this is pressed, a dialog opens with a help text containing a link that leads the user to the server settings. On the server settings page the instance can then be maintained.
- In addition, an instance can be active. Whether the instance is active can be seen by a badge in the upper right corner.
After you have chosen an instance that is maintained, you can start with the endpoint configuration. This varies depending on the type. In our example we see an endpoint configuration for the type SOAP. Here you have to maintain the following fields under the Connection paragraph: WSDL URL, Certificate Trust Options, Ignore invalid SSL certificates. Fields marked with a red asterisk are required and must be filled in for the endpoint to be properly maintained. Under the Security paragraph we see the fields: Login Method and Certificate. These can each be selected from a list using the Value Helper of the input.
You also have the possibility to return to the overview page of the maintained instances, this can be done via the left arrow button in the header line of the page. You can also test the connection by clicking the blue button in the upper right corner. The connector can be saved by clicking the save button in the upper right corner below the user avatar. You can also exit the page by clicking the Exit button, which will take you to the connector overview page.
Edit Calls
By clicking on Edit calls, you directly jump to the overview of connector calls.
Copy a Connector
You can copy an existing connector by clicking on Copy connector.
The complete configuration of the connector, including its connector calls, is copied and created with the duplicate.
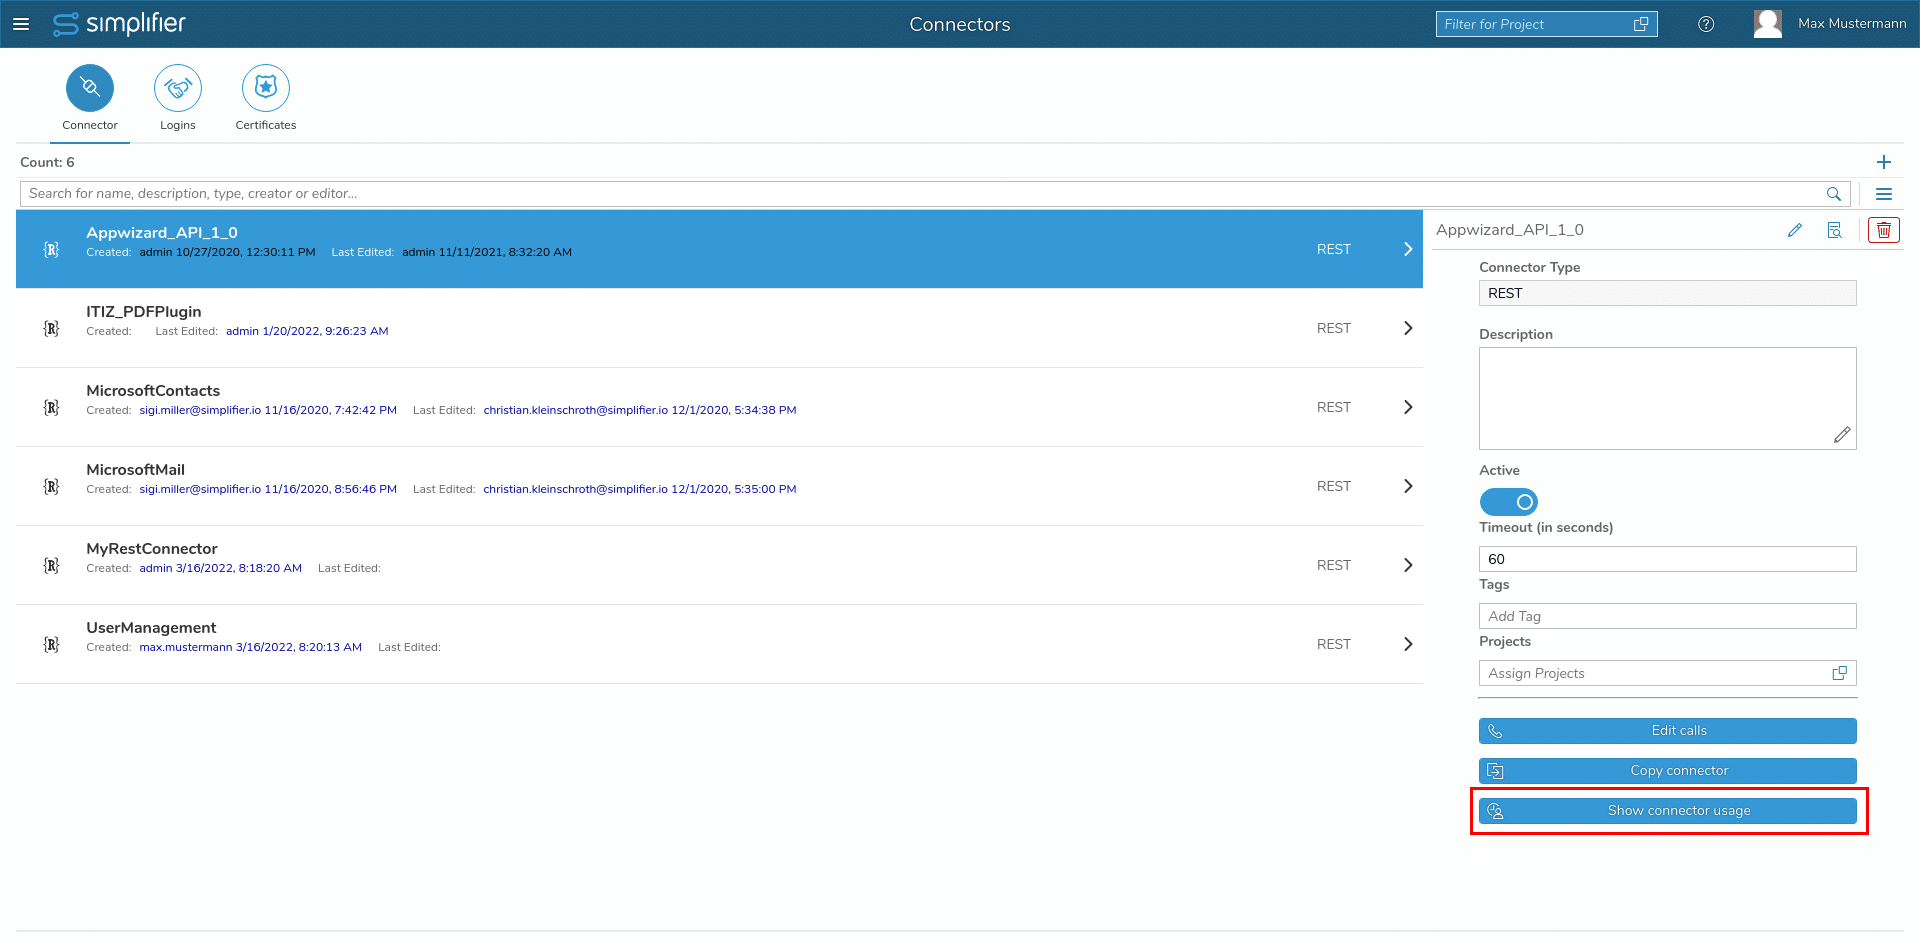
Usage of Connector
You can see which artifacts are using the connector.
A pop-up displays all artifacts that use the connector.
By clicking on an entry, you jump directly to the item.
