As an admin, you can test your connector call by clicking on the ‘Test Connectorcall’ icon in the connector call overview or click on ‘Save & Test’ within the create/edit dialog of a connector call.
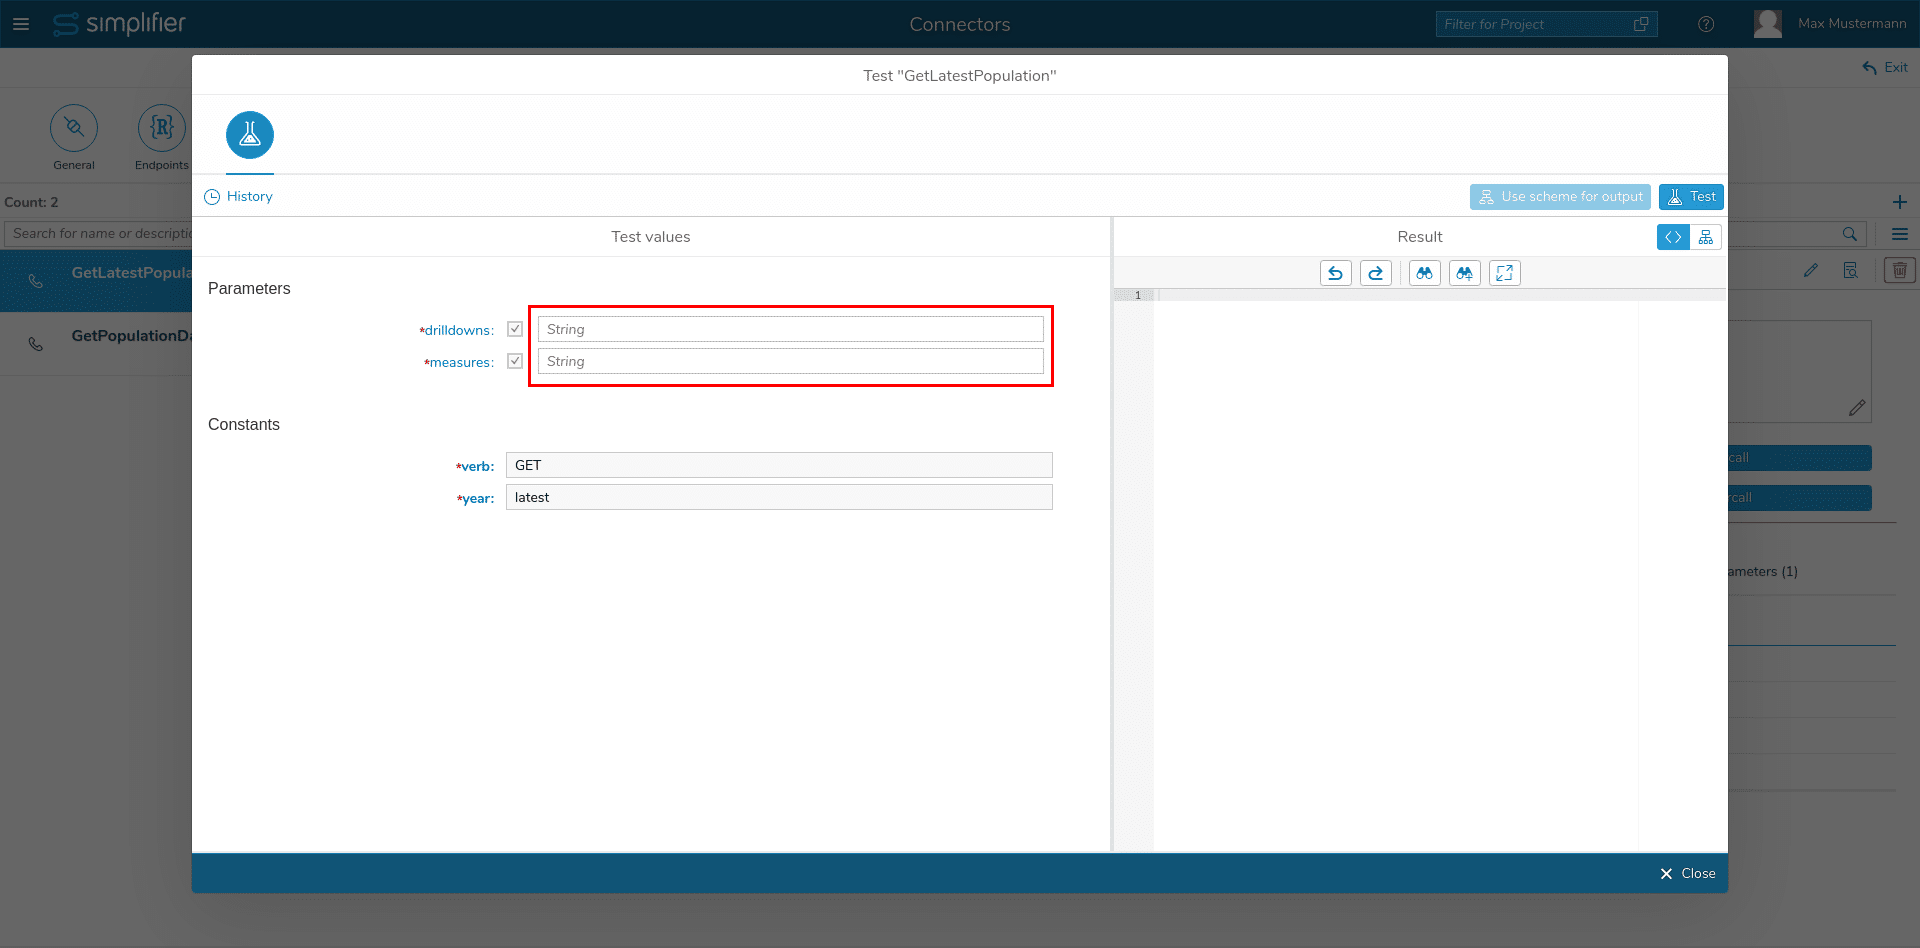
The upcoming dialog provides an input field for all input parameters, that to not have a constant value.
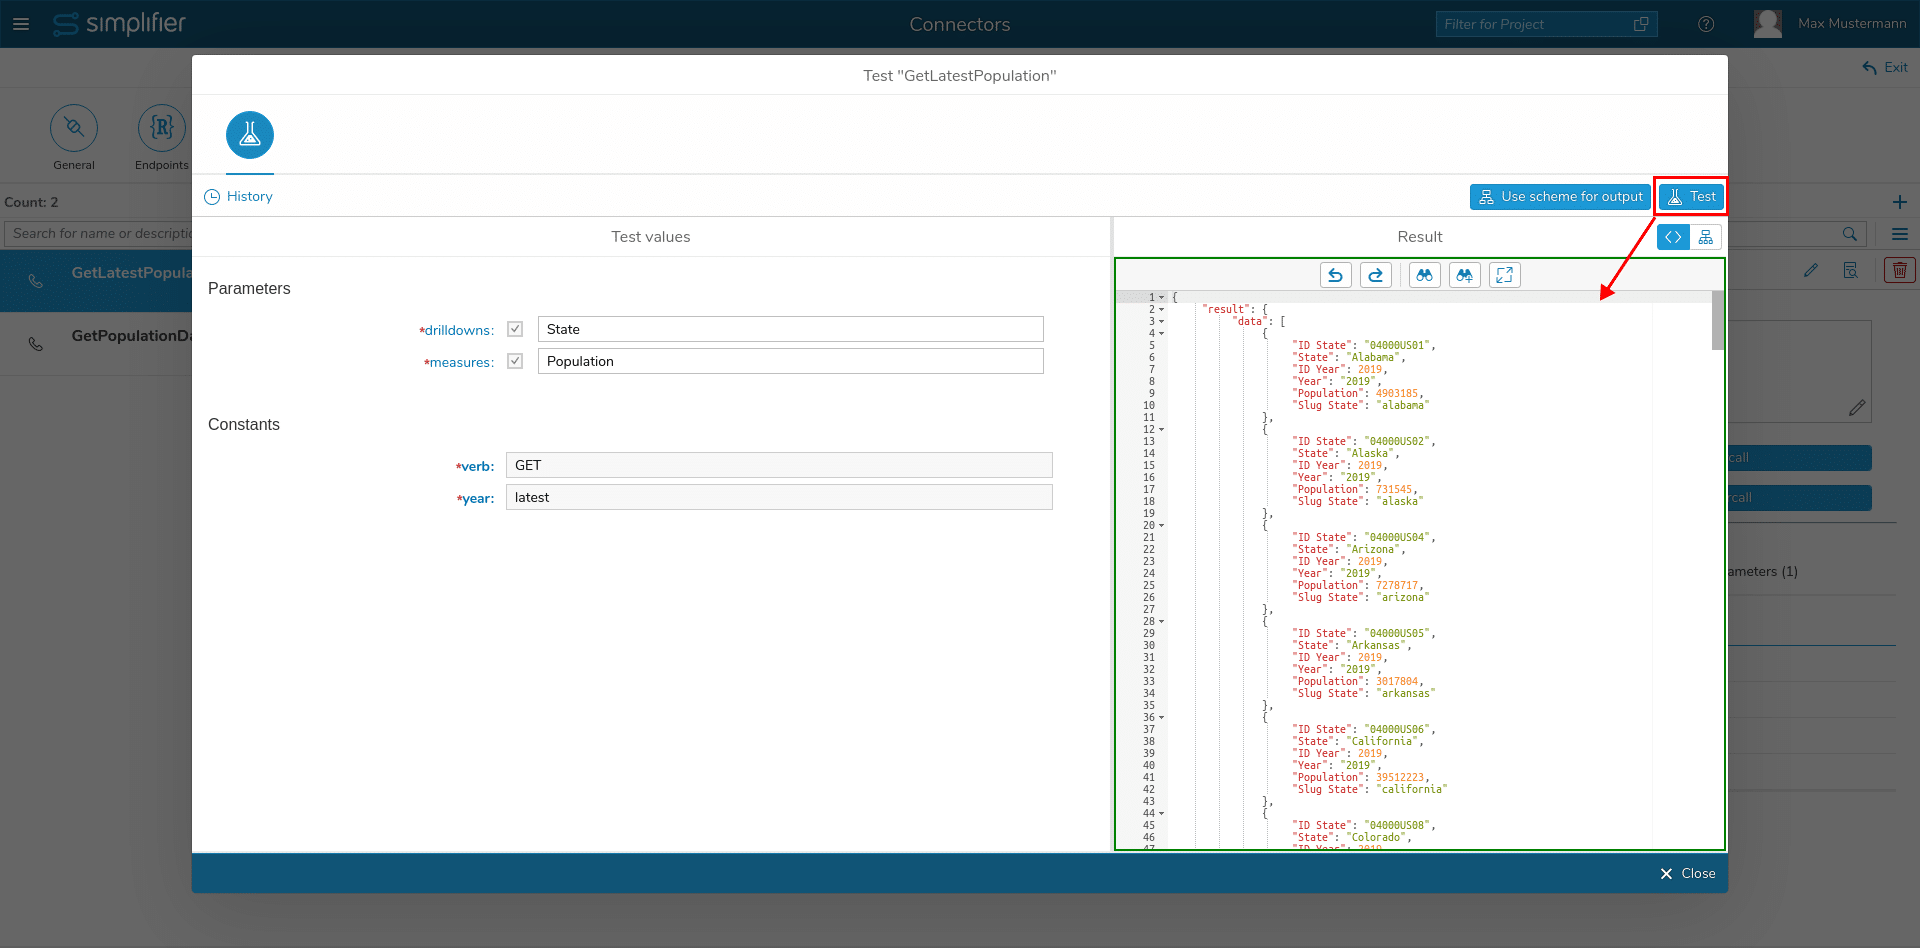
After entering the test values, click on the ‘Test’ button. It runs the call and displays the result in JSON format.
A history entry is created for each test and displayed in a closable panel on the left side of the dialog. Parameters from a current call can be imported into the next test by clicking the corresponding icon of the history entry.
Note: Values that are marked as constants in the current call definition are not imported!
Single history entries can be deleted by pressing the trash icon, also the whole history can be deleted with the trash icon next to the search field. The history entries also display detailed error messages if a call was unsuccessful.
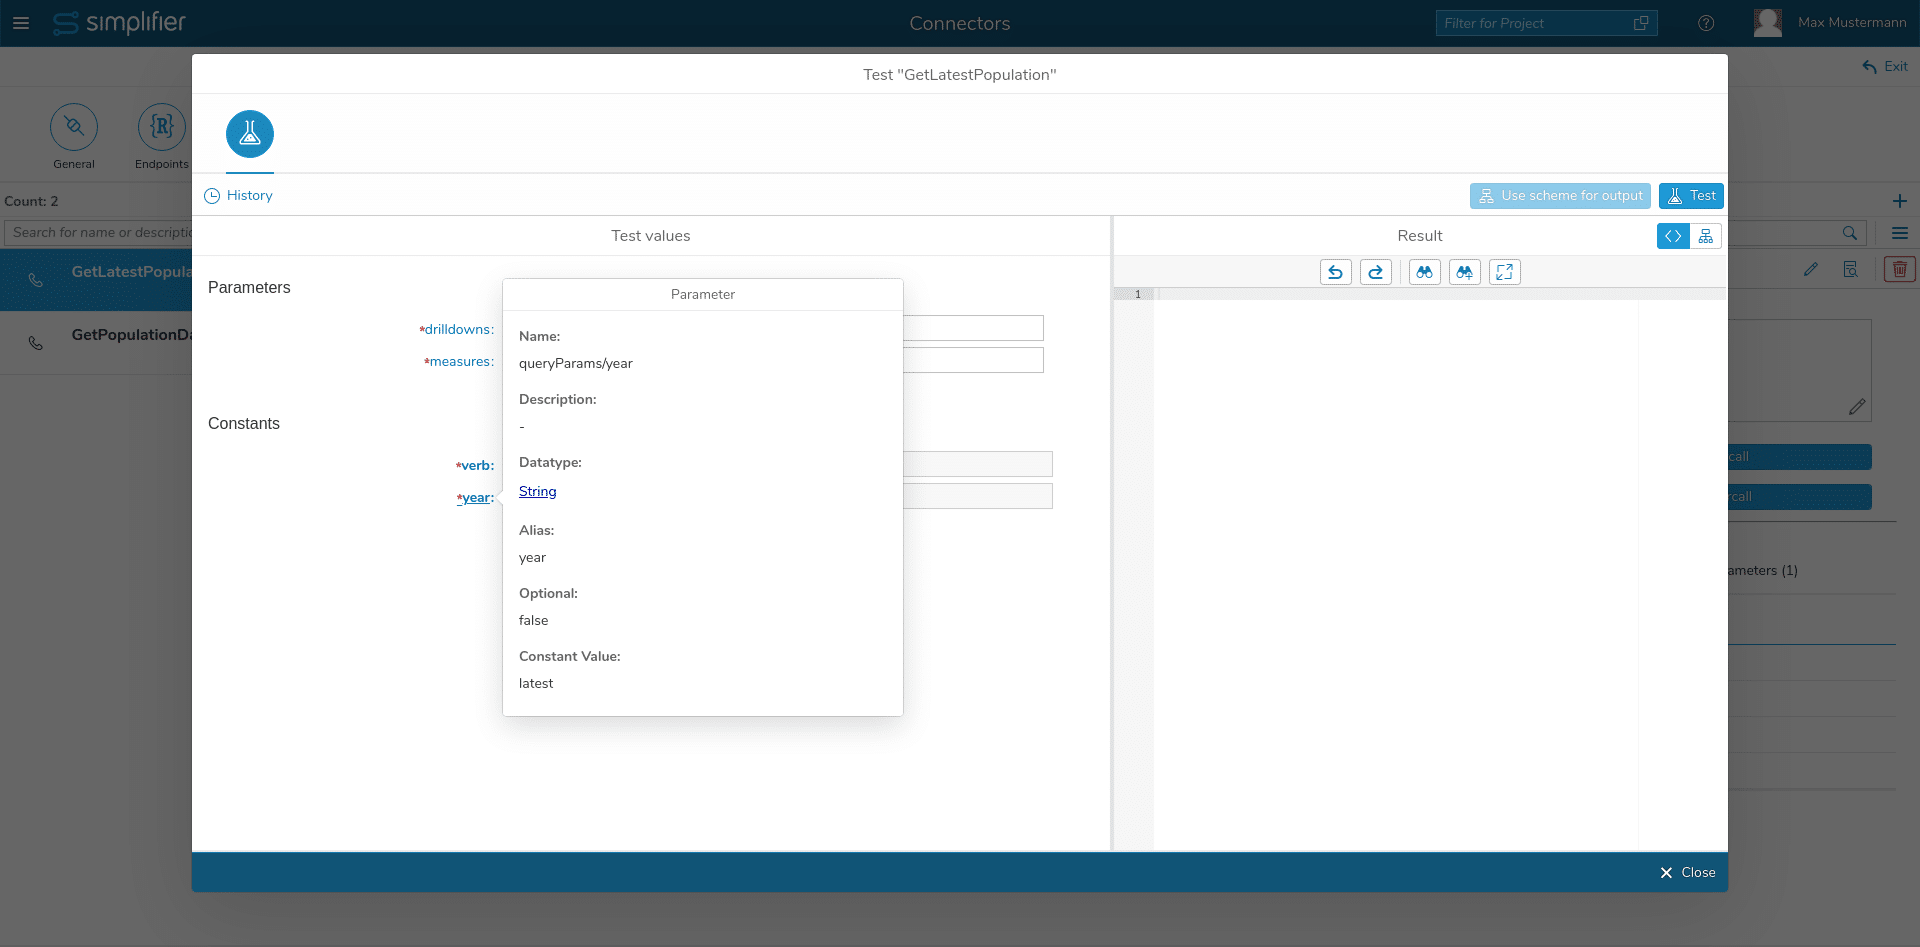
Parameter- and constant names, -aliases and datatypes can be inspected by clicking on the parameter name. If the parameter is of a complex type, an info symbol is displayed. Hovering over this symbol will show a tooltip containing the value.
Generate data type
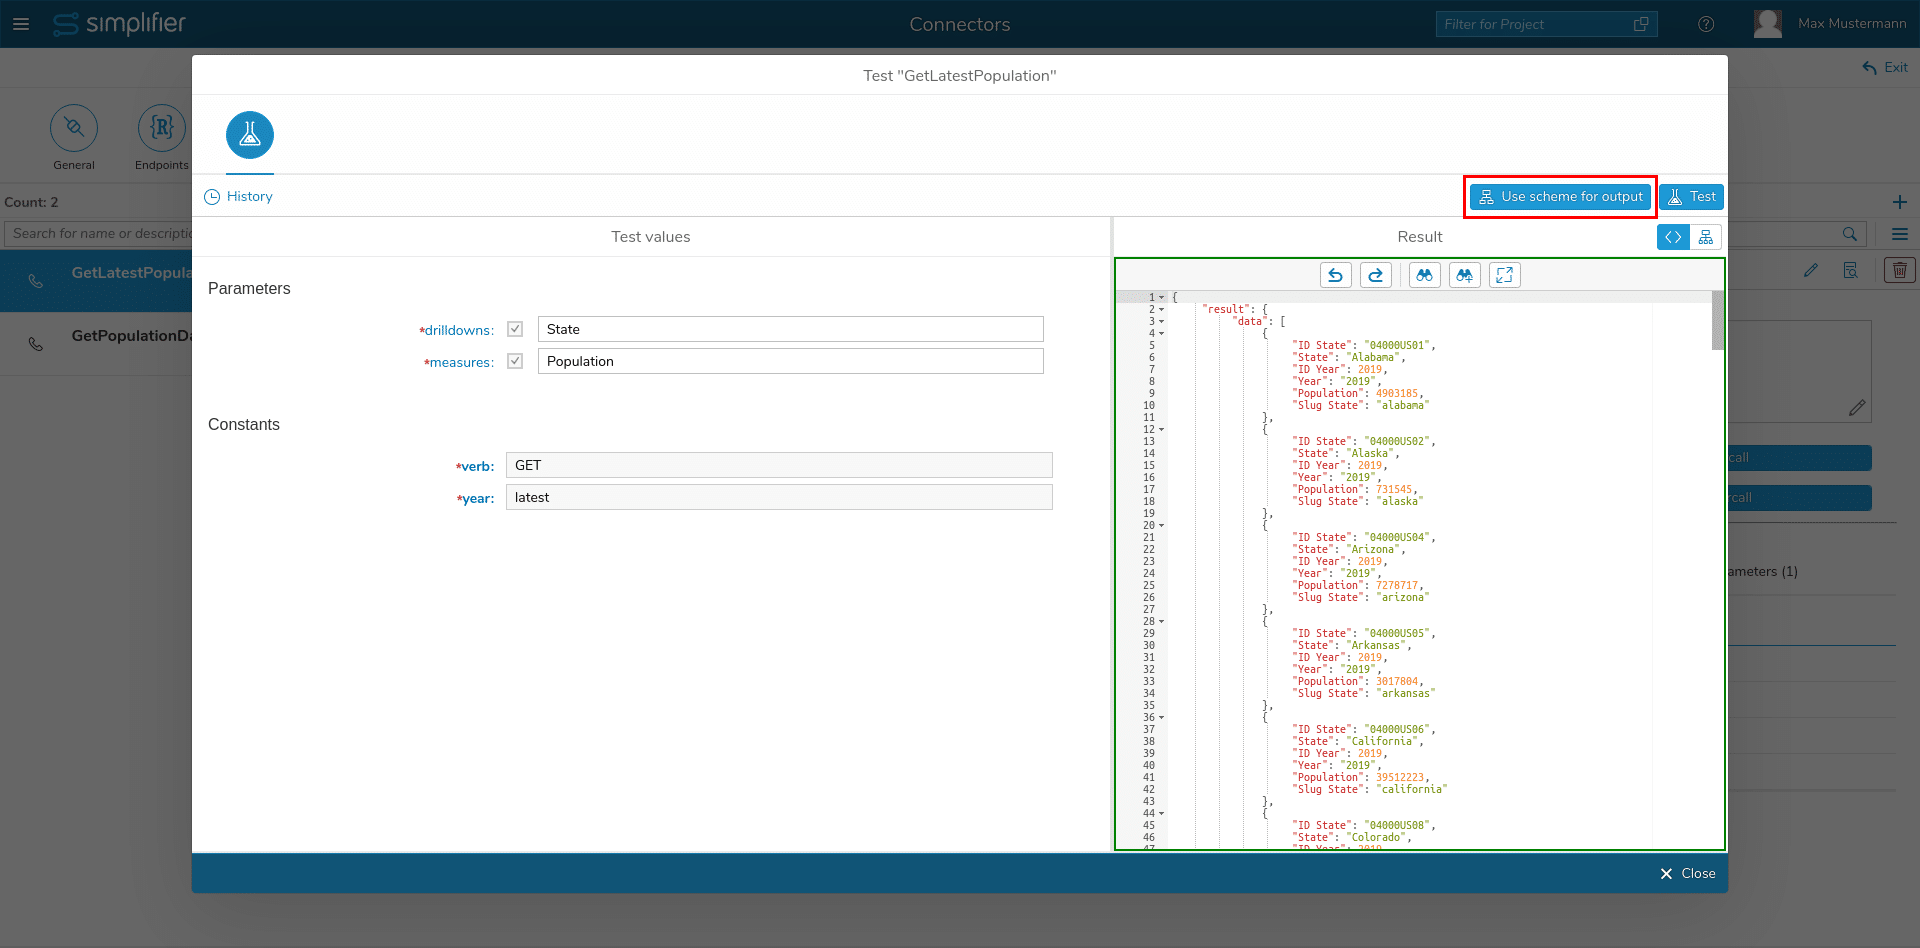
You can automatically create simple or complex data types from connector requirements in the test dialog by pressing the button Generate data type after a successful test.
The input validation in the test UI only takes place if ‘Validate’ is active for input parameters. The test parameters are always passed as a string.


