A widget represents a specific element in the user interface (e.g. checkbox, button or login screen, etc).
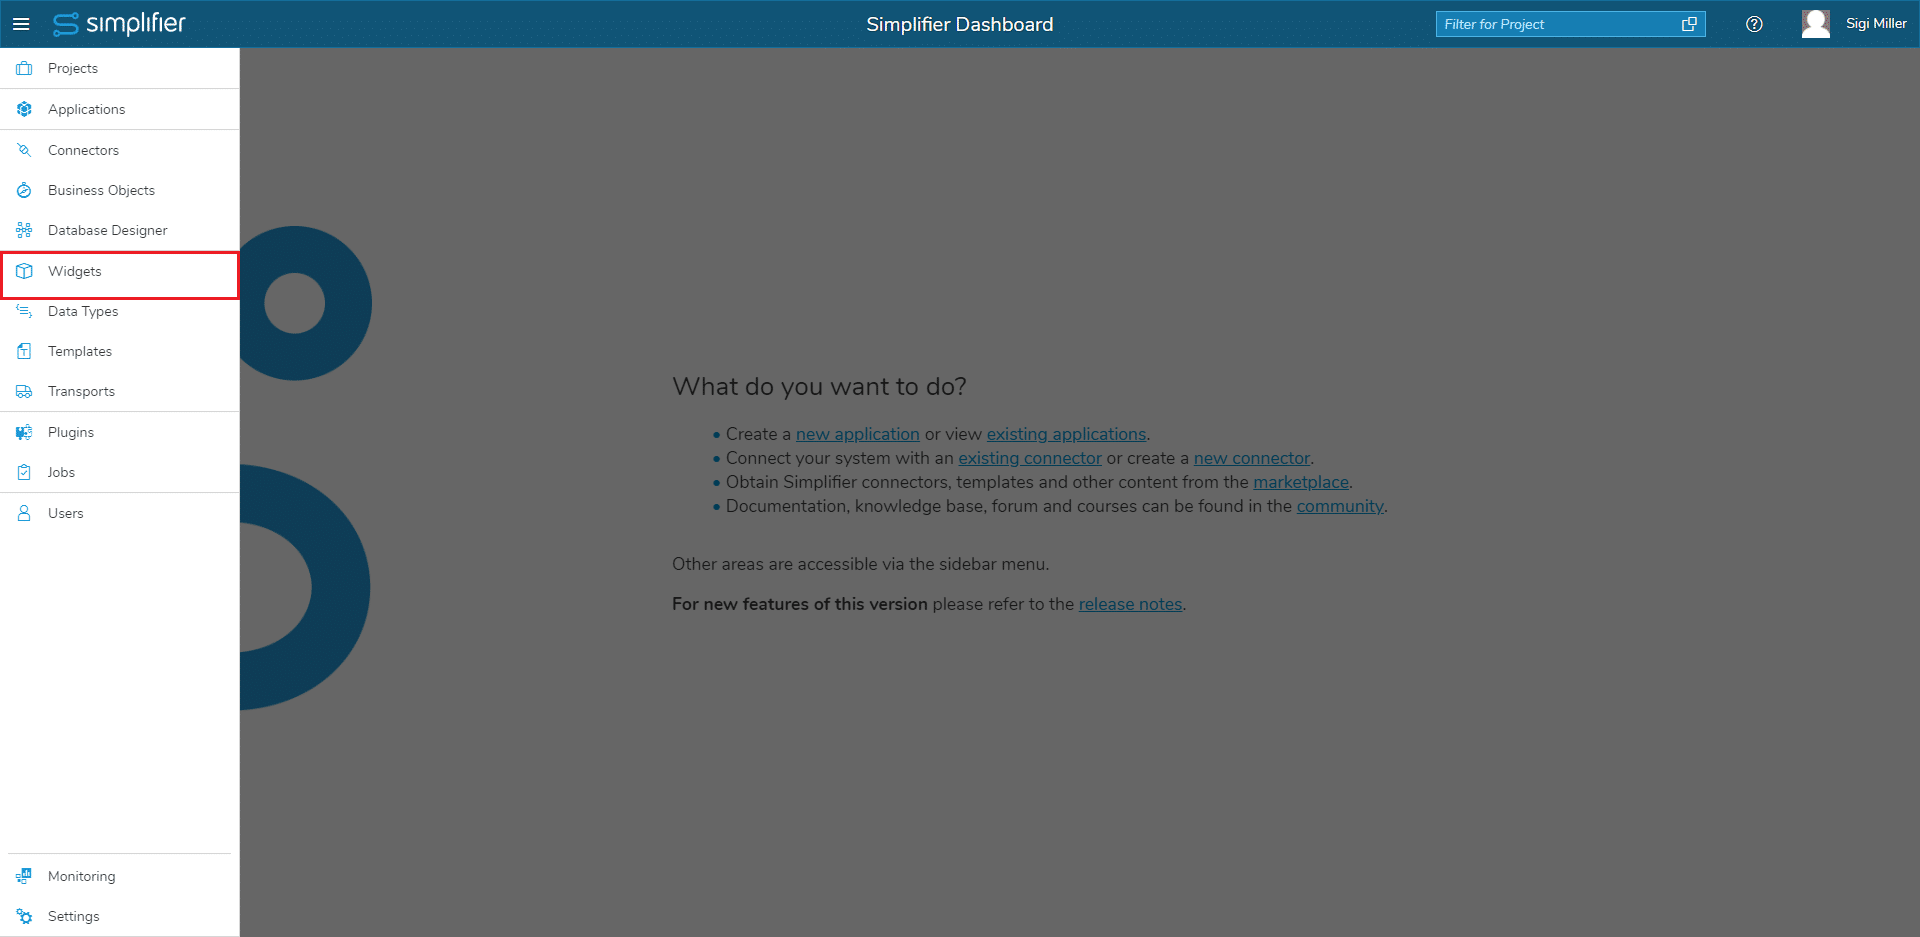
To customize a widget, click on the Widgets tile in the Simplifier dashboard and choose the Widgets tab.
Within the overview, you can edit, take a look at the details, delete or copy a widget or take a look at the description, category, tags, and set it to deprecated or not.
Press the ‘+’ button on the right to add a new one.
Add a name and select the OpenUI5 version from System Libraries.
By clicking OK you will be forwarded to the Widget Customizer. On the left side are three different tabs: General, Template and Script.
General
In the tab General, you find the general information like Name, Version, Category, and Description. You can add tags or set the widget to deprecated.
Deprecated widgets are no longer displayed in the UI Designer. Deprecated widgets that were used before they were marked as deprecated are still displayed within the application content. The application will continue to be saved and deployed without issues or warnings and runs as before.
Add an icon to the widget by uploading it. You can delete it at any time.
|
Template
Enter the widget type in the tab Template – take a look at the constructor details in its API reference. It must match the name of the UI5 control. Use the wizard to automatically extract the widget data. | |
Choose a framework – OpenUI5 or SapUI5 | |
By clicking on Next, the template for the widget is generated as well as the properties, events, and aggregations. |
Script
The script of the widget is generated automatically if you use the widget assistant. |
After hitting the Save button, you’ve successfully created or edited a widget.