Mapping Area
Within Process Designer, the mapping area allows to set up a mapping between different sources and targets. This concept is used for all input and output Mappings of Connectors, Business Objects, UI Actions etc.
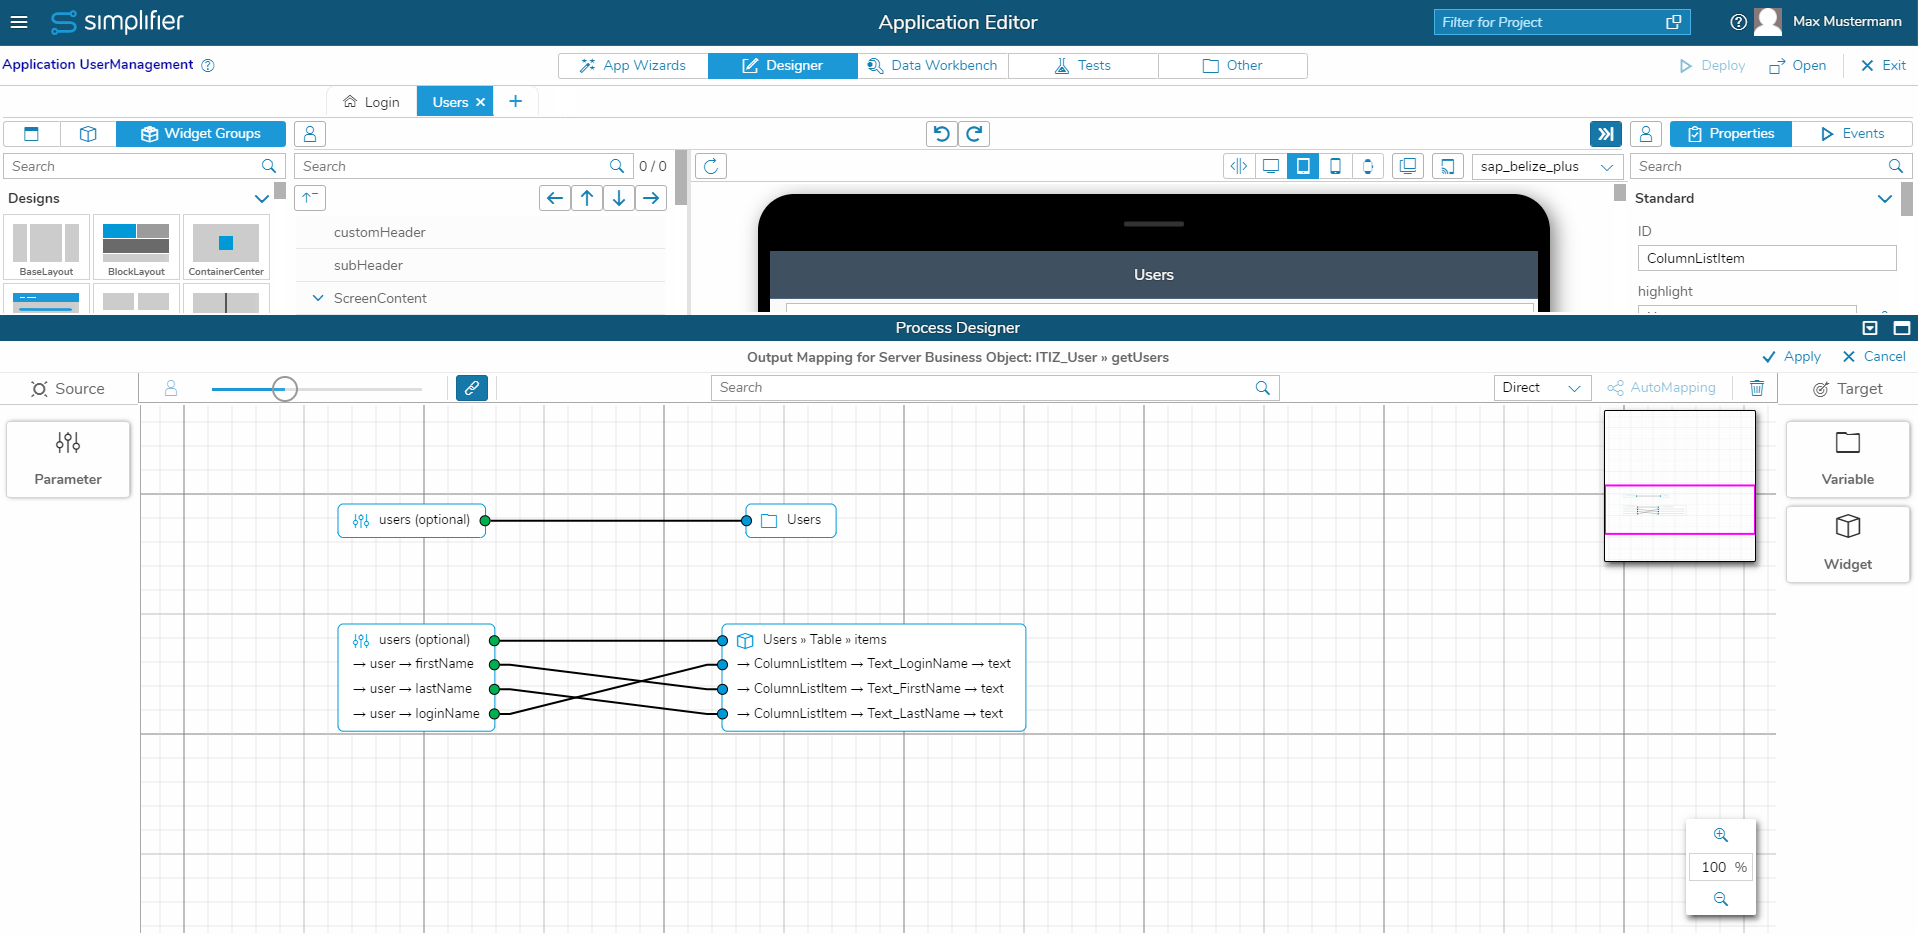
Here is an example of a Mapping Area for a Business Object:
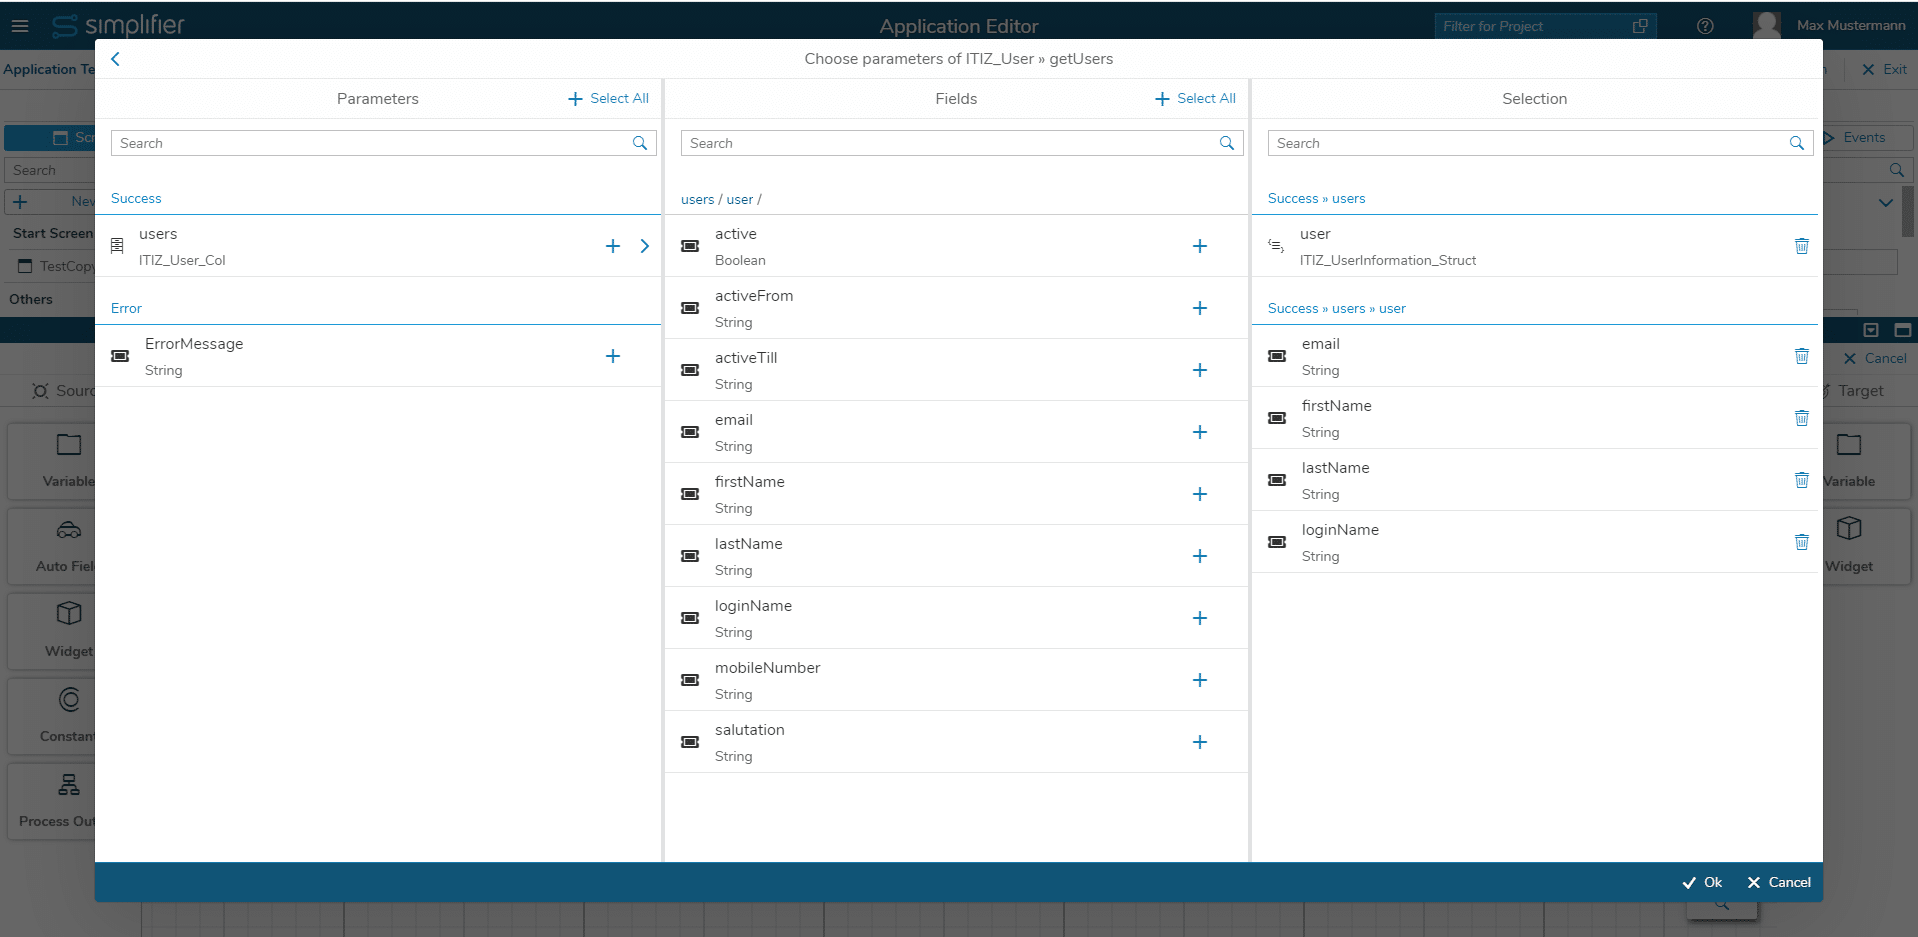
The Parameter Selection Dialog will now display optional/mandatory paremters with an “optional” flag.
Variables / Constants
You can use Variables from the Data Workbench and Constants for mapping data. Variables can also be created directly within the Mapping Area by double-clicking the Shape and then pressing the Add button in the upper right corner.
In addition, they can drag variables directly from the Data Workbench into the Mapping Area.
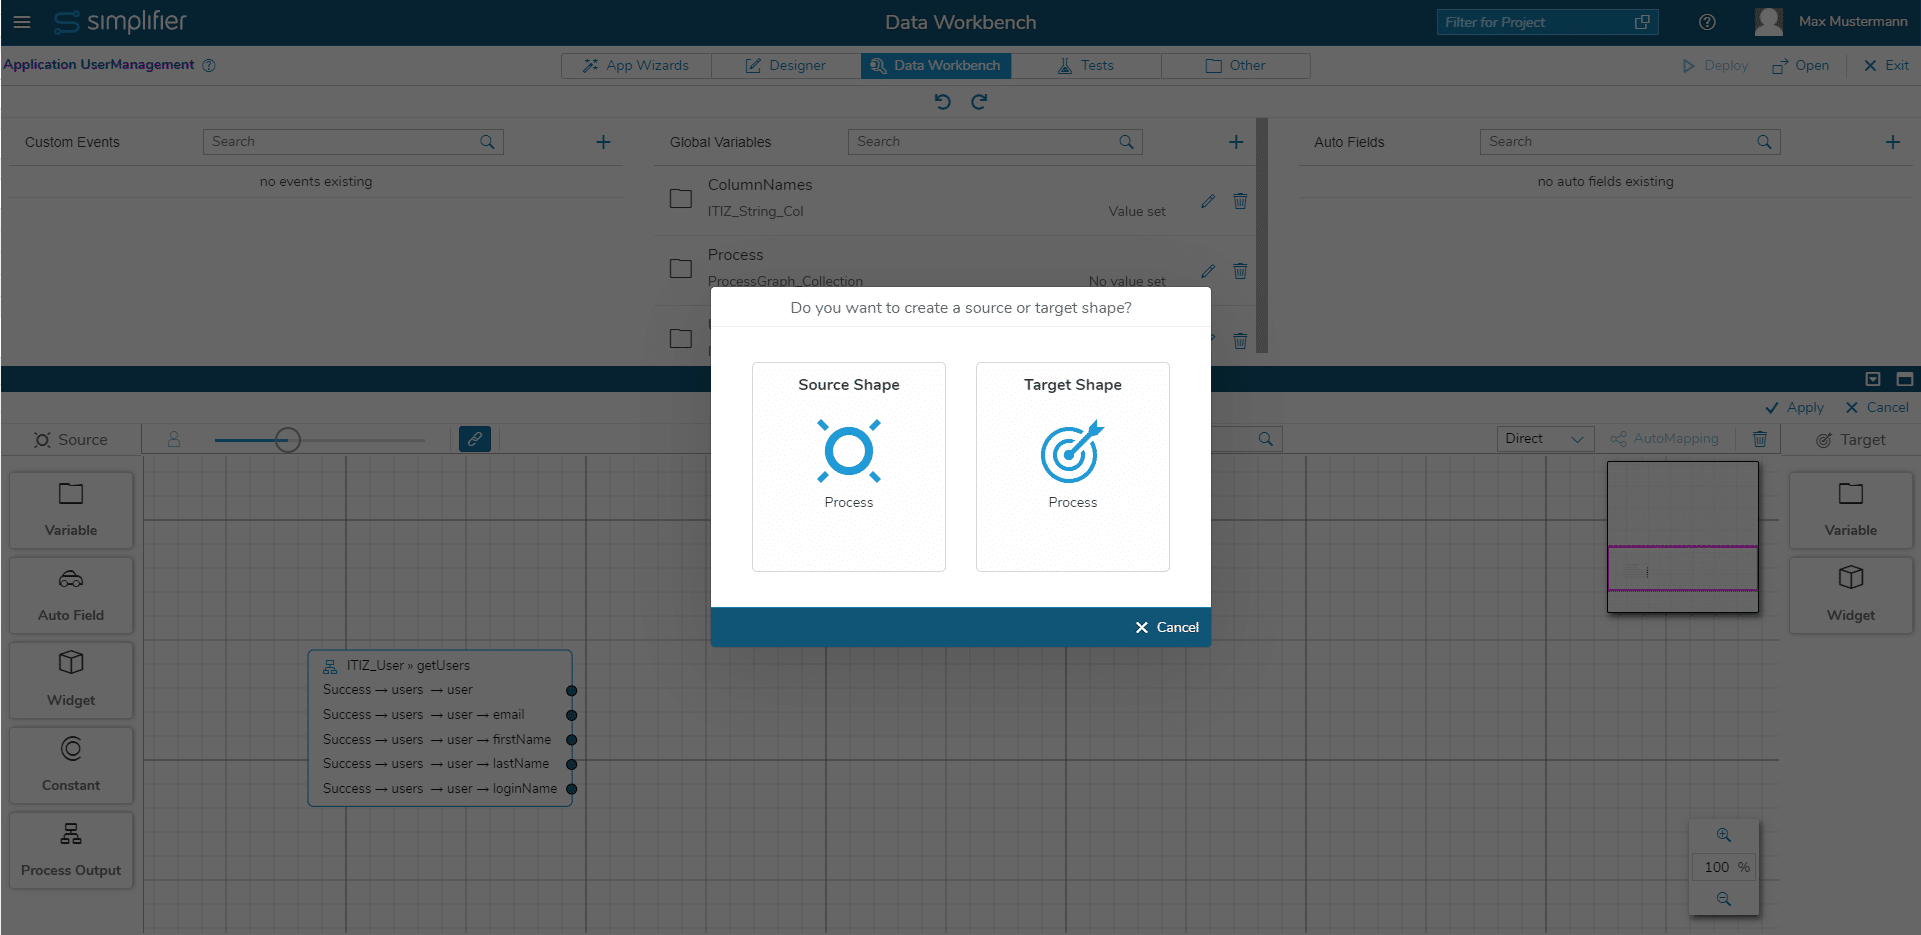
If variables are allowed in the mapping on both sides (e.g. UI Action), a dialog for the selection of source or target is displayed.
Automapping
Simplifier is able to automatically map Shapes based on their parameter names and data types. Just select your sources and targets and click on the Auto Mapping Button in the upper right corner.
Process Output
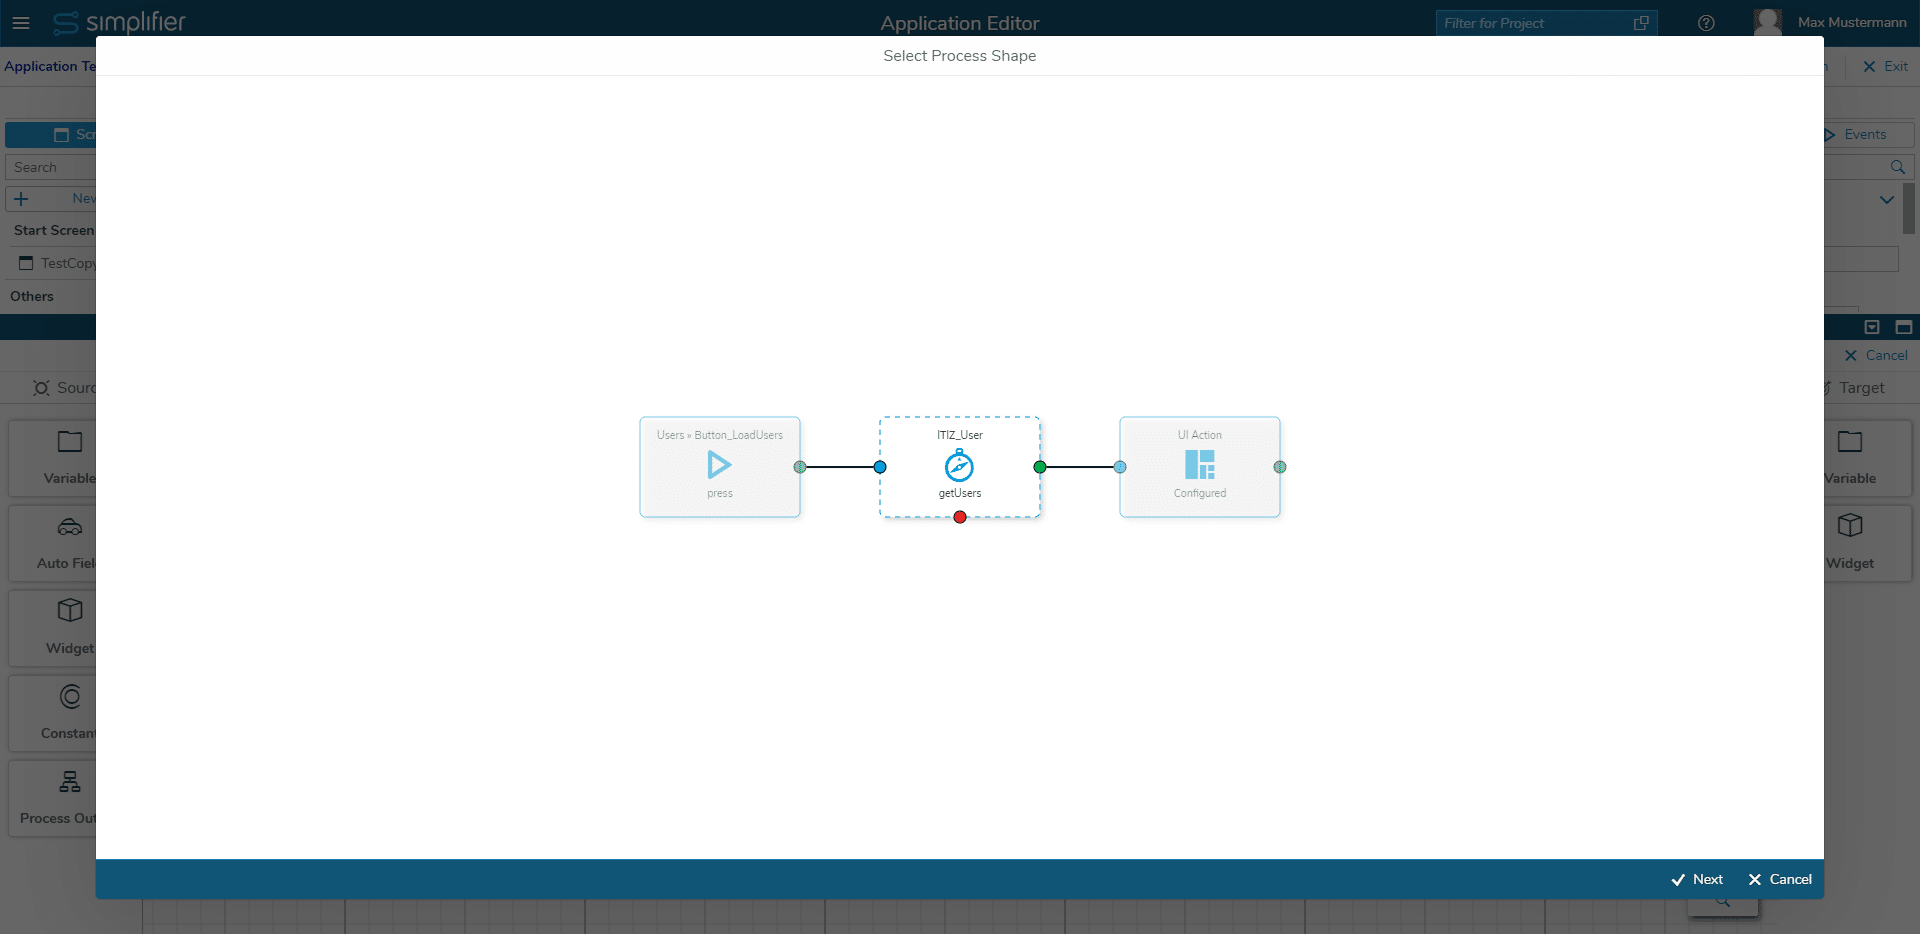
You can also directly use the output data from predecessing activities on the process flow without mapping them temporarily into a variable. To do so drag a Process Output Shape from the left side onto the canvas. By double-clicking this shape, a dialog opens where you can select a predecessor and its output.
Tutorials
The Mapping Area explained
The following video shows the exemplary use of the different features of the Mapping Area.
Automatic conversion of differing data types
If a connection is drawn between a source and a destination of different data types, the value is automatically converted. This is indicated by a chip on the connection. See the following video for an exmaple:
