The Process Designer enables defining process flows as the result of an event in an intuitive, graphical way.
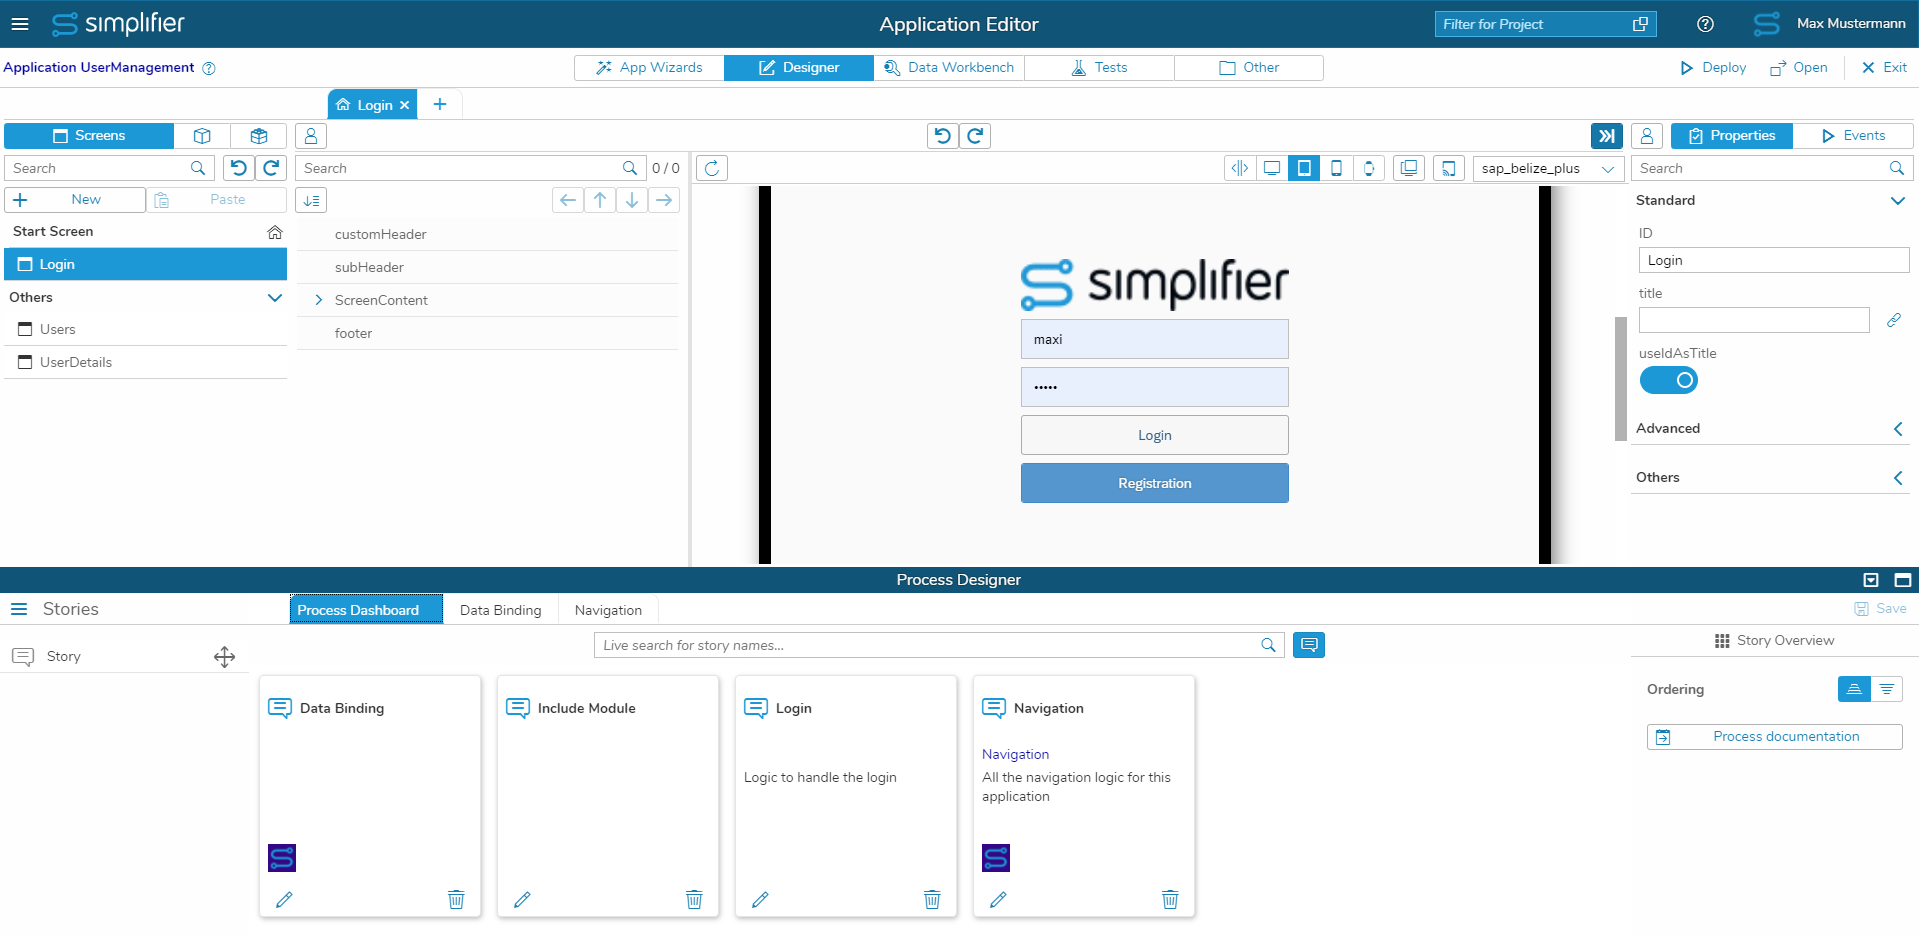
To open the Process Designer pull it up from the bottom of the Screen in the Application Editor
Process Dashboard
To open the Process Designer, simply drag the blue bar at the bottom of the screen upwards. Alternatively, the Process Designer can be expanded to different heights using the buttons at the right end of the bar.
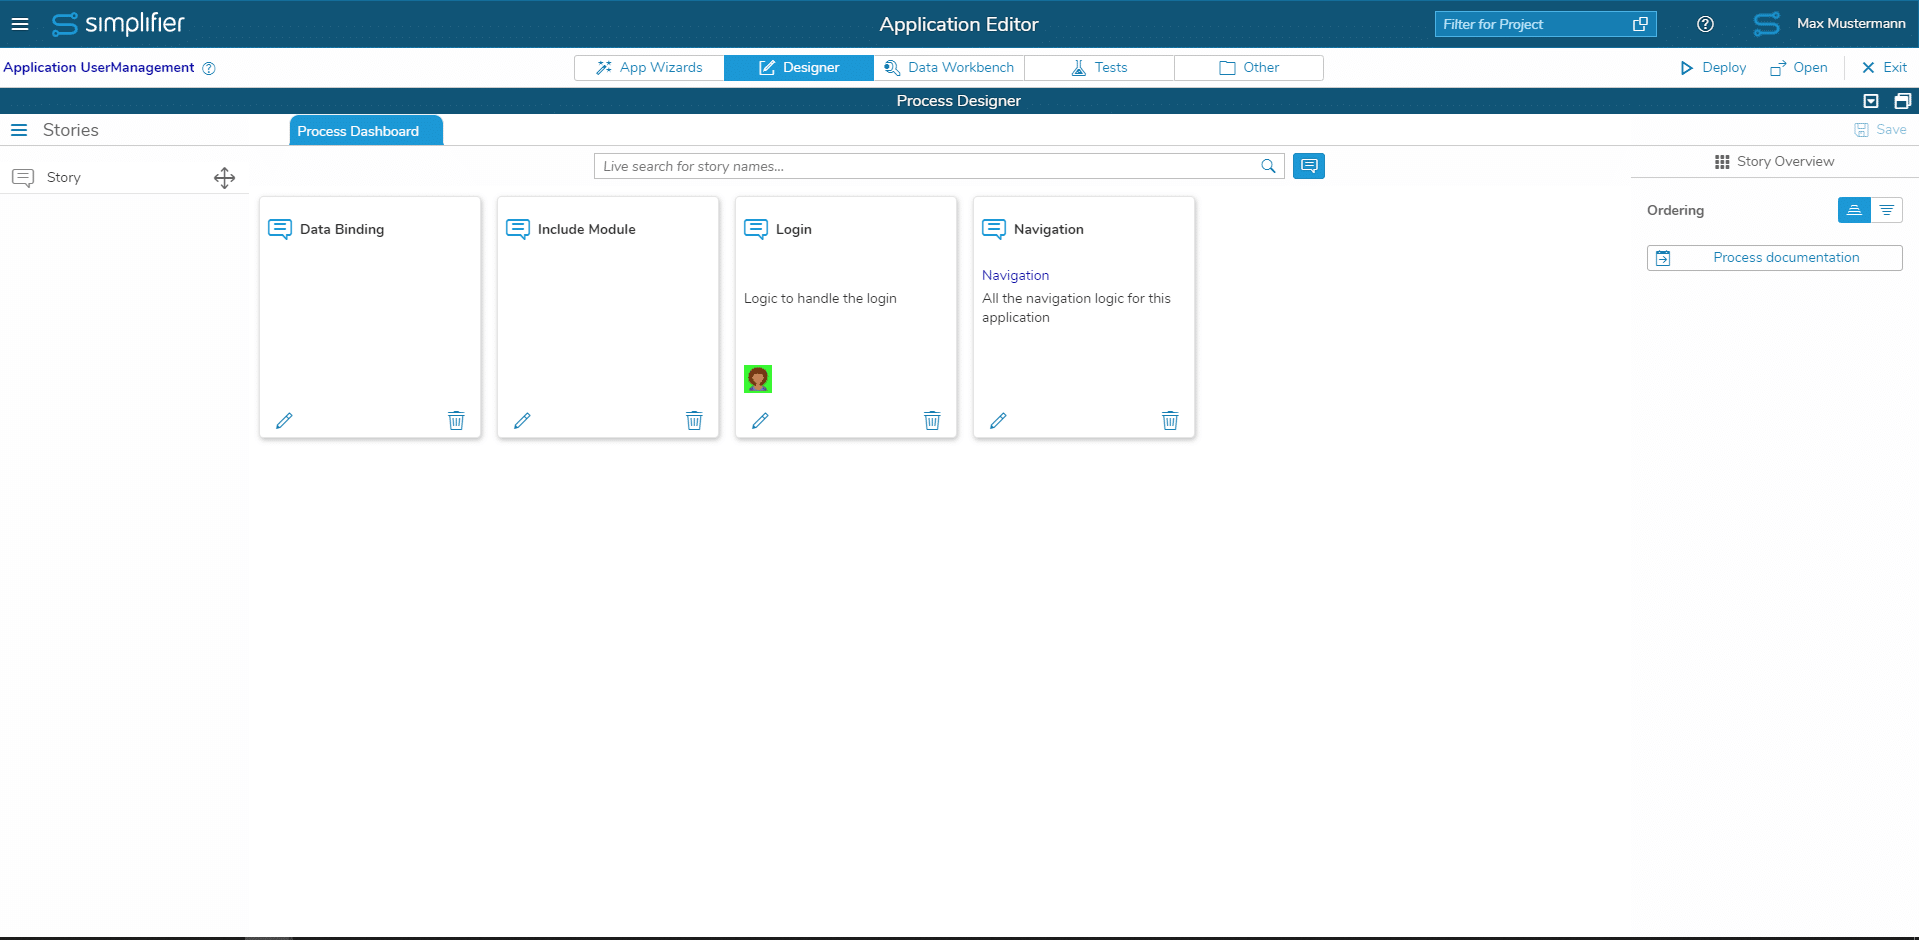
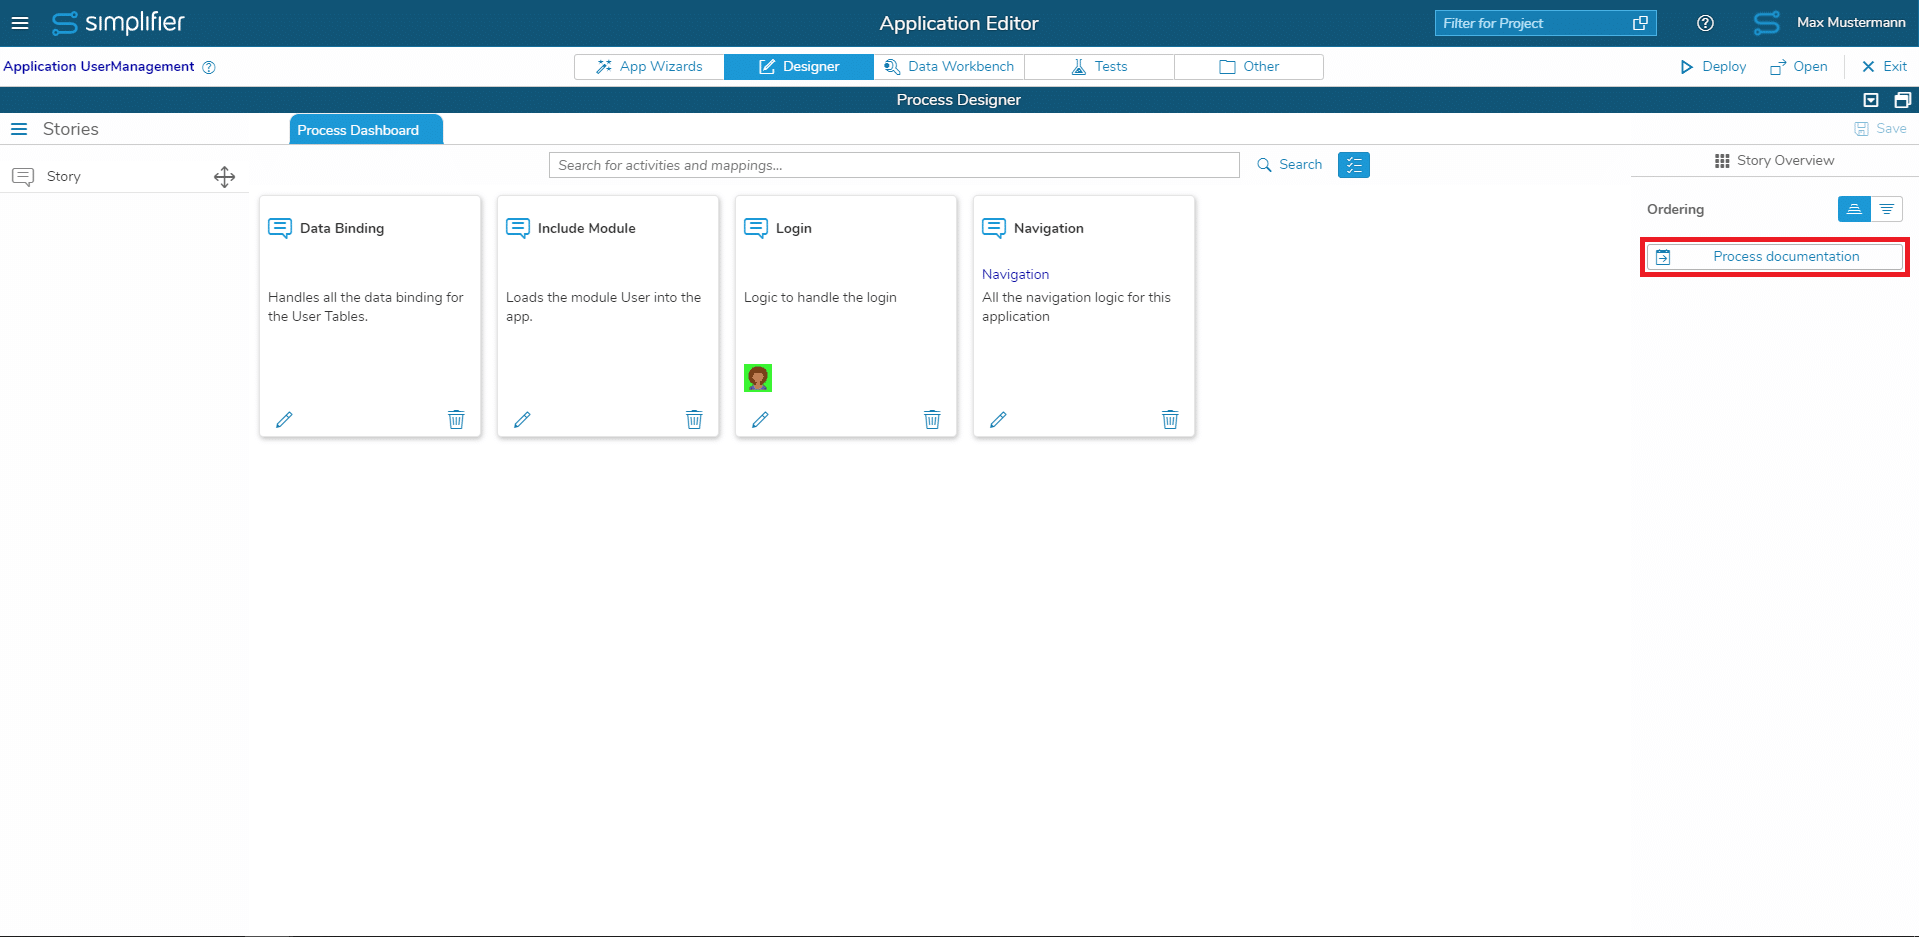
Initially, the Process Dashboard is displayed. Here, all existing stories of the app can be seen and new stories can be created. By dividing your application logic into stories, you can sensibly divide up larger processes and thus work agilely according to Scrum, for example. In this way, you can also work in parallel with several developers in the Process Designer. Please note that changes are not automatically saved and therefore simultaneous editing of the same story by several developers is not recommended!
To add a new user story, drag Story (on the left) onto the free space in the middle. A dialog opens in which the properties of the story can be defined. It is at least necessary to enter the name. Optionally, a link with link text (e.g. to documentation on the story) and a description can be added.
It is possible to open multiple user stories at the same time. To switch between the user stories, simply switch between the tabs.
Tabs in the UI Designer, Process Designer and Application Test can now be closed page by clicking the middle mouse button on the tab.
Edit or delete an existing user story with the equivalent icons. The user stories are ordered alphabetically (or by number – if used). You can sort the user stories in ascending or descending order with the icons on the right.
By double clicking on the whole tile of a user story or clicking on the edit icon, you are forwarded to the Process Designer to work on the currently user story.
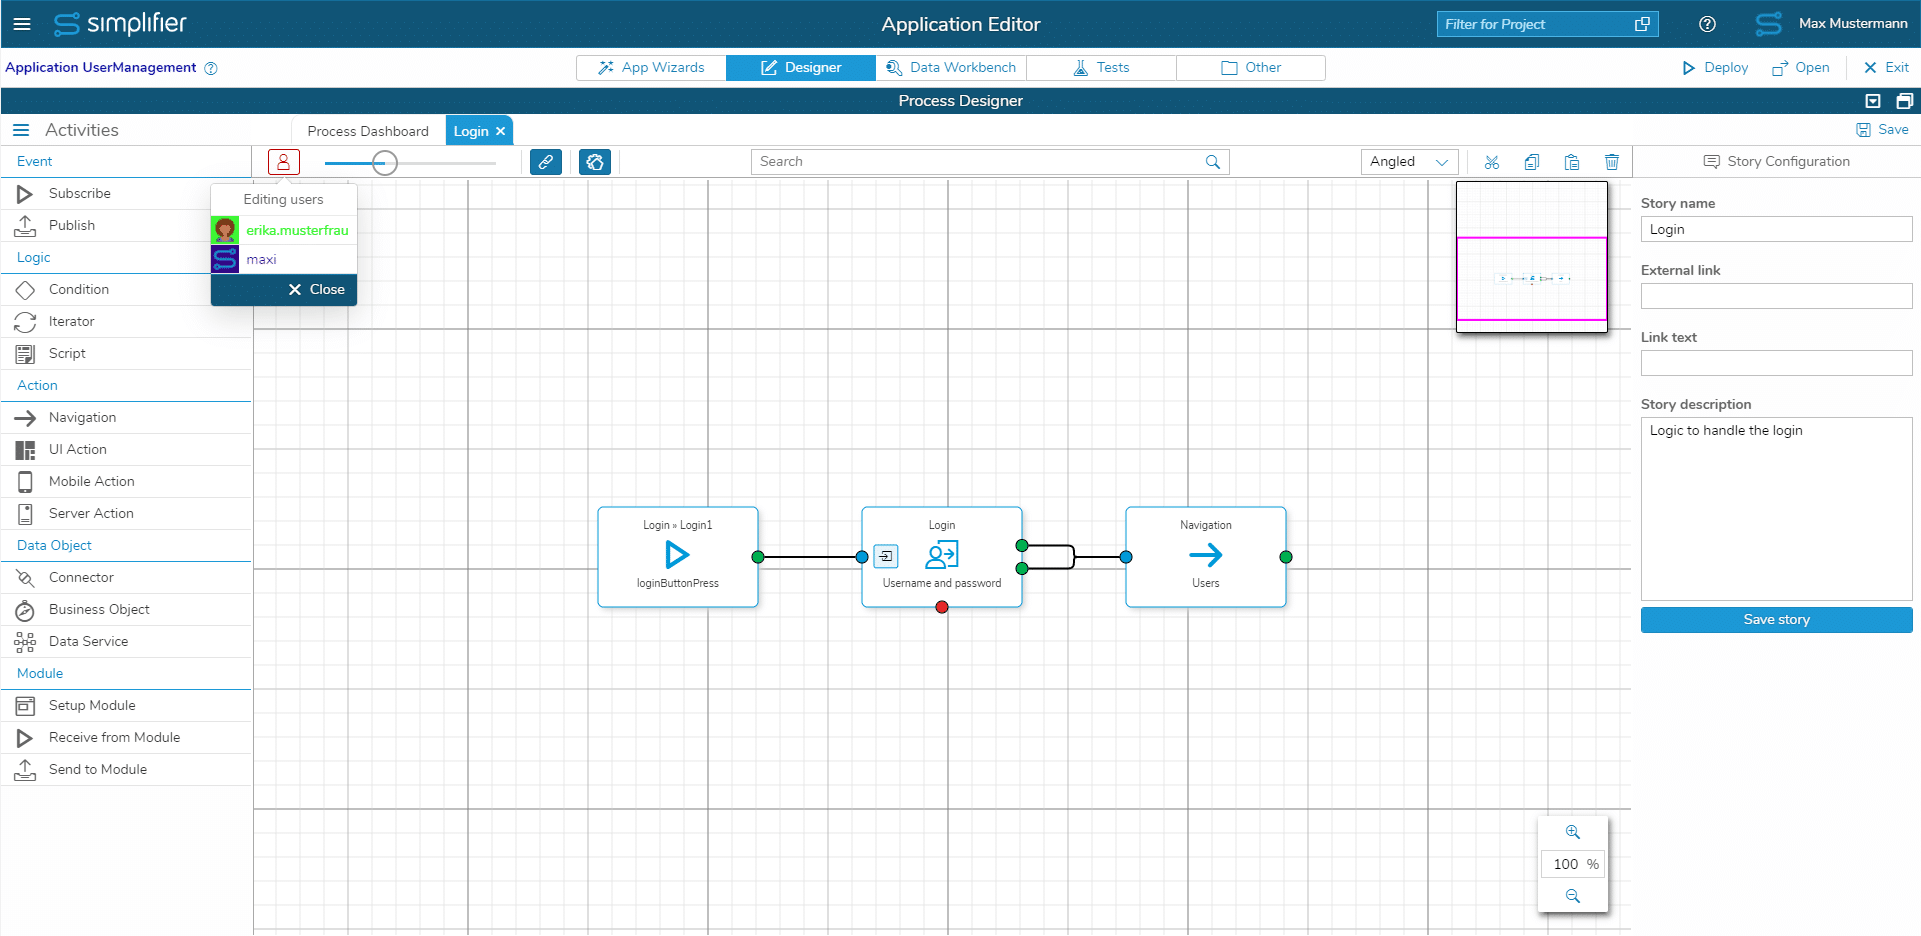
Similarly, a small button in the upper left corner in the Process Designer itself displays users who are editing the same user story. The color of the button turns to red when another user starts editing the same user story. To view all editors, click on the button to open a pop-up.
It displays the avatar screen and the user’s login name. The colors depend on the user’s login name, so each user is given an individual color. The list of editors will always be up to date so you will get an instant response when someone starts editing the same user story.
Deep Search
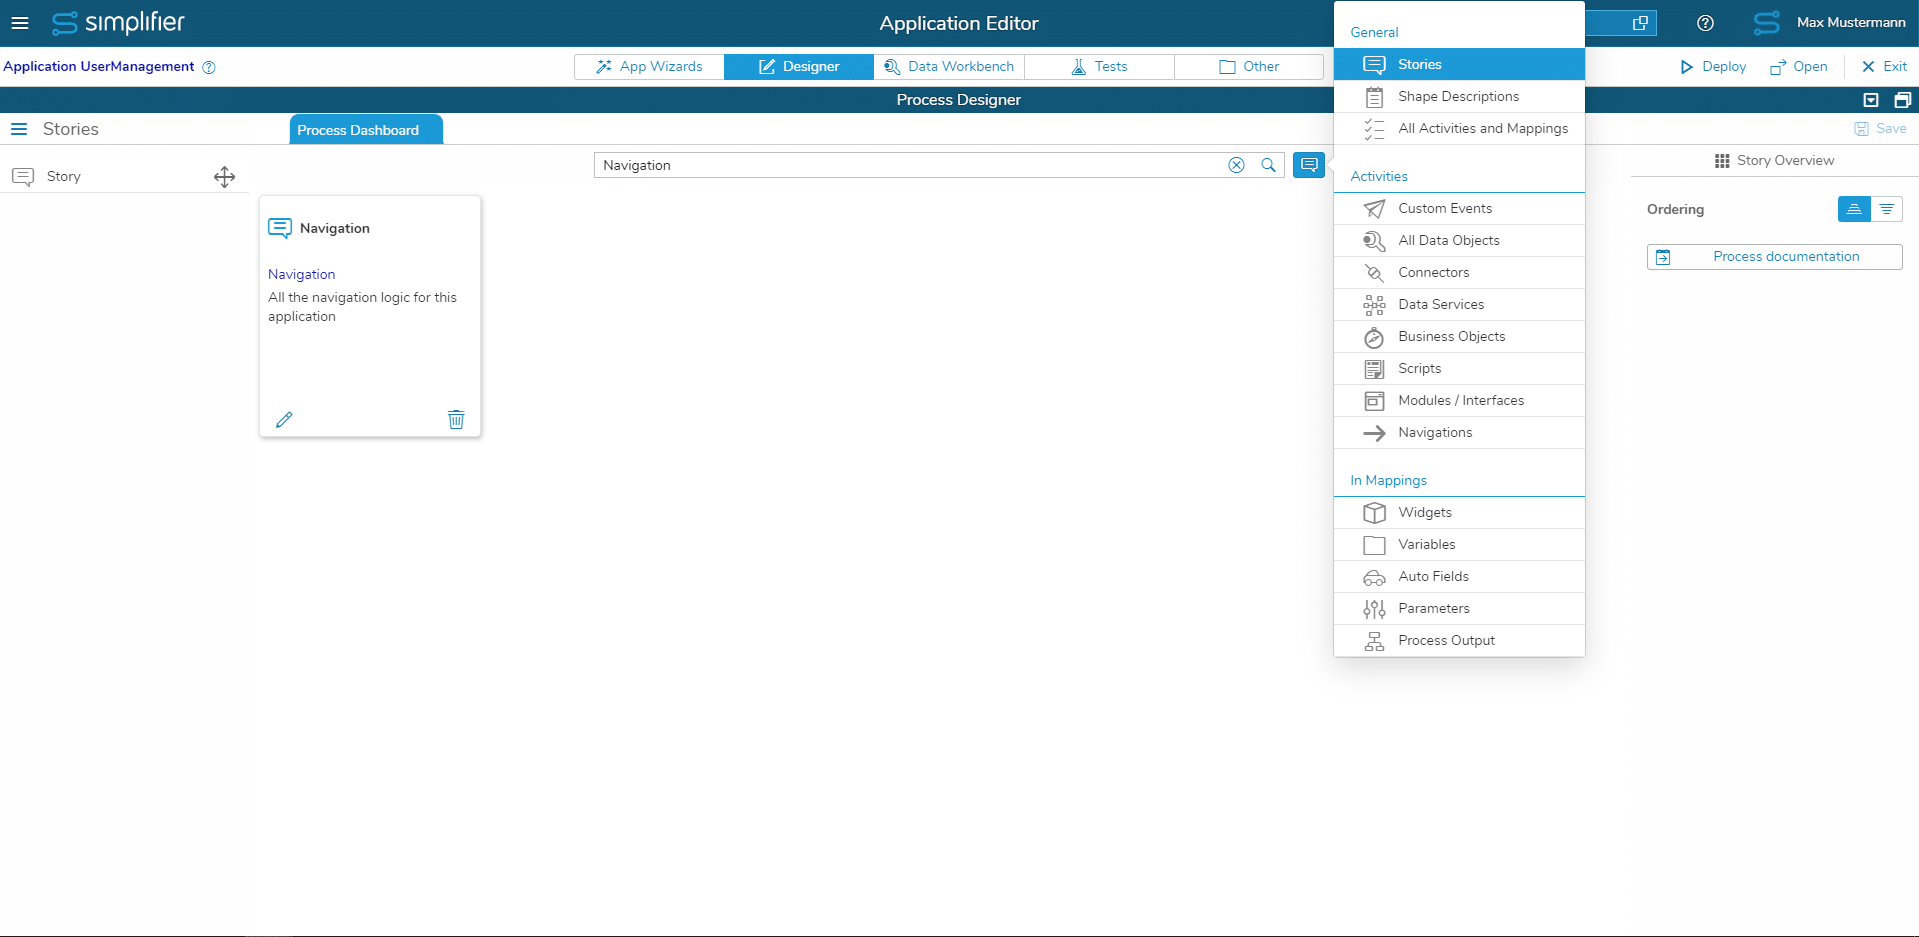
The Process Designer has a search functionality with which you can filter stories or search for specific shapes within the stories.
You can search all activities as well as start specific search queries, e.g. only connectors or variables in mappings.
Note: Auto Fields cannot be found by name, only by the expression they represent.
Filtering for user story names
Searching for activities
Among other things, it is possible to search for names of widgets, connectors, business objects, variables and many more.
As result, all activities that match the search term are highlighted in green within the Process Designer.
Please note: Searching for activities in Stories does not happen directly while typing, but must be confirmed with Enter or by clicking the magnifying glass icon. This operation can take a few seconds.
Process Designer
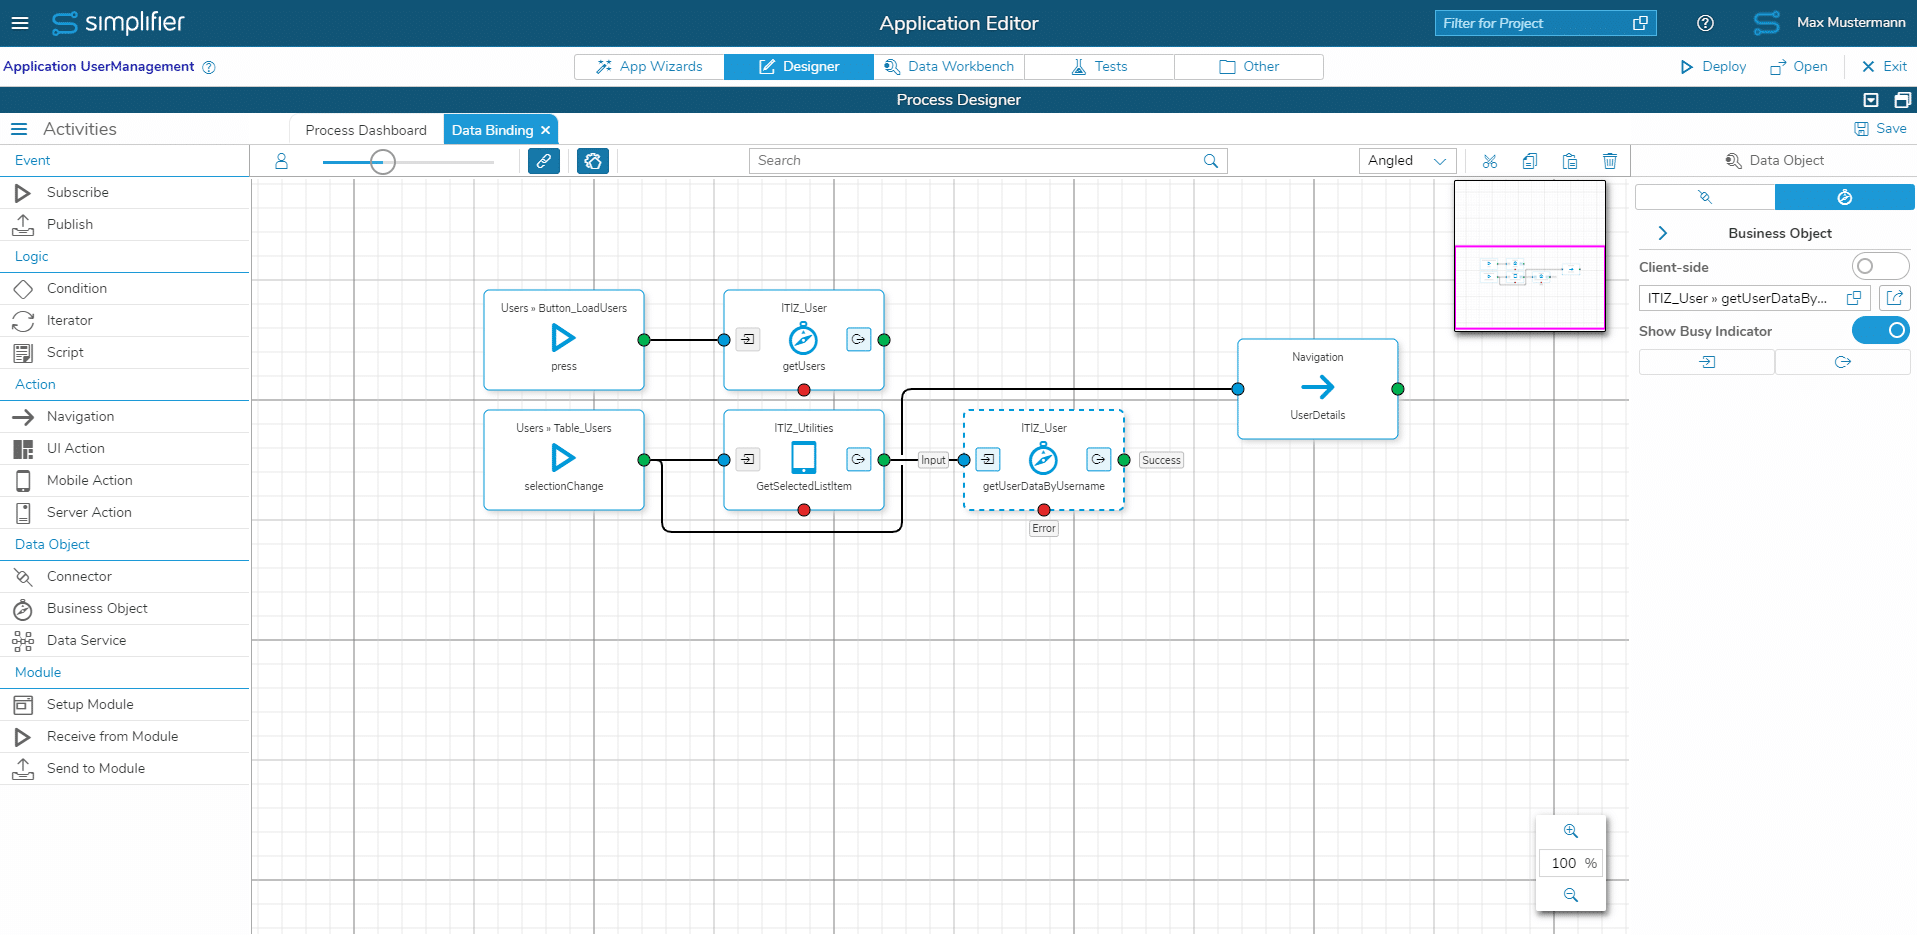
The main view of the Process Designer is split into three main sections.
The area on the left contains all available activities grouped in the categories Event, Logic, Action, Data Object and Module. Take a look at the subitems of this page for more details on Acitivites.
The actual process area is located in the middle. Here, activities, but also custom events from the Data Workbench as well as items from the preview or the tree view can be placed and connected with each other. Please have a look at the video in the upper part of the page.
In the right side, the details of the selected user story are initially displayed. If a story is open and an activity is selected in the middle area, the right side shows the settings for the selected shape.
Dynamic Process Settings and Operations
Please note: Cut, Copy and Paste cannot be used in the Mapping Area.
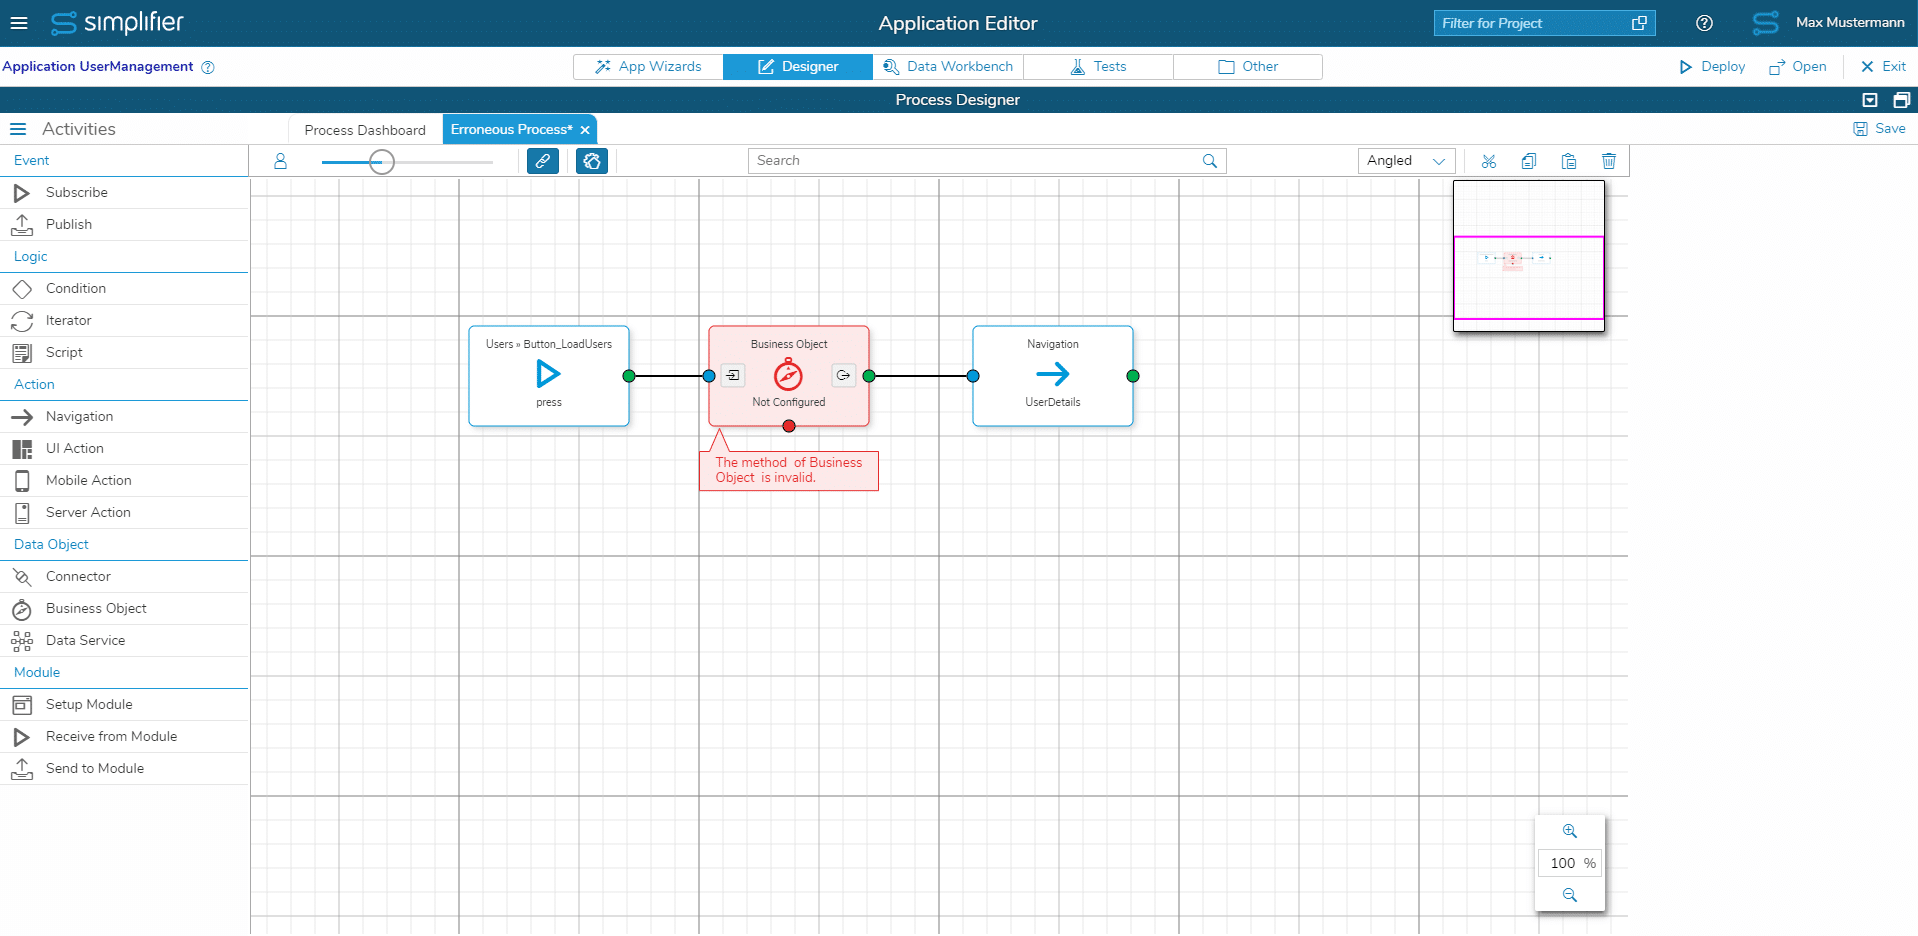
Visual Feedback for Process Errors
If you have any errors in your process, you will receive feedback about that. Every error will be displayed within the process. The corresponding activity will be highlighted in red and a tooltip will be shown by hovering over it.
Process Documentation
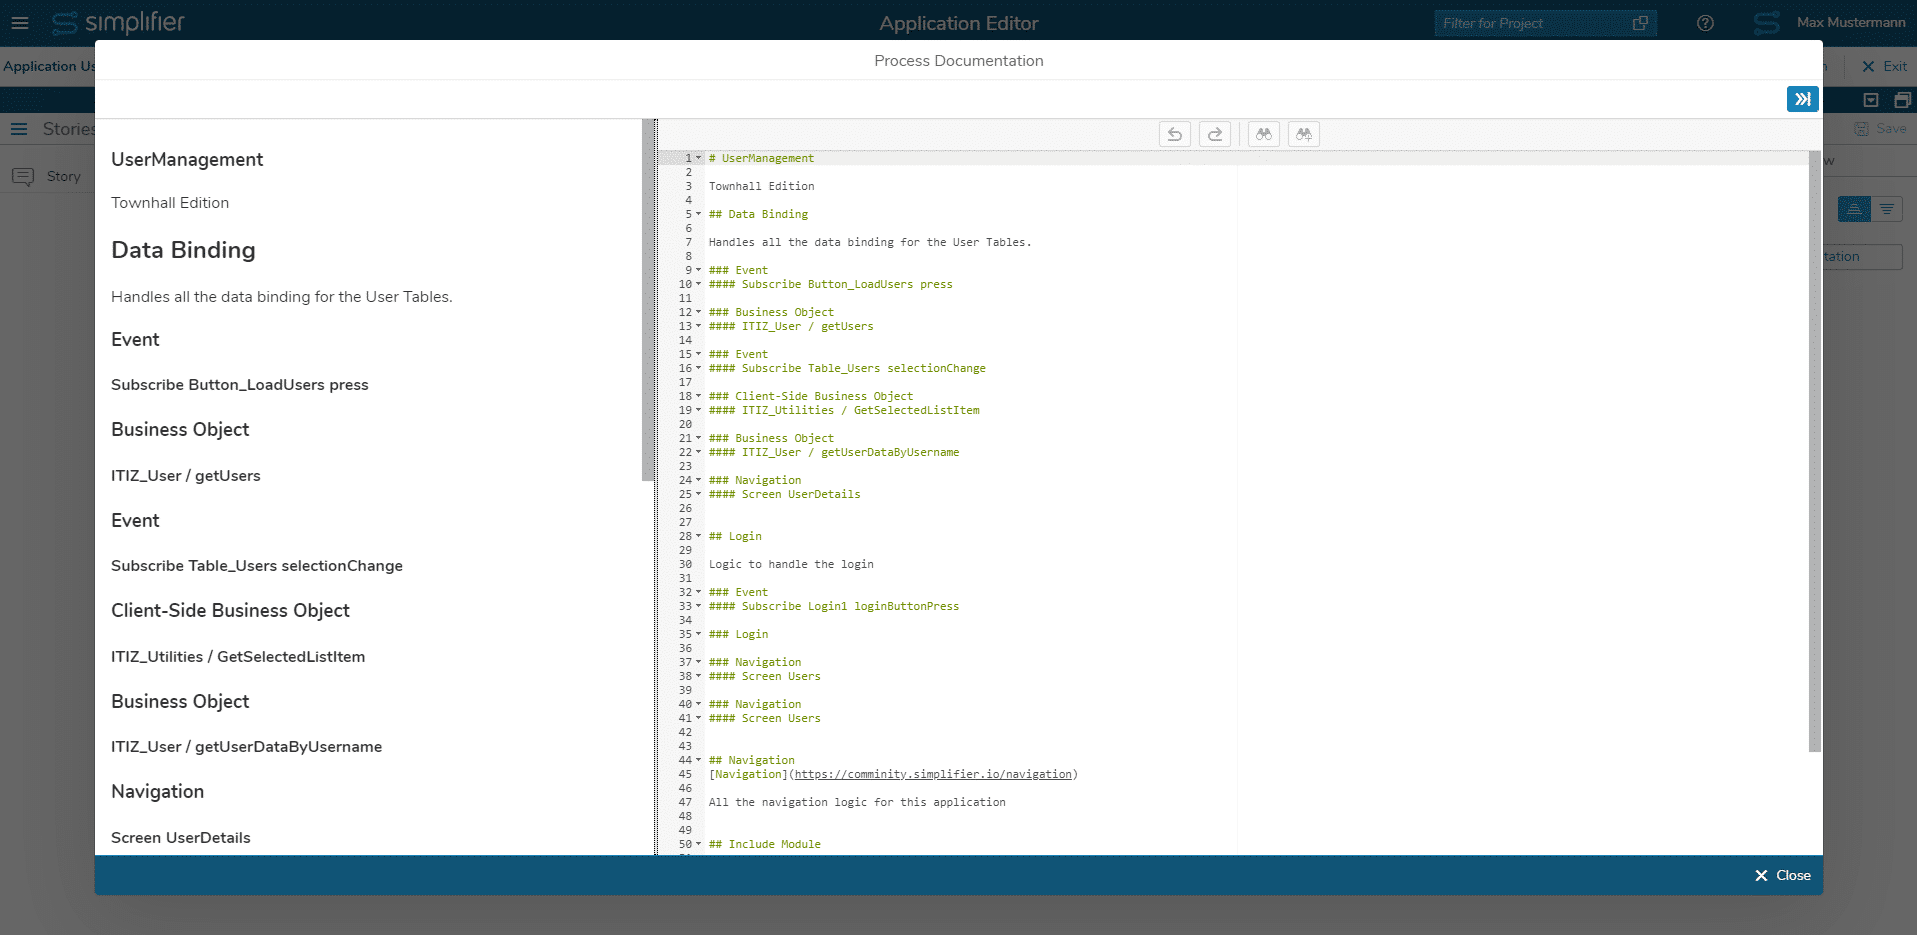
For a better understanding of the application creation, use the Process Documentation. You can open it in the Process Dashboard as well as in the Process Designer itself.
If the button is pressed, a dialog opens that contains the existing process documentation. Descriptions of stories and shapes already maintained in the Process Designer are automatically included in the documentation. It is therefore recommended to maintain these wherever possible. The button at the top right of the dialog can be used to open the editing mask and extend the automatically generated documentation.
