Step 1 – Data Base Schema
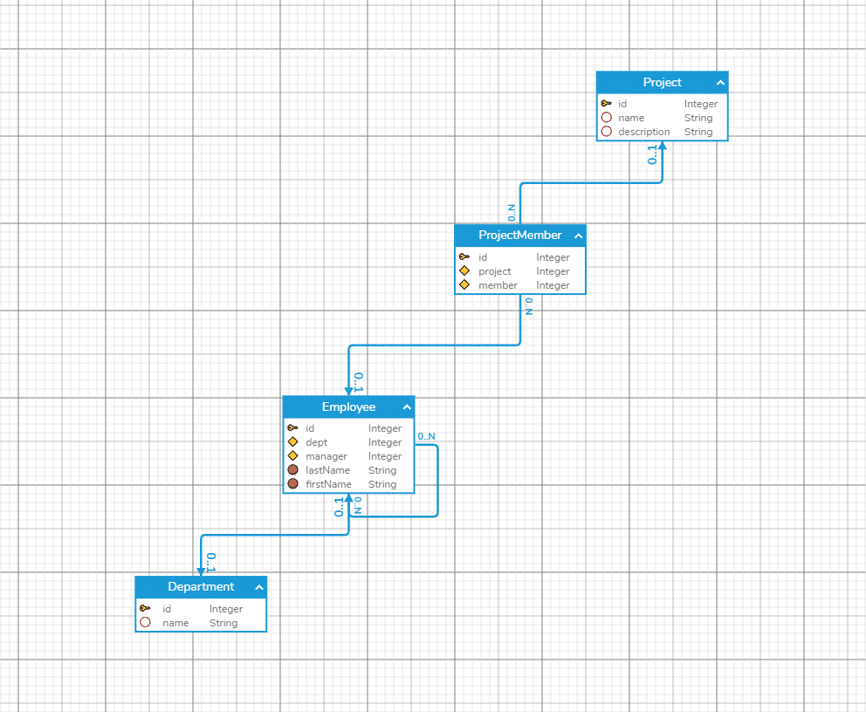
In the following you see the data base schema of our running example:
Step 2 – Load Data Sets
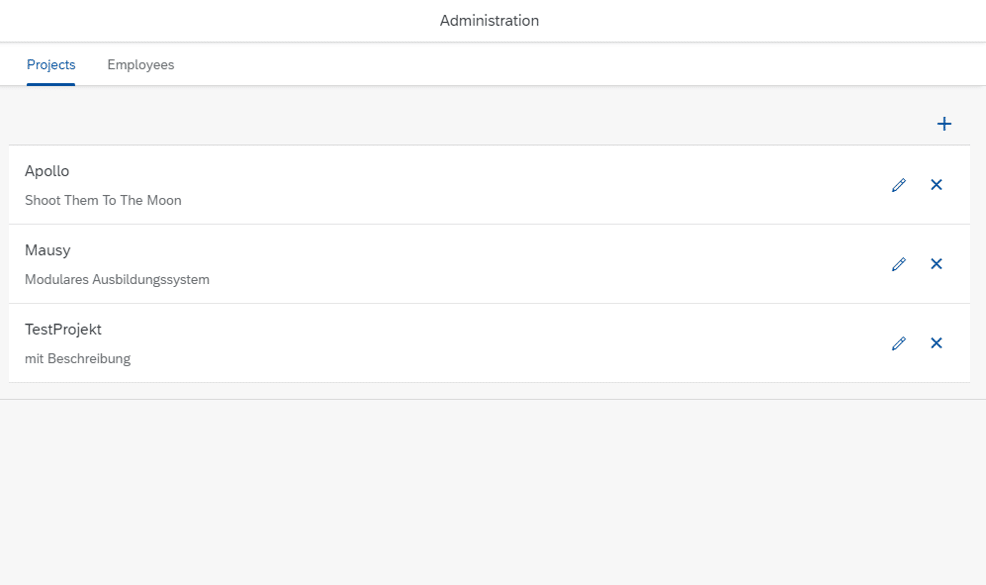
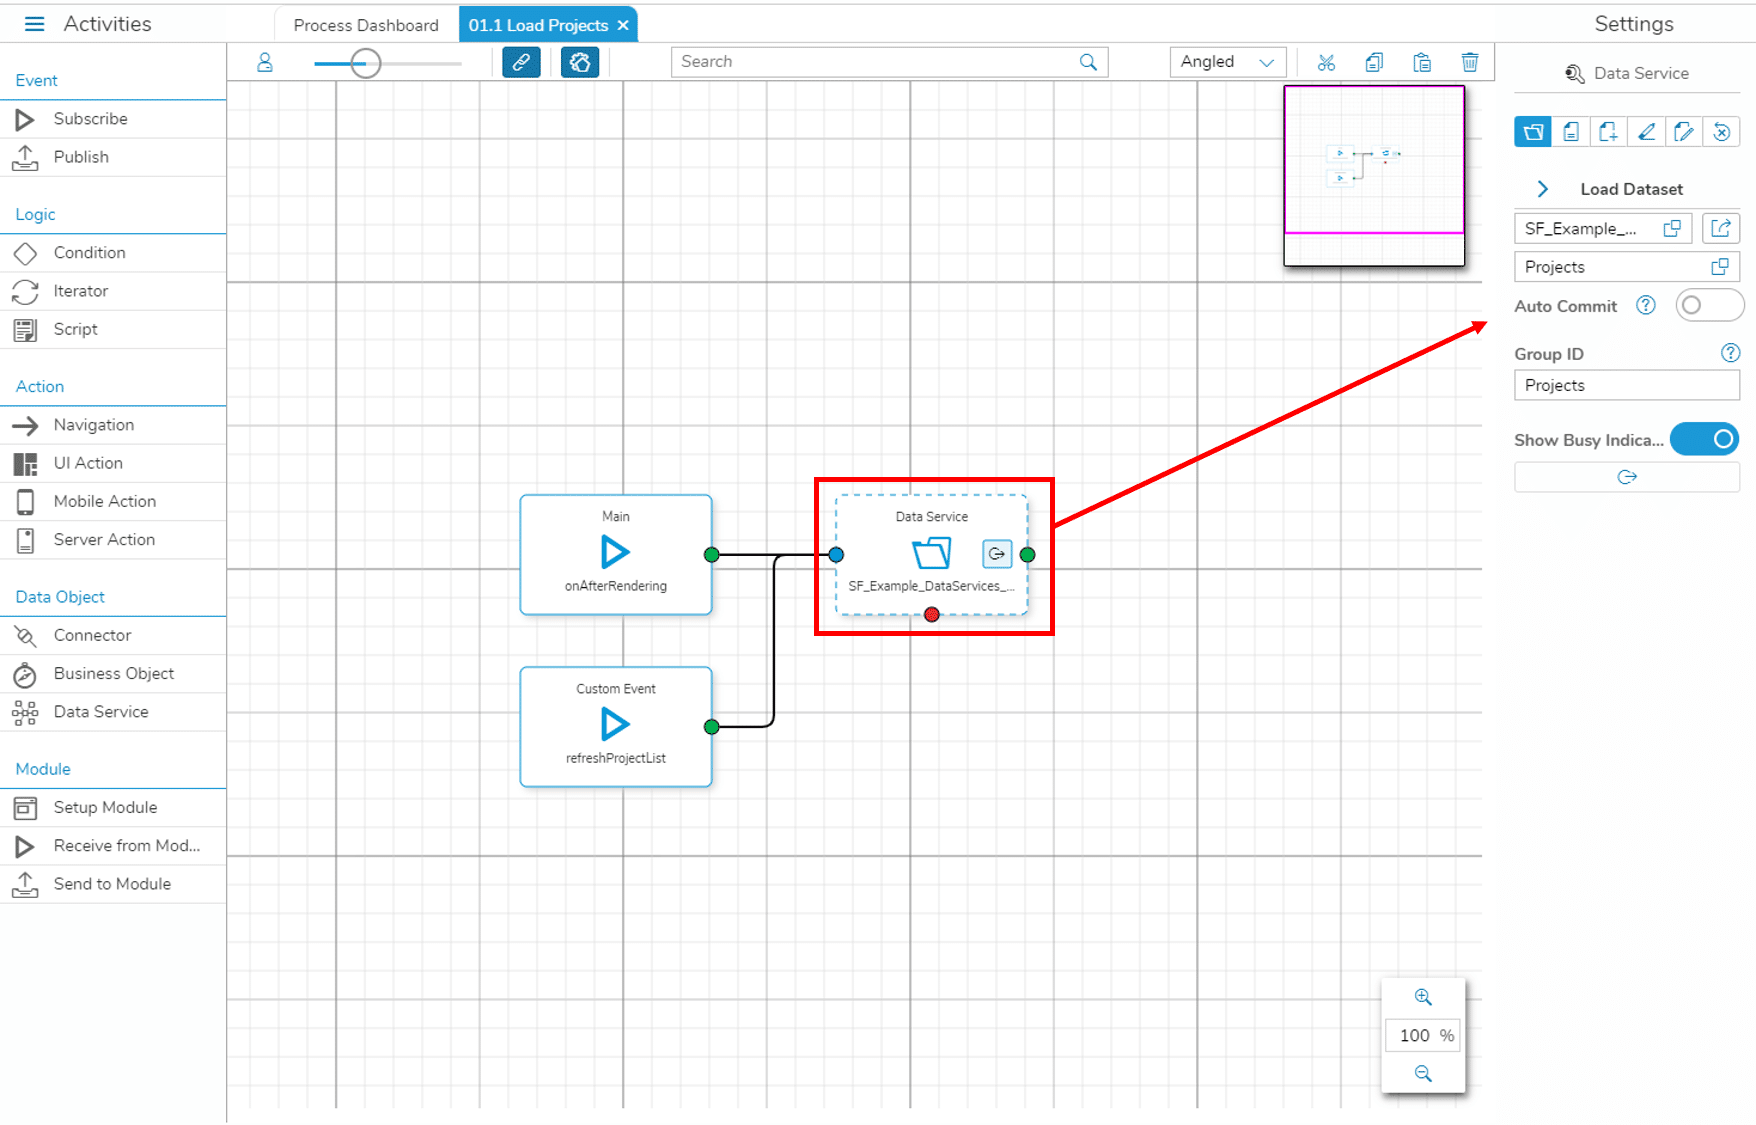
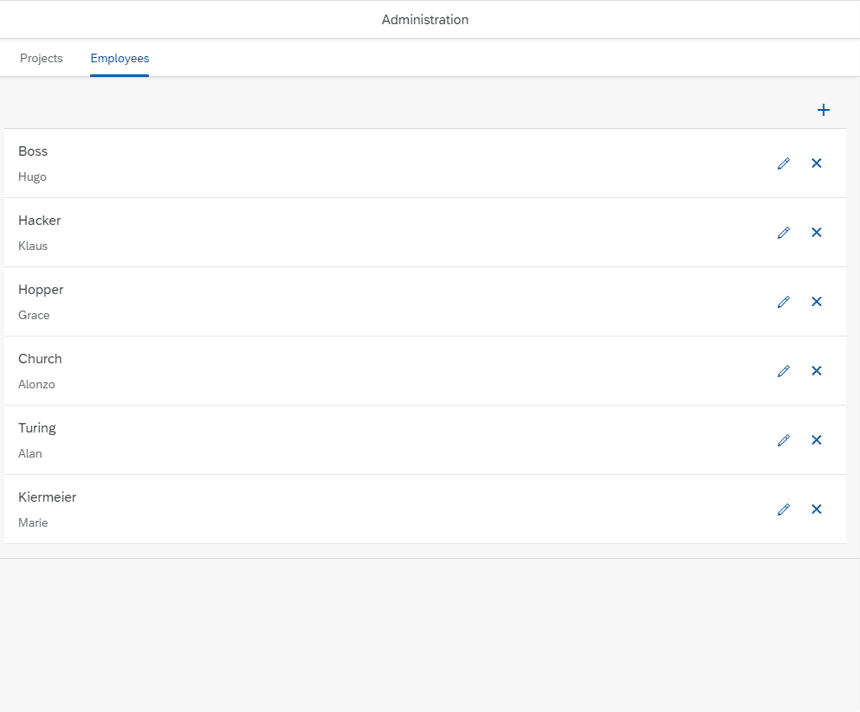
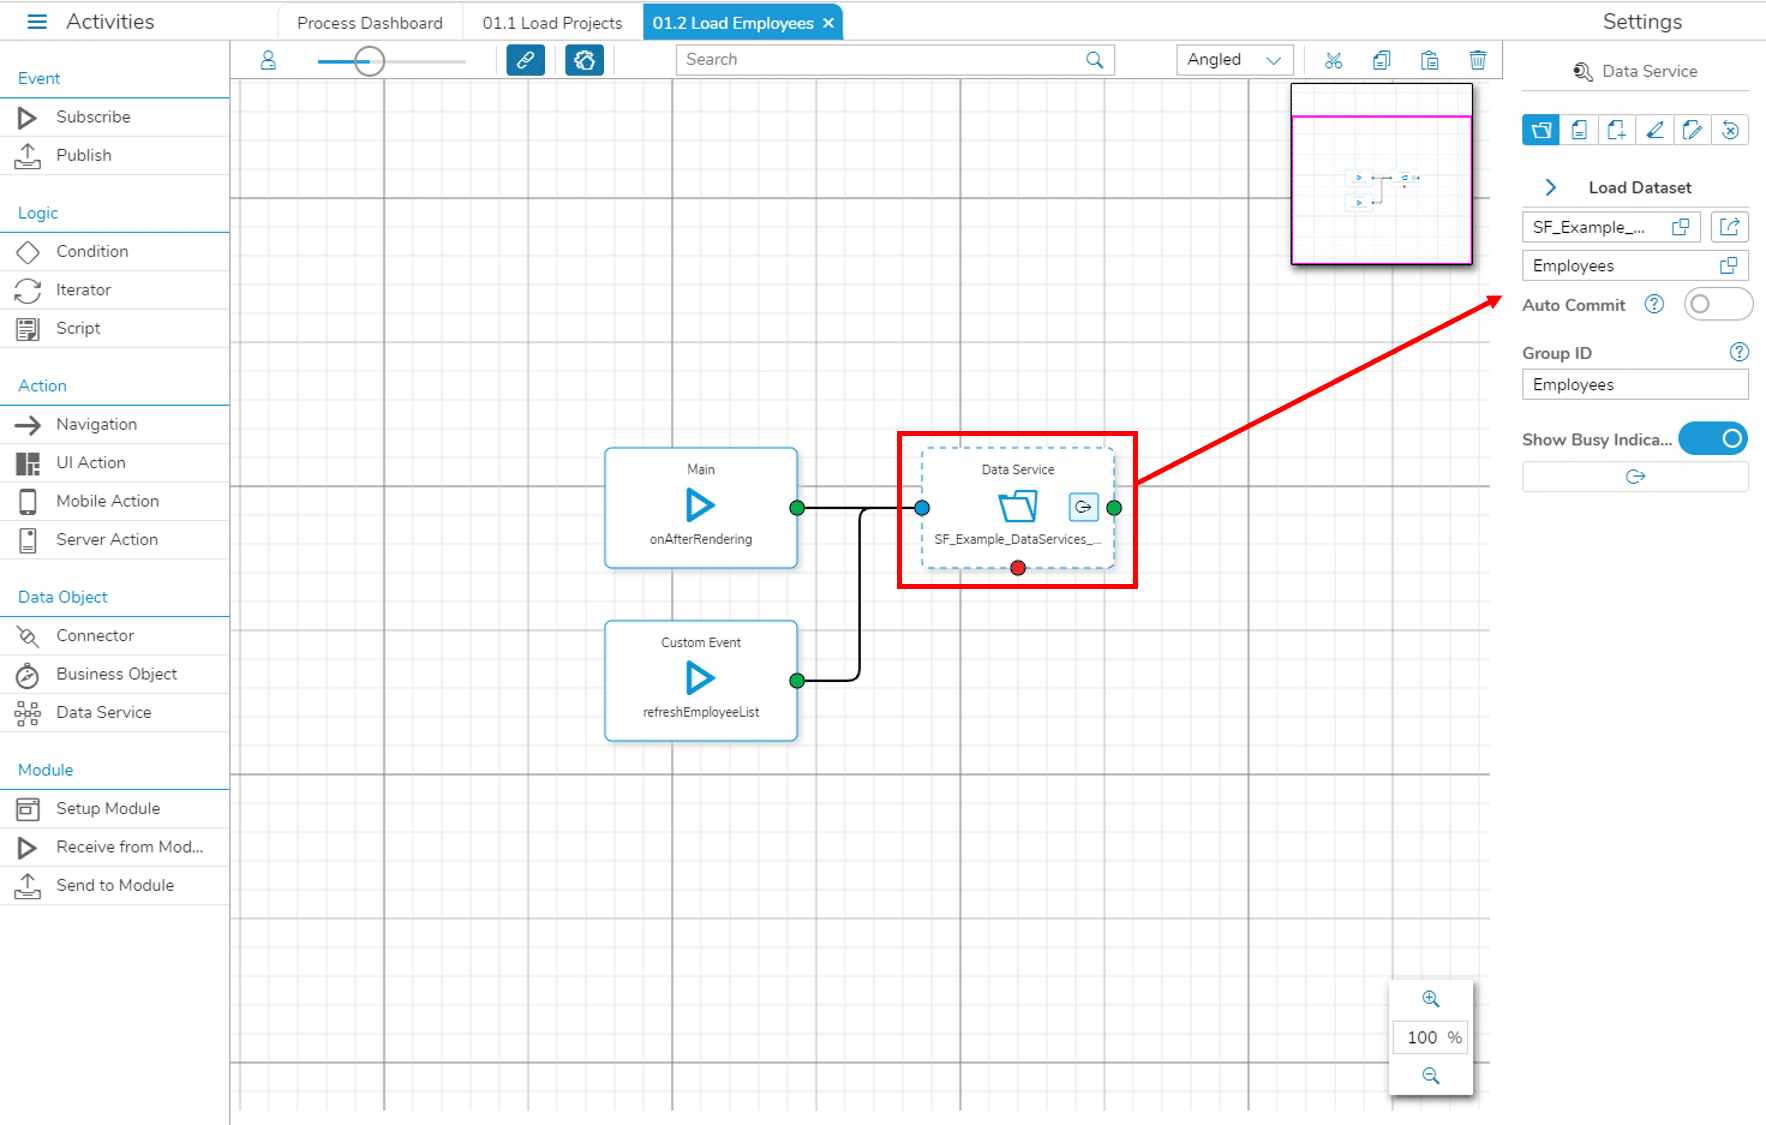
To get a simple overview of your projects and employees (e.g., using a list or table widget), you can use the ‘Load Dataset’ data service as explained in the Simplifier documentation.
Step 3 – Show Project Details
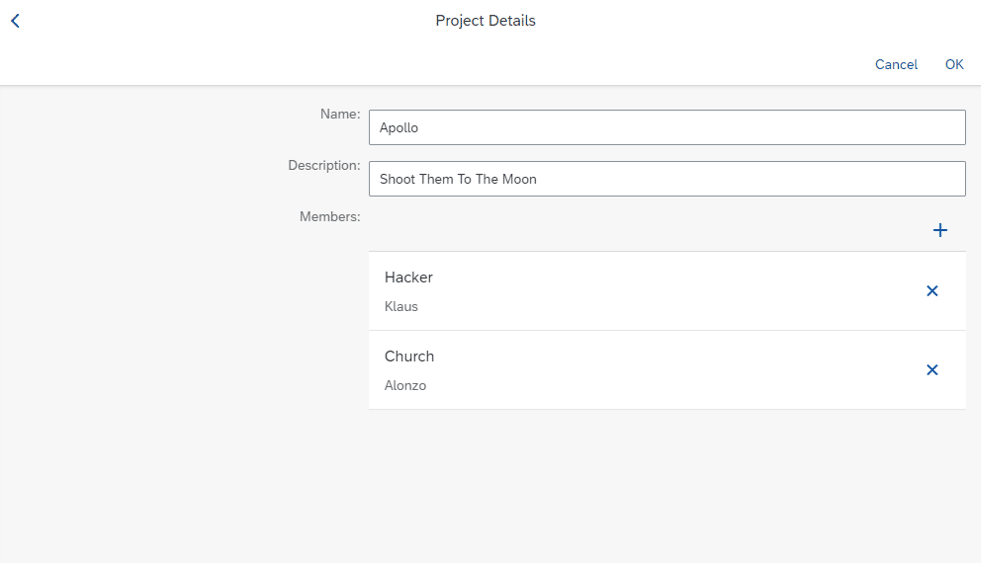
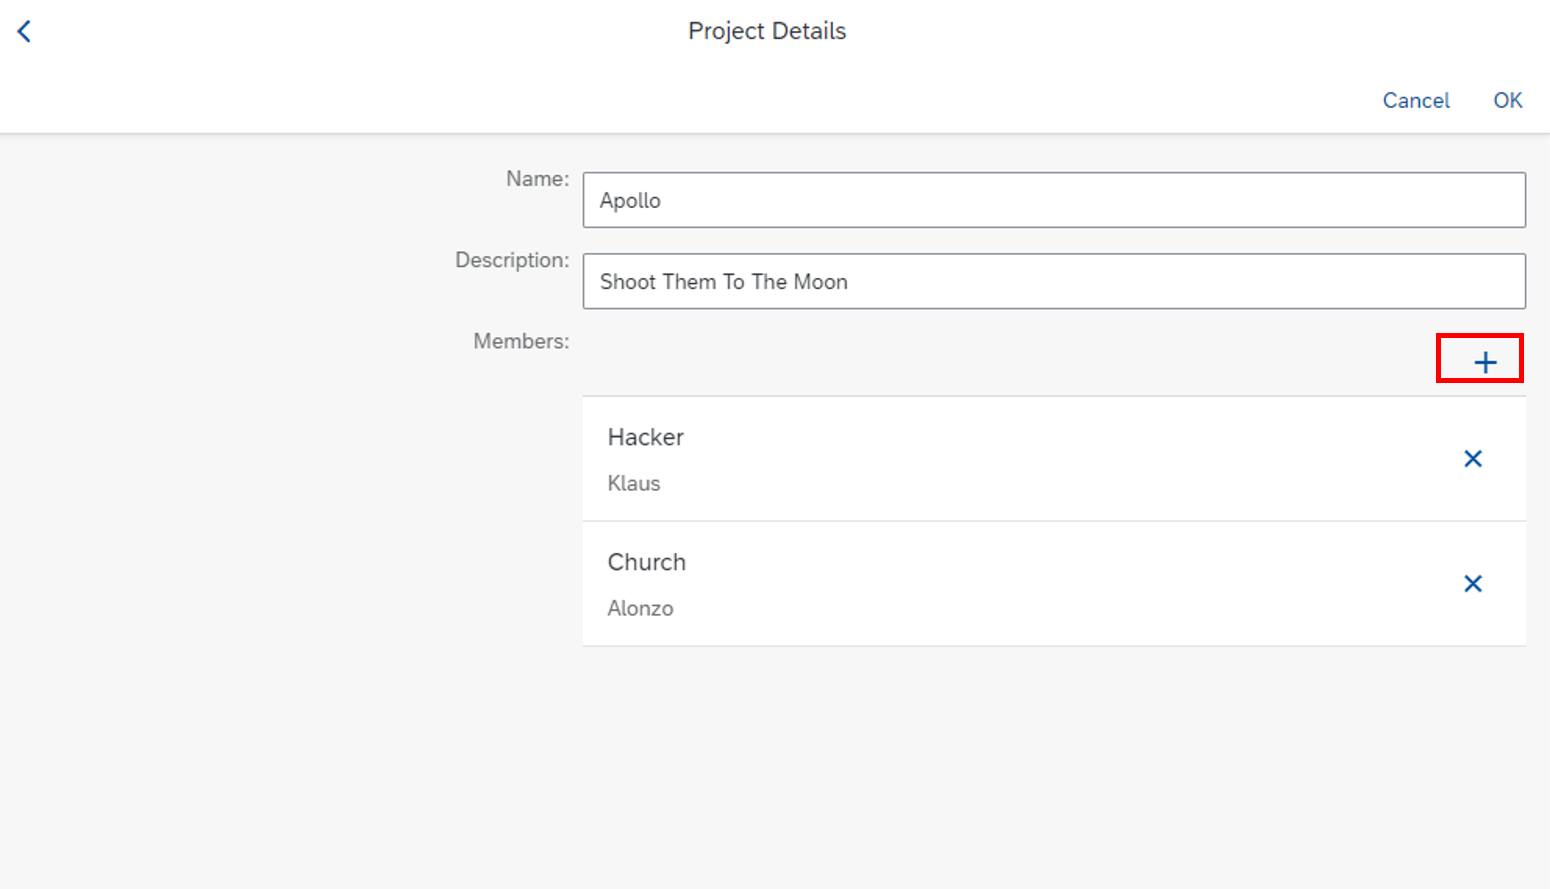
By clicking on a project the detail view opens showing the project’s name, description, and members:
To get those information, in a first step the selected project has to be determined (and stored in a global variable). This can be done using the getSelectedSourceItem function of the SF_UI5BindingHelper Business Object, which is part of the Standard Content.
The ID entry of the selected project variable can now be used as input for the ‘Load Data’ data service (Simplifier documentation) to load the selected project record.
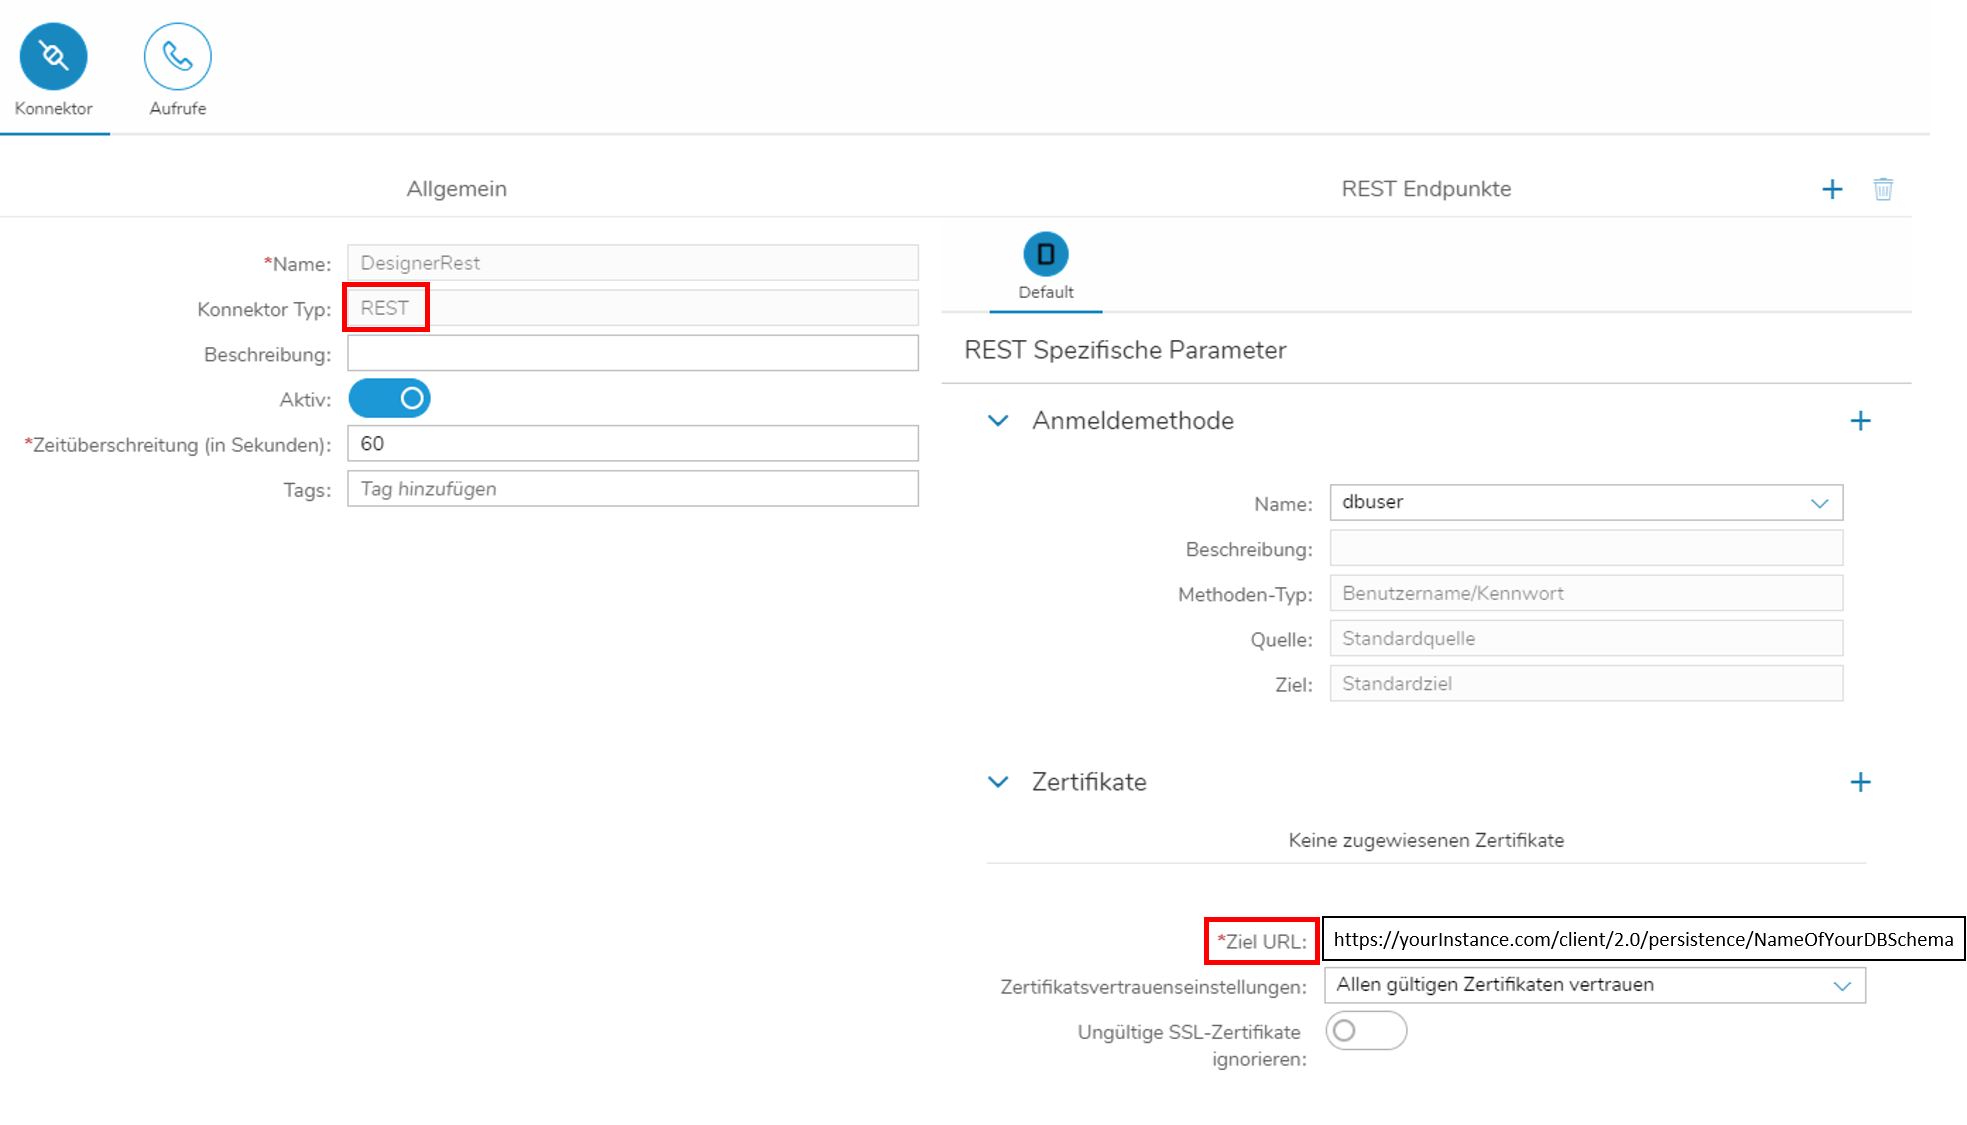
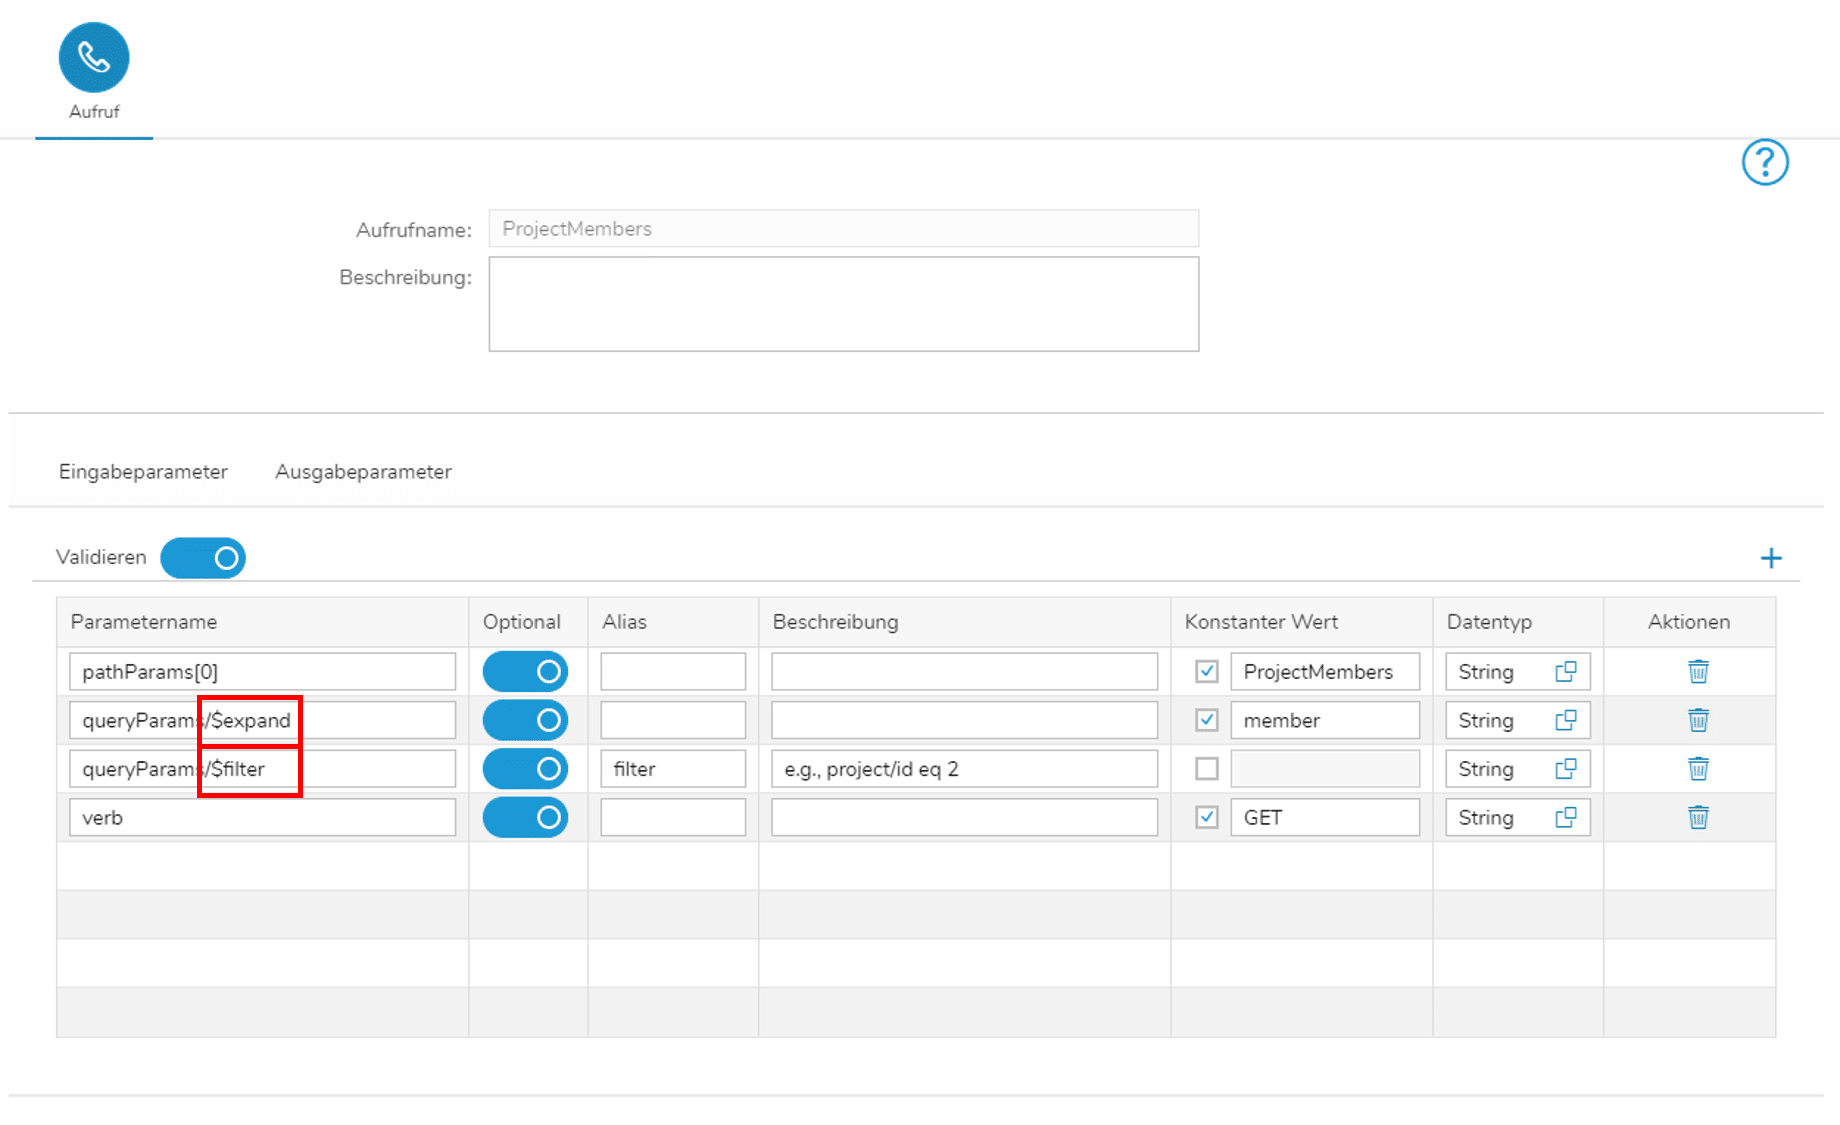
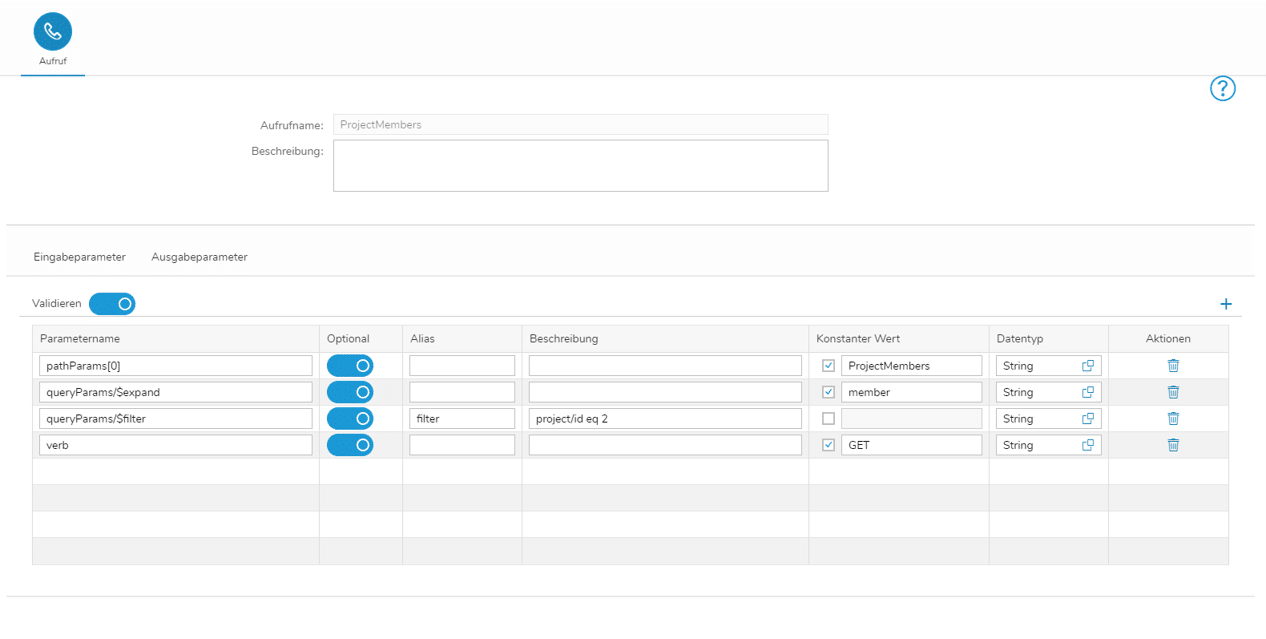
Next, the corresponding project members have to be loaded. Therefore, we will use a ODataV4 REST call, which filters (ODataV4 – $filter) the expanded (ODataV4 – $expand) ProjectMembers records. Using this connector in a Business Object, we can retrieve the Employee records of the project members of the selected project.
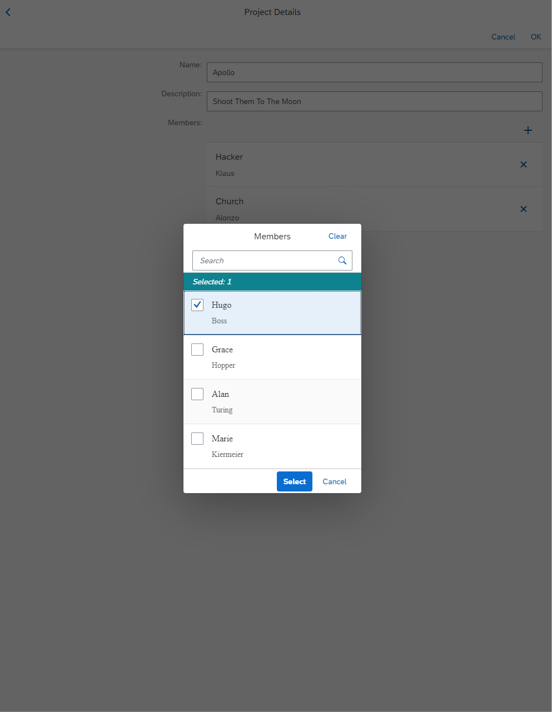
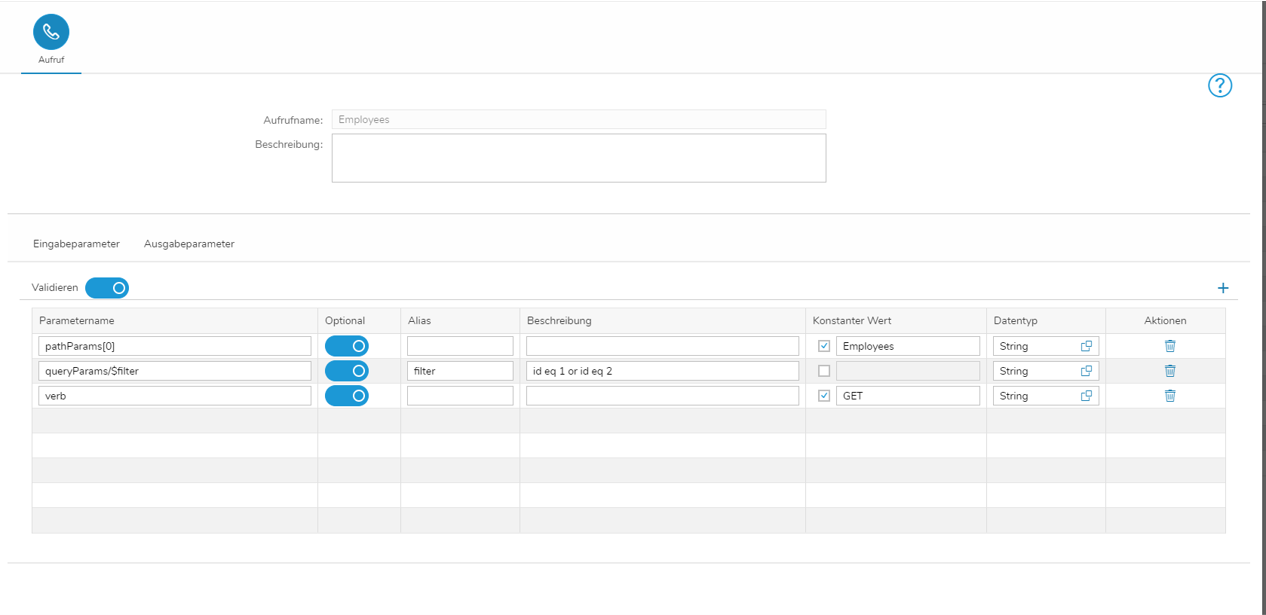
To get a list of employees, which can be selected as project members, a Business Object is used which runs a ODataV4 REST call filtering out the already assigned project members from the Employees records (ODataV4 – $filter):
For adding new project members records to the data base according to the user selection, the selected employee objects are fetched from the select dialog to a global variable:
var selectedItems = oEvent.getParameter("selectedItems");
var projectMembers = [];
for (var i = 0; i < selectedItems.length; i++) {
    projectMembers.push(selectedItems[i].getBindingContext("Popups").getObject());
};
this.getGlobals().setVar("projectMembersNew", projectMembers);
Using an ‘Iterator’ module, the new project members records can be added to the data base using the ‘Write Data’ data service (Simplifier documentation).
Step 5 – Delete Project Member
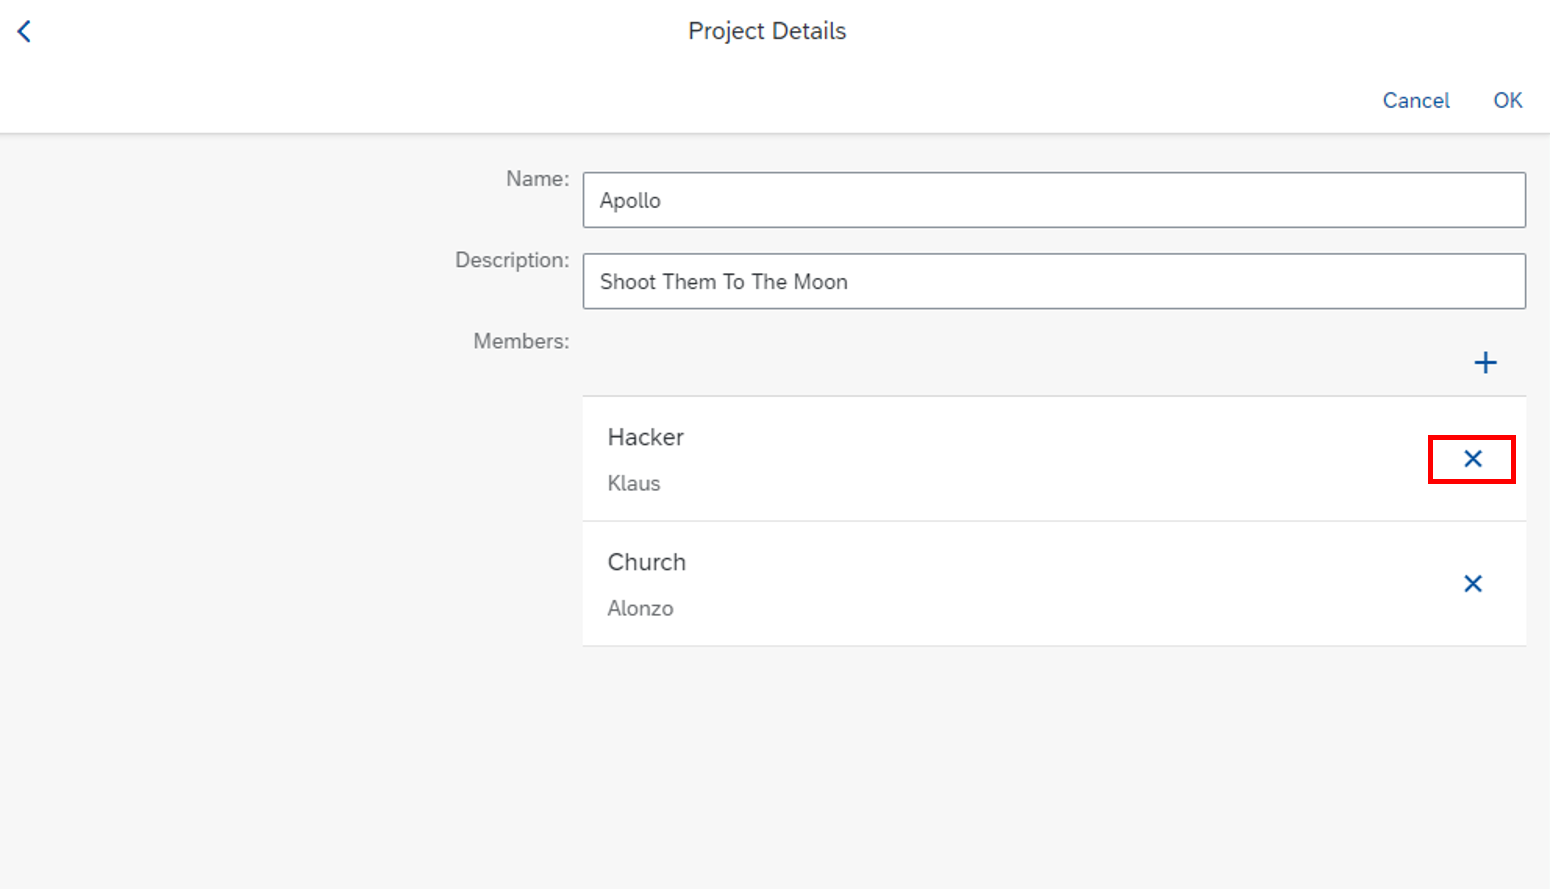
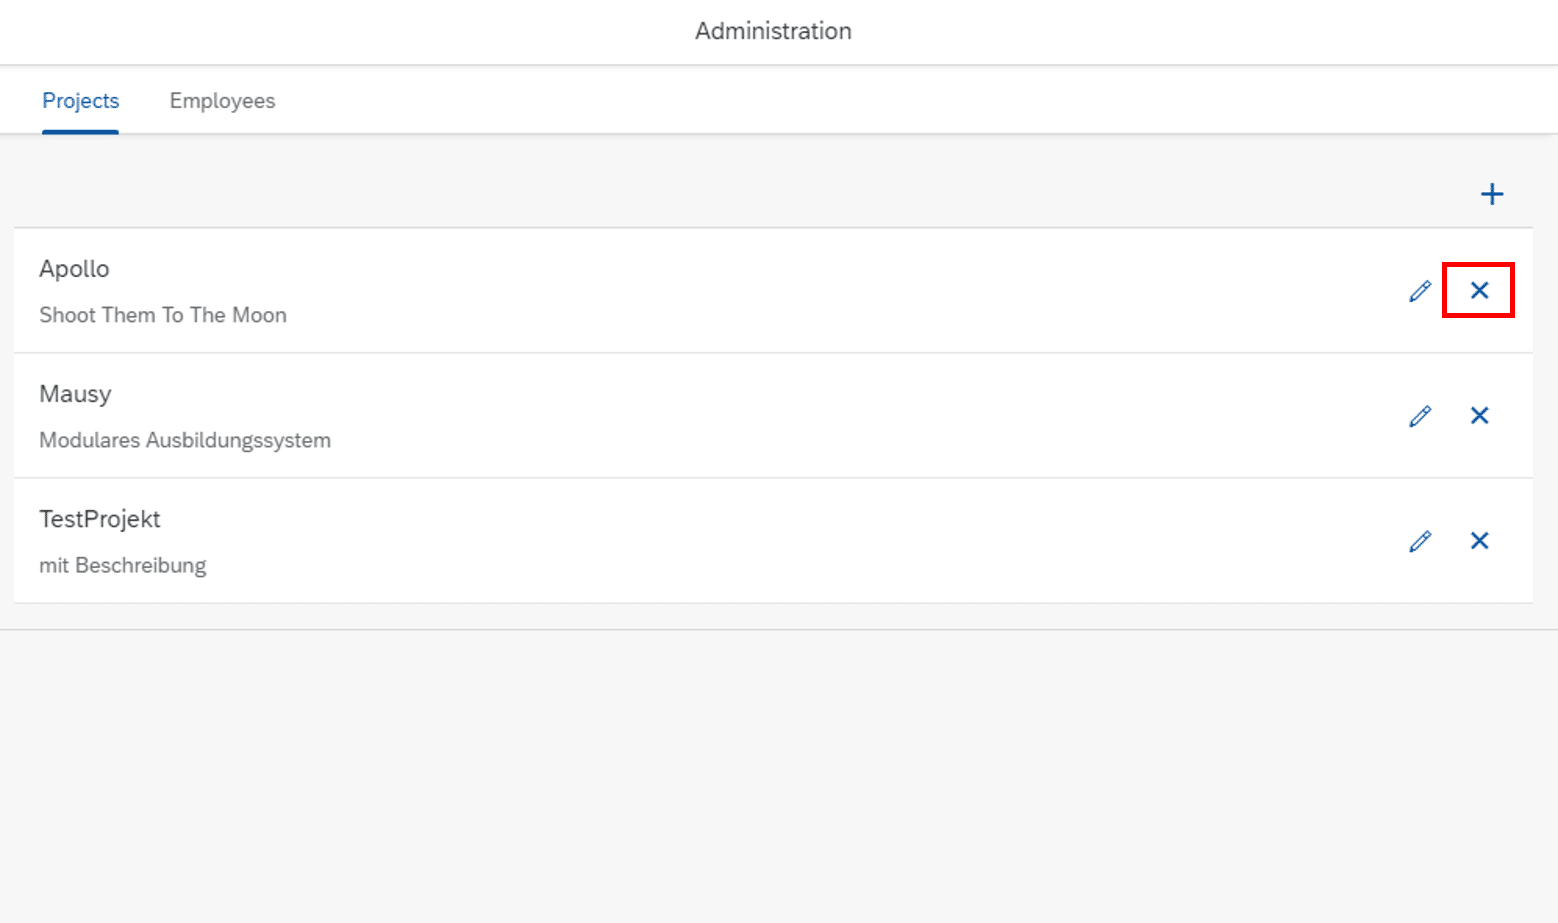
The delete actions in this app are implemented using the widget property ‘type = delete’ of the list items:
For deleting a project member, first, the selected employee has to be determined (and stored in a global variable). This can be done using the getSelectedListItem function of the SF_UI5BindingHelper Business Object, which is part of the Standard Content.
Next, the ID of the corresponding project member record can be determined using a Business Object which runs a ODataV4 REST filter (ODataV4 – $filter) call on the project members table which is expanded (ODataV4 – $expand) by employees:
Step 6 – Save/Cancel Project
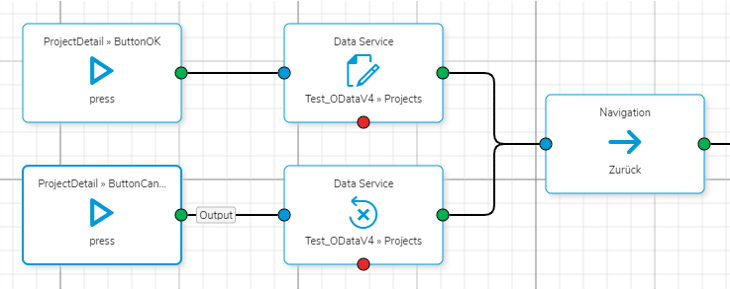
To save changes concerning the input fields (‘name’, ‘description’) the ‘Write Data’ data service (Simplifier documentation) can be used.
To discard changes concerning the input fields the ‘Reset Changes’ data service (Simplifier documentation) can be used.
Step 7 – Show Employees Details
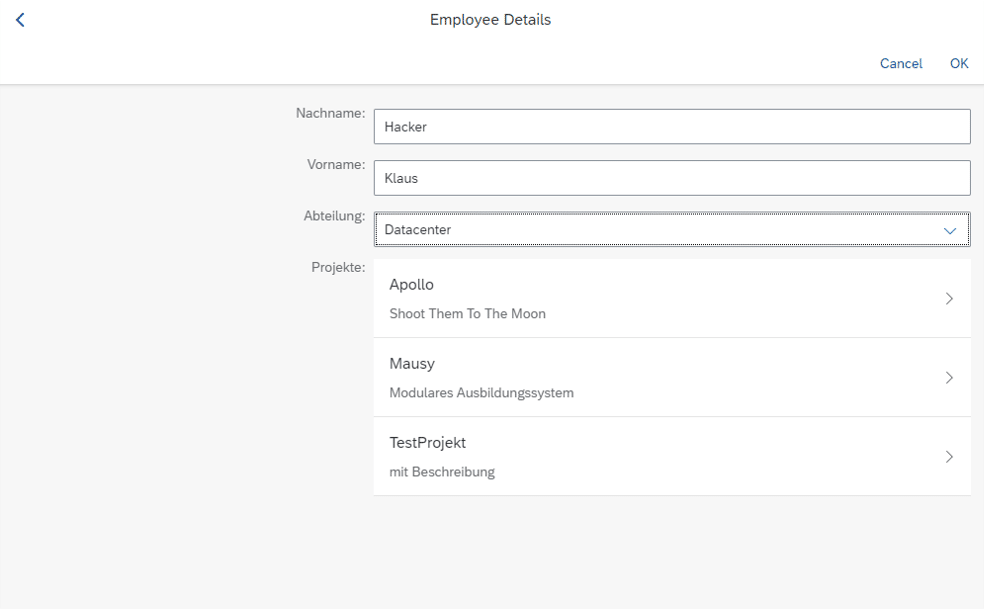
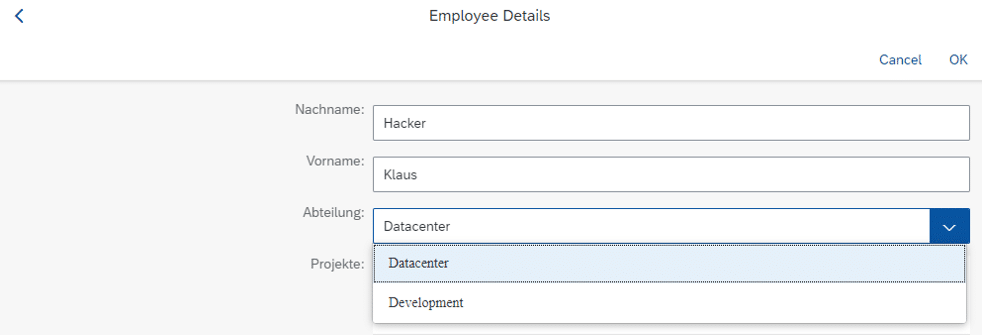
Similar steps can be done for the employees: By clicking on a employee the detail view opens showing the employee’s last name, first name, department, and projects:
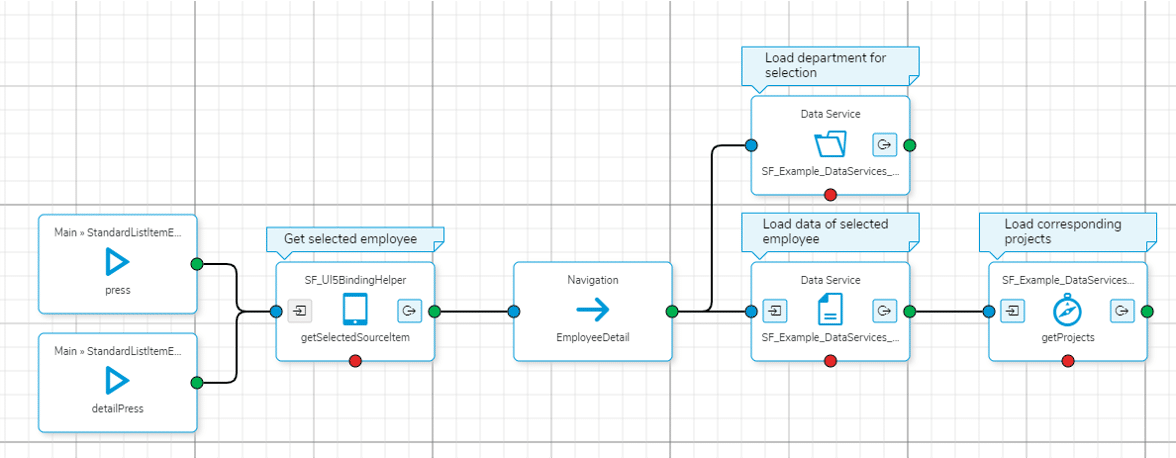
The story flow in the process designer can be set up analog to the project detail view (see Step 3).
Step 8 – Change Department
In this case, the department selection is implemented using a select widget.
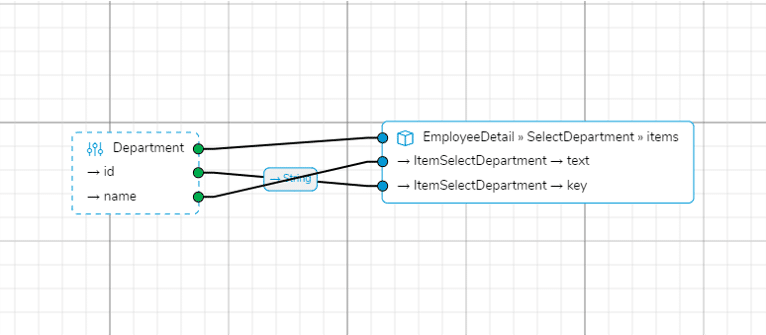
Therefore, all Department records are loaded in a first step using the ‘Load Dataset’ data service (Simplifier documentation). The ‘id’ and ‘name’ fields are mapped to the ‘text’ and ‘key’ properties of the select items:
Next, the selected Employee record can be loaded using the ‘Load Data’ data service (Simplifier documentation). In case of the Simple Form Input Fields, the data fields ‘firstName’ and ‘lastName’ can be mapped directly. In case of of the employee’s department, the ‘selected key’ property of the Select widget has to be connected with ‘dept___id’.
Step 9 – Delete Project/Employee
To delete a whole project (or employee) entry, the ‘Delete Dataset’ data service (Simplifier documentation) can be used:
