Create the Connector
First, create a connector with the connector type OData V2, the login method SAP_ID4_Freemium and the following endpoint:
http://sapid405.itizzimo.kinamu.at:8001/sap/opu/odata/sap/Z_SALES_ORDER_SRV
If you have a Freemium instance, you will also have the login method on the instance. If you don’t have a Freemium instance, you can download the connector (without connector calls yet) with login method here.
Create the Connector Call
After the connector is created, the connector calls must be defined. For this, use the Connector Wizard to make the creation of the connector calls much easier.
Select the entity sets: SalesOrderCollection
Select operations: SalesOrderCollection/readAll
Connector Call Name: SalesOrderCollection_ReadAll
… and create the connector call.
Test the Connector Call
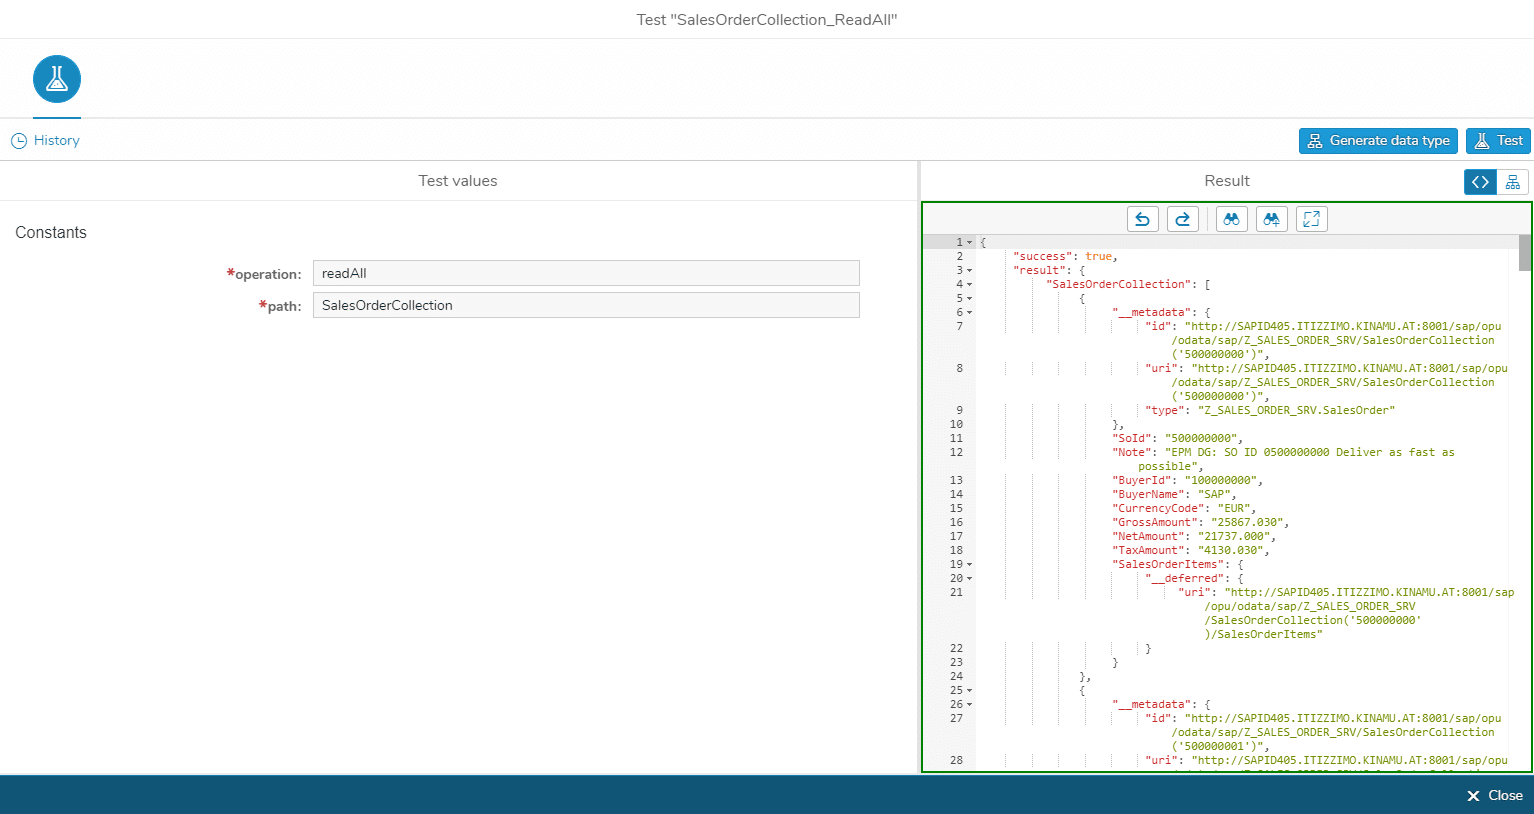
Before you use the created connector call in an application, please test it to ensure that it works.
Create the UI
After the connector has been created and the connector call has been successfully tested, you can now focus on the user interface of your application.
I would say that we are creating a very simple app together, which displays the data of the OData service in a table. The data should be loaded by pressing a button.
So at first, add the widget Button to the screen. Change the ID of the button accordingly (e.g. Button_Read) and add the appropriate text (e.g. Read) to the Properties.
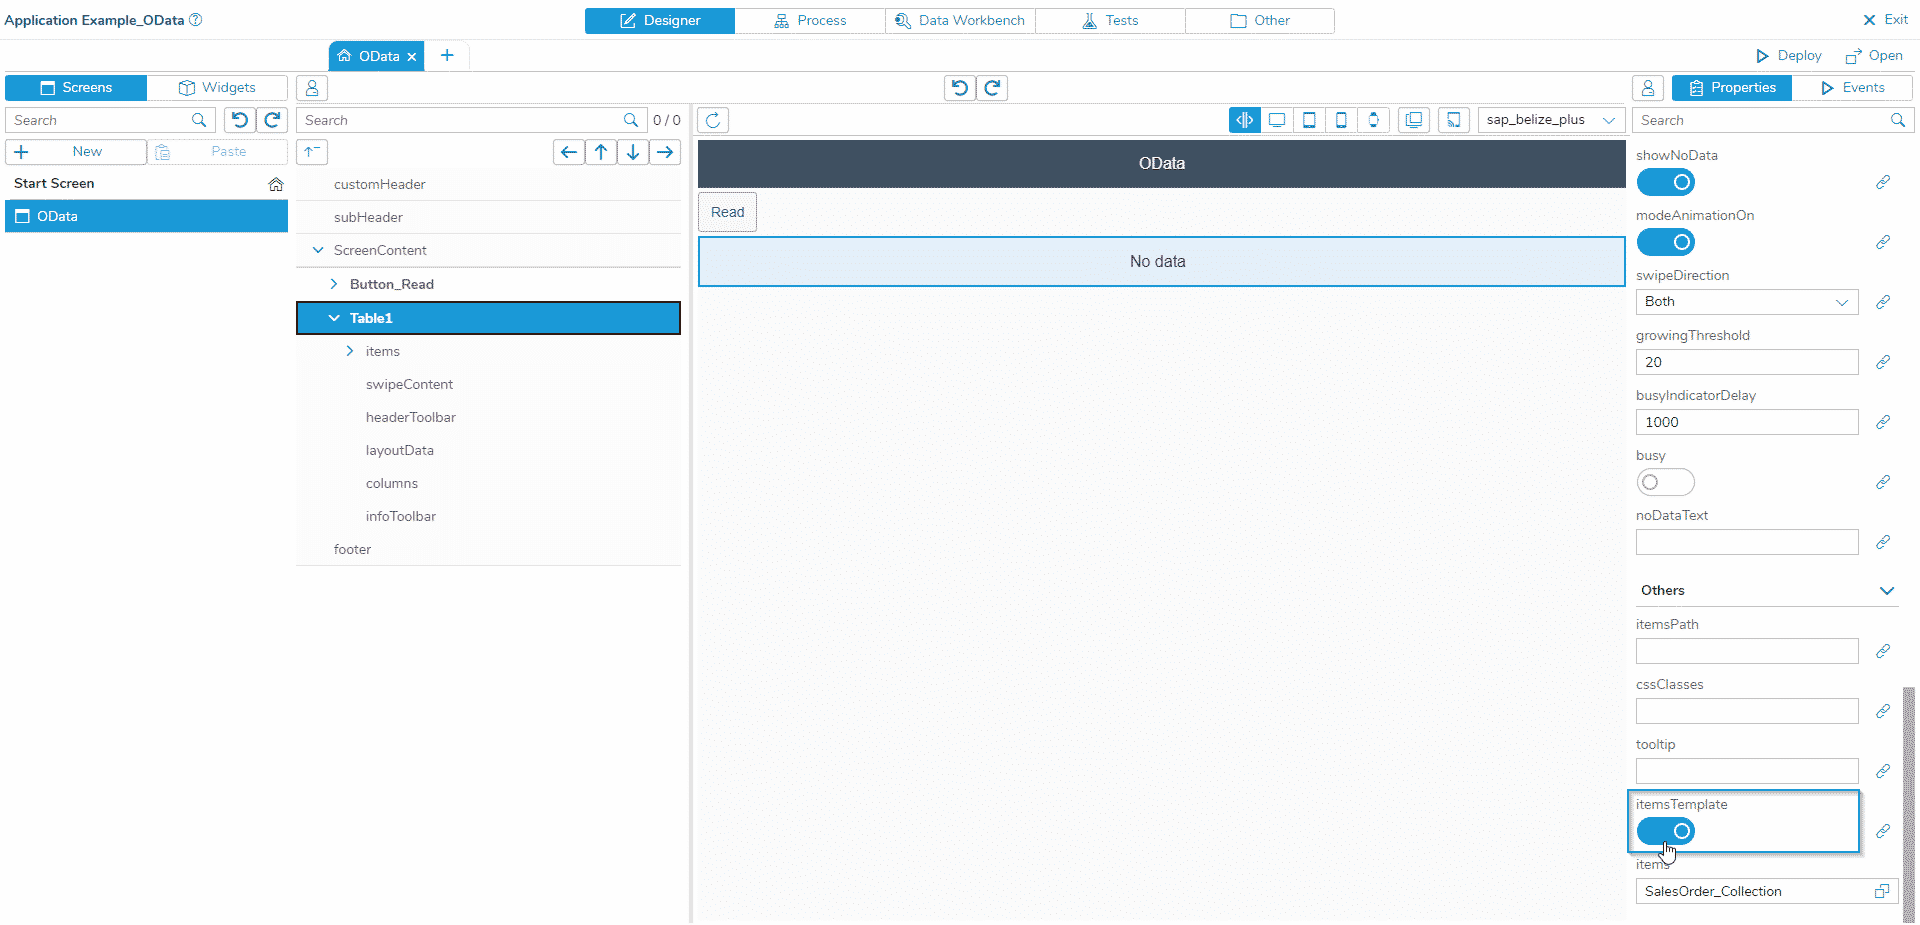
- Click on the Selection Helper at items.
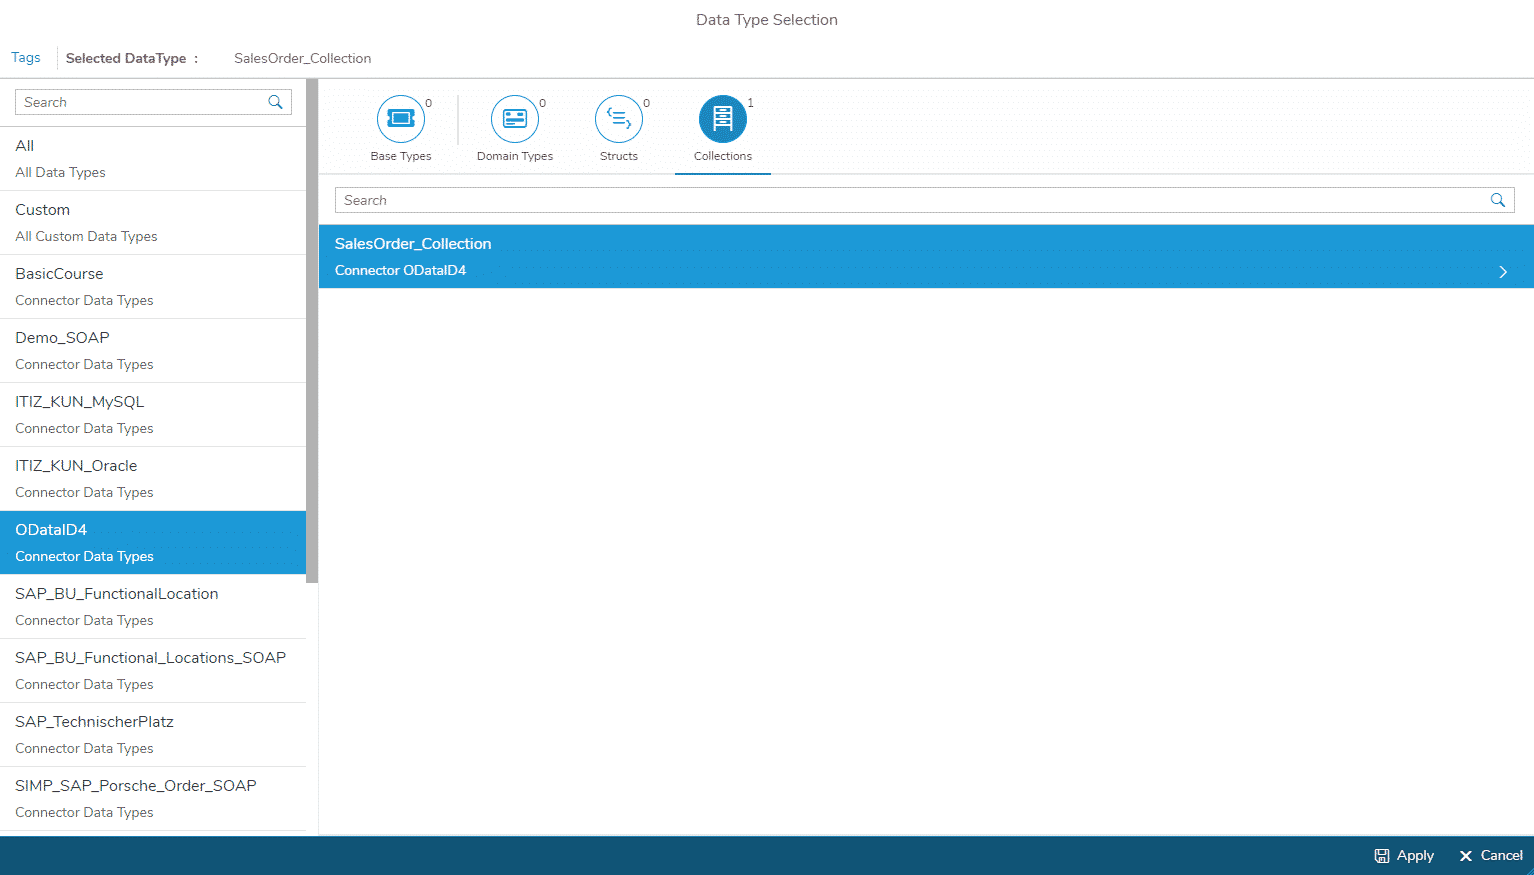
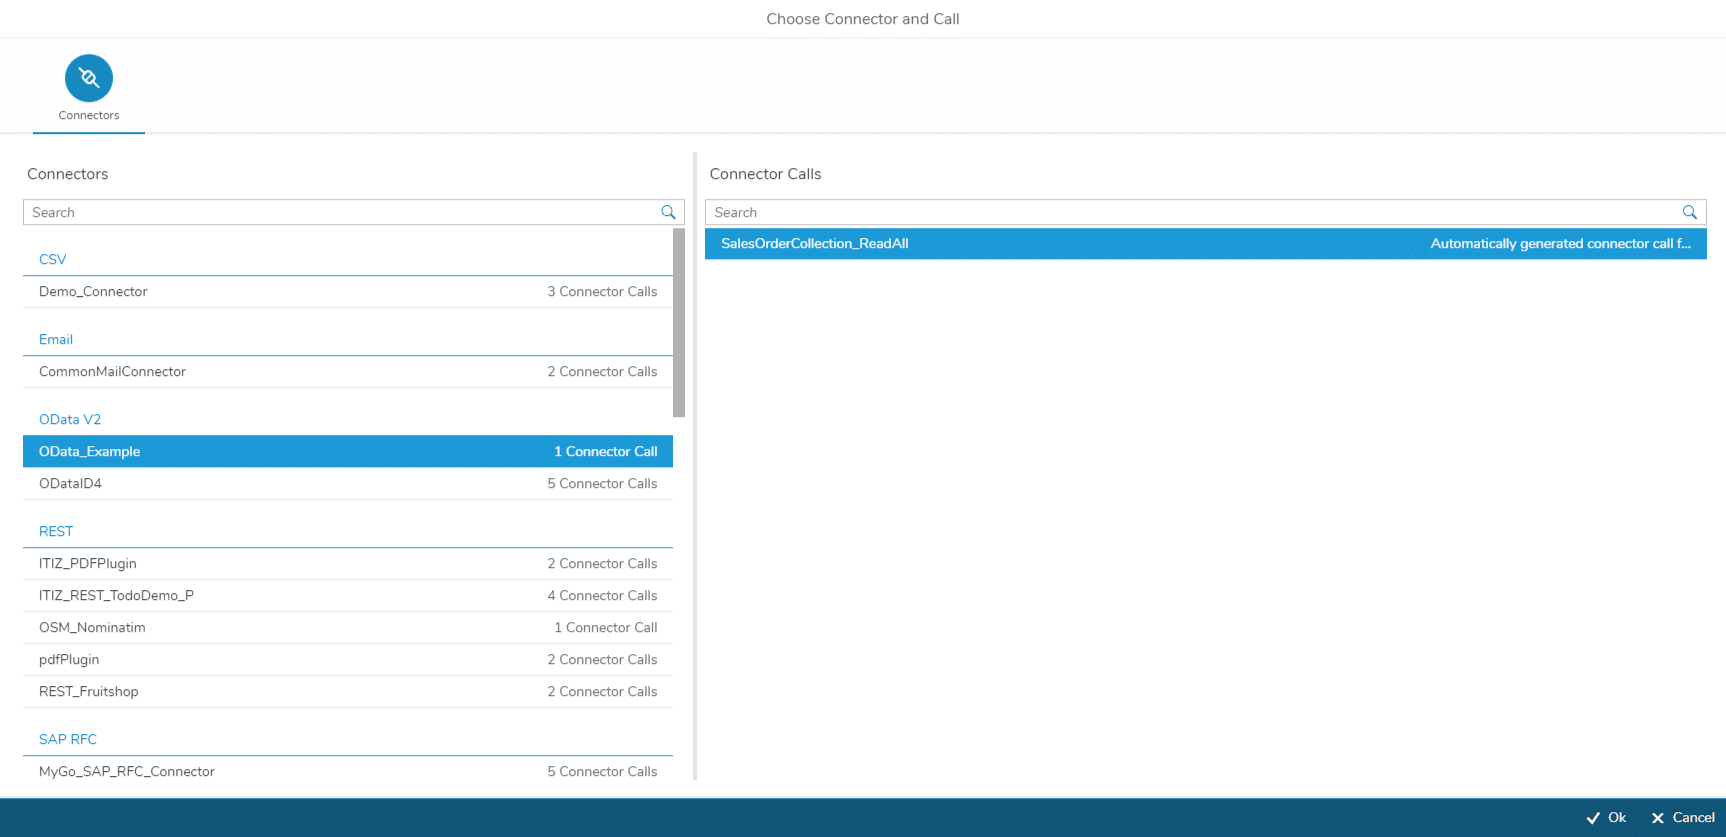
A dialog opens in which you have to select the connector on the left and then the Collection SalesOrder_Collection
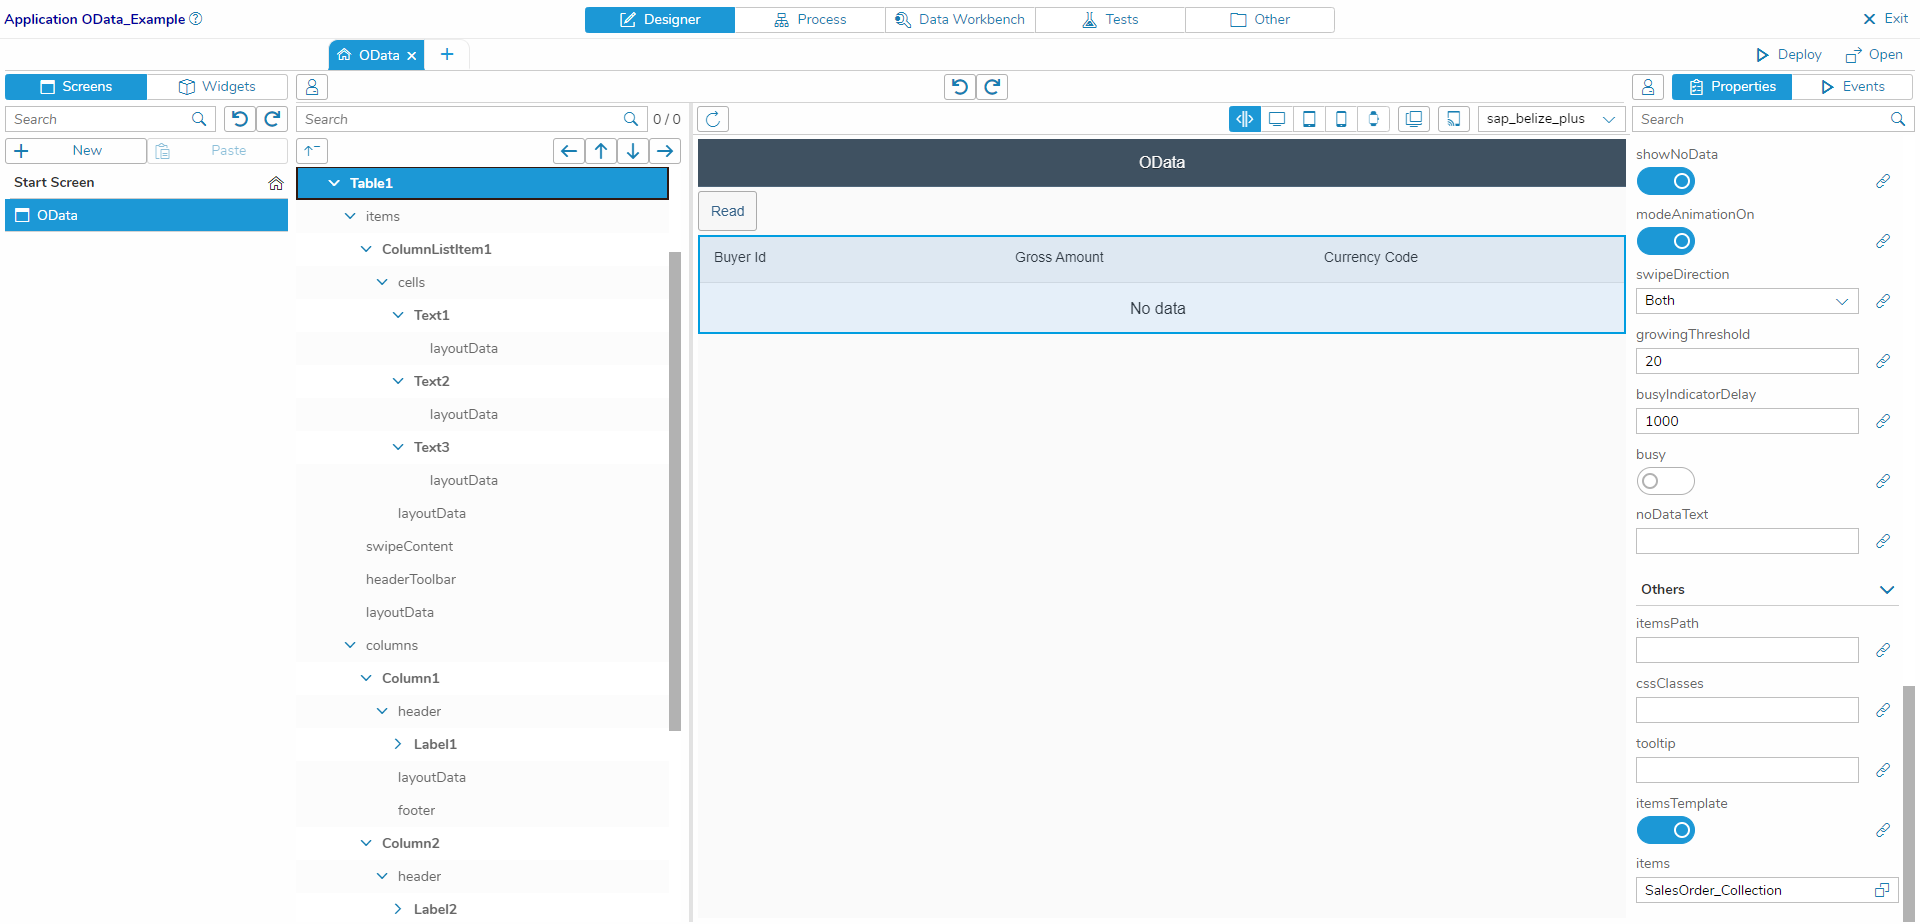
Since the data should display three values of the OData service, we still need three Columns in the table and a ColumnListItem that contains three Text widgets.
To make it clear which data is displayed in the columns, you can add a label with the corresponding text Buyer Id, Gross Amount and Currency Code to each column in the header.
Your screen content should look like this:
Configure the Process Logic
Switch to the Process Designer and create the user story for the process logic.
Start the process with a Subscribe event of the read button (Widget Event: press). Then add the Data Object Connector and select the Connector and the corresponding Connector Call SalesOrderCollection_ReadAll.
For the Read Connector Call you don’t need an Input Mapping, because you don’t have to pass a value to read all data.
Only the output mapping has to be defined.
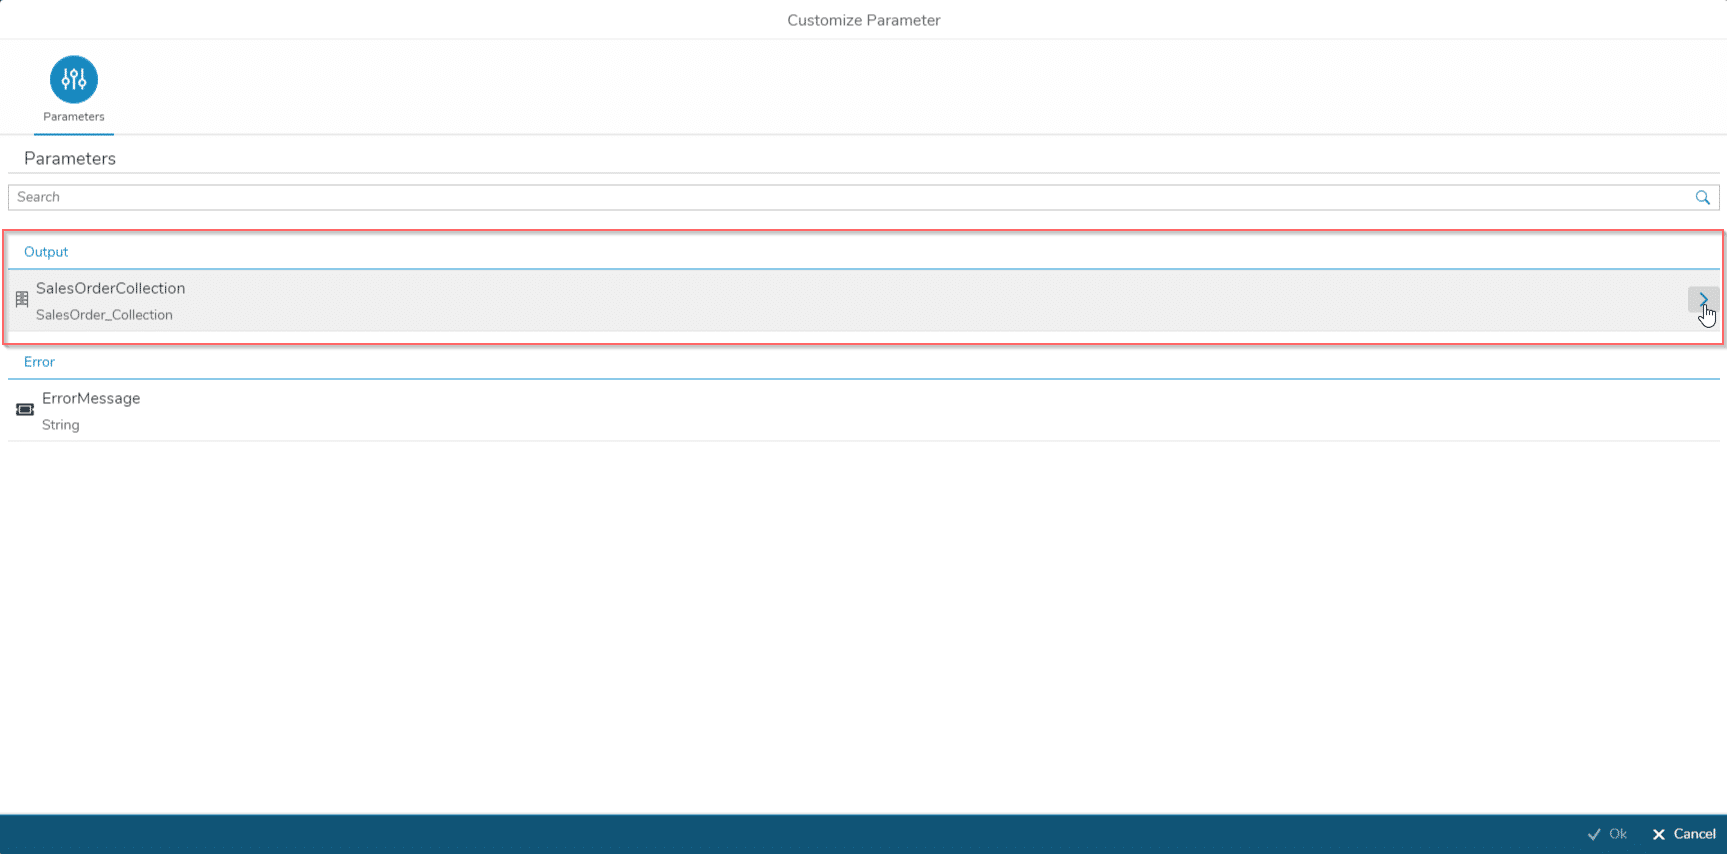
Open the Output Mapping and drag the Parameter from the left. Go deeper into Output – SalesOrderCollection.
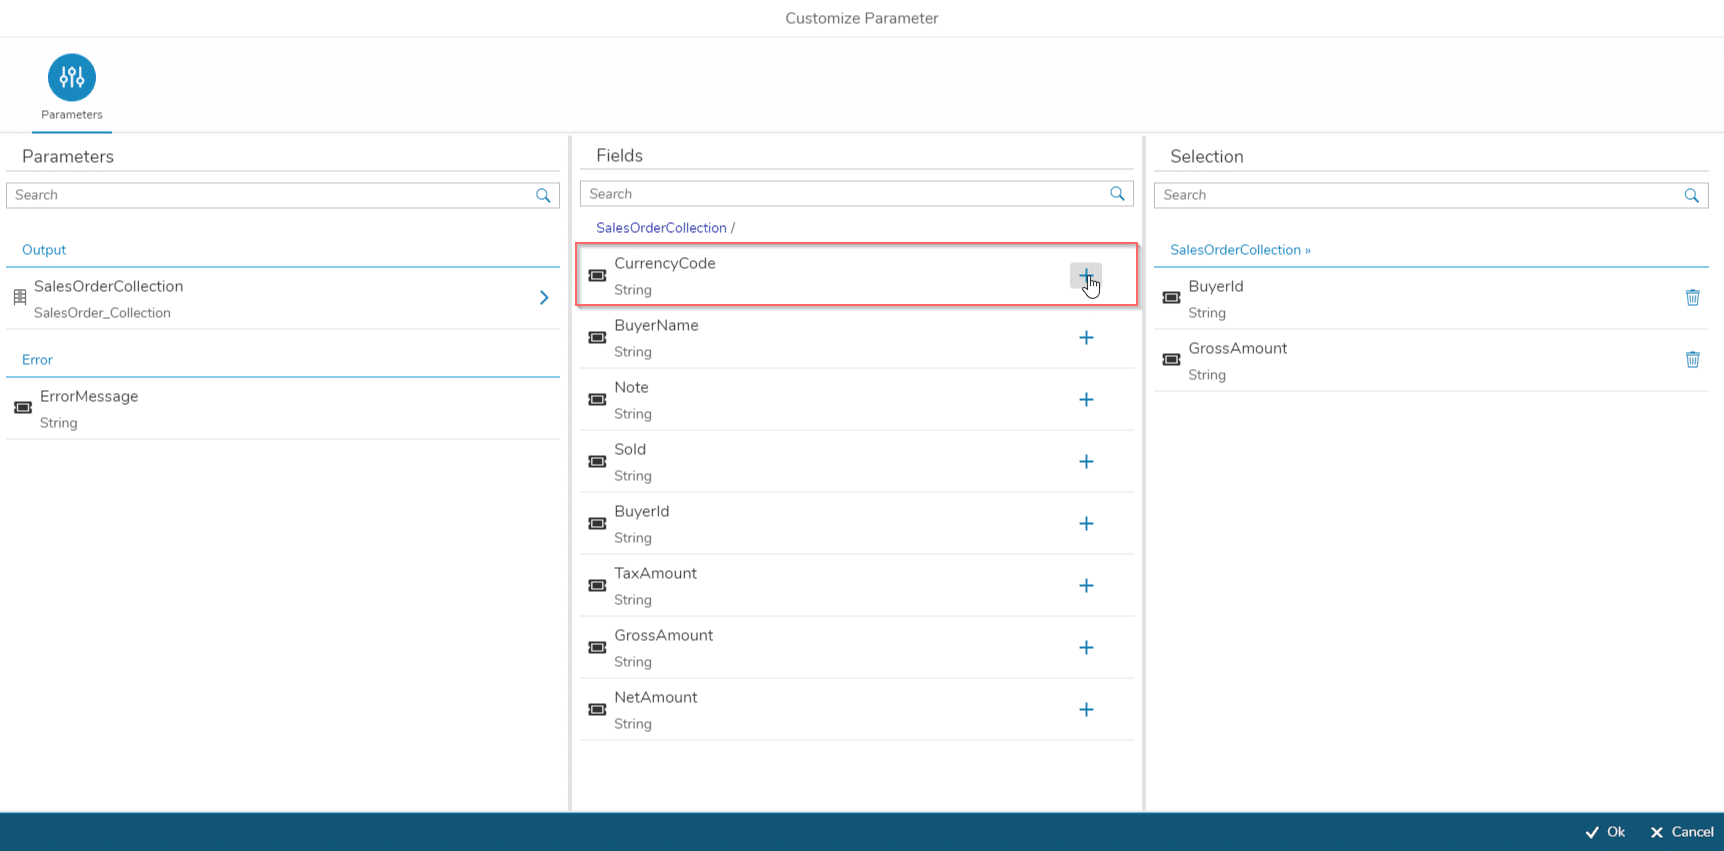
Select the needed fields. In this case, select BuyerId, GrossAmount and CurrencyCode by clicking on the plus.
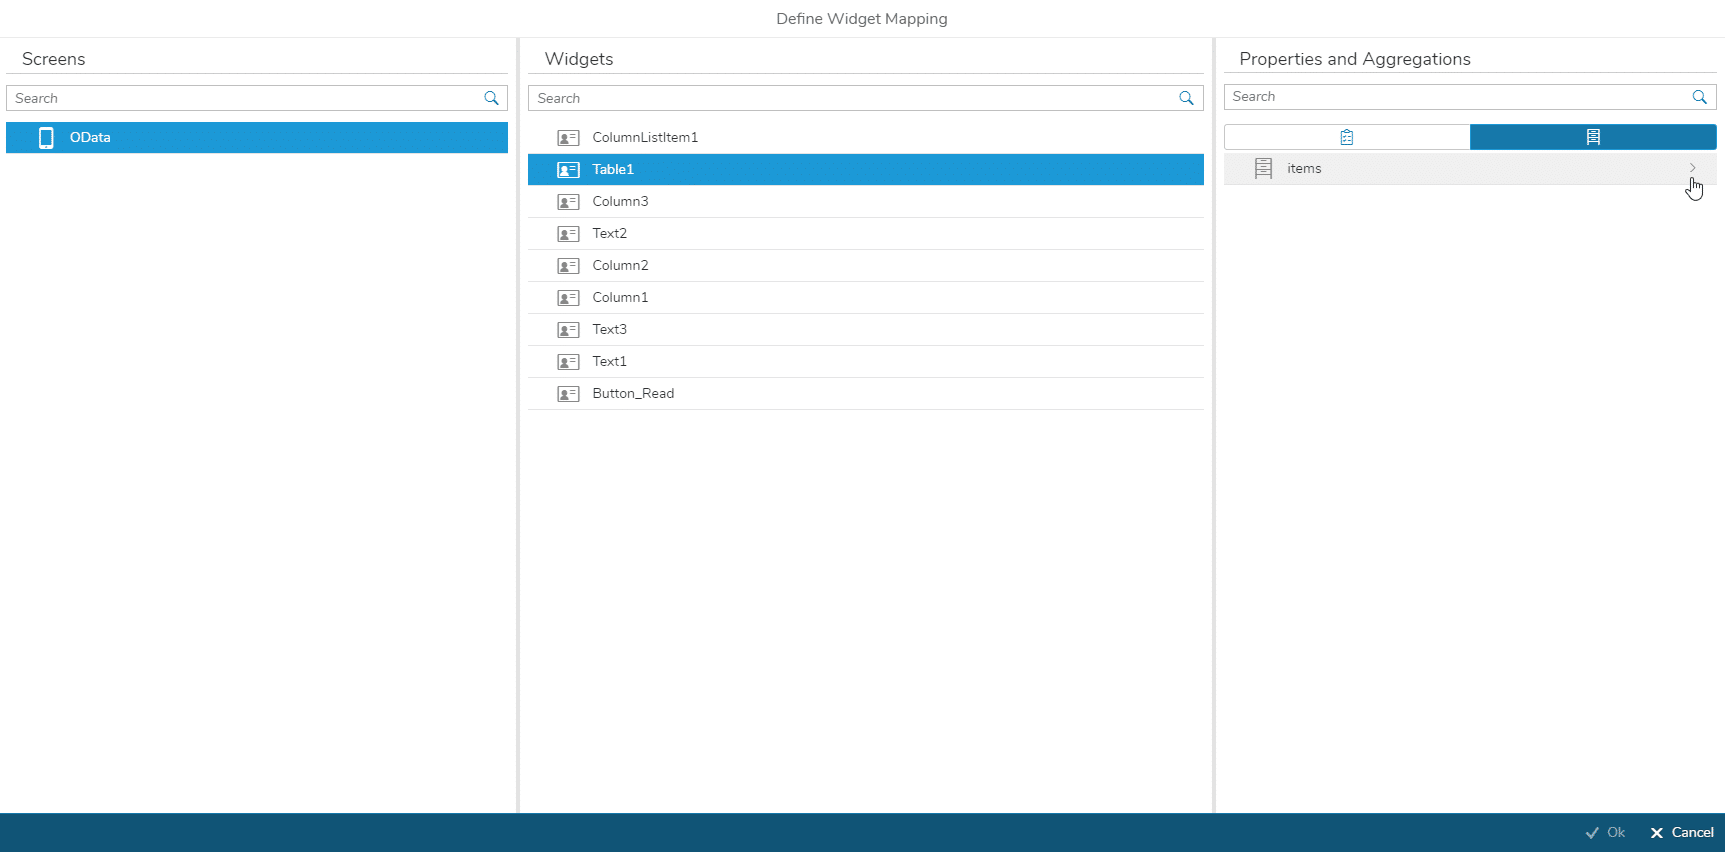
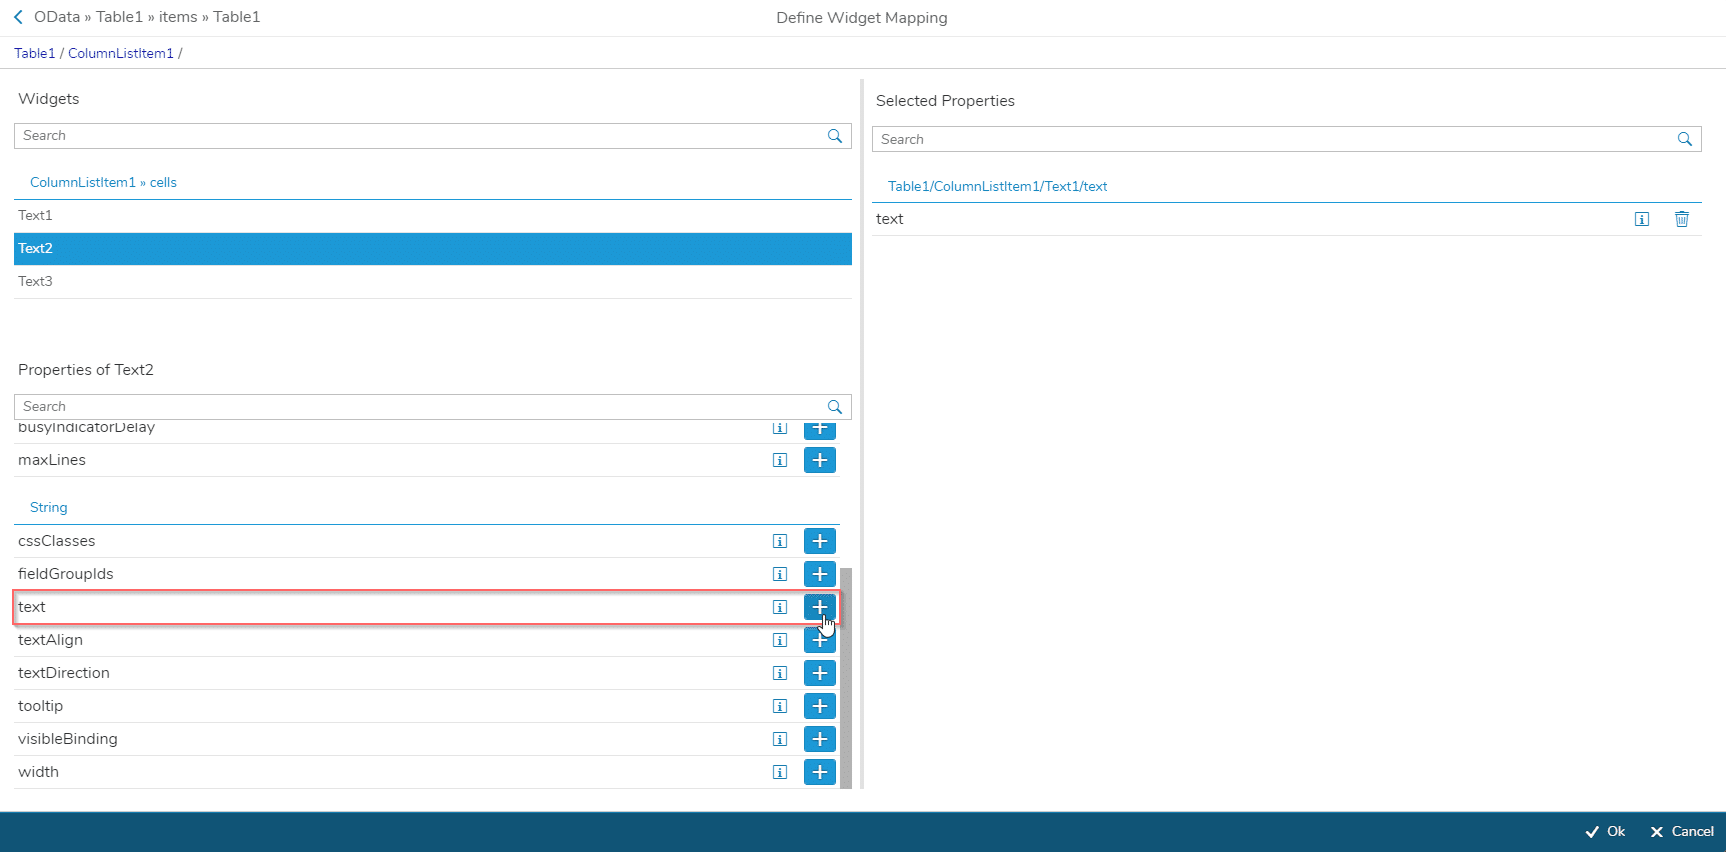
Now go deeper into the items of the Table – ColumnListItem.
You will now see the three Text widgets as cells of the list item. For each Text, you have to select String text as property. It then appears on the right under Selected Properties.
When you have done this for all three of them, click Ok.
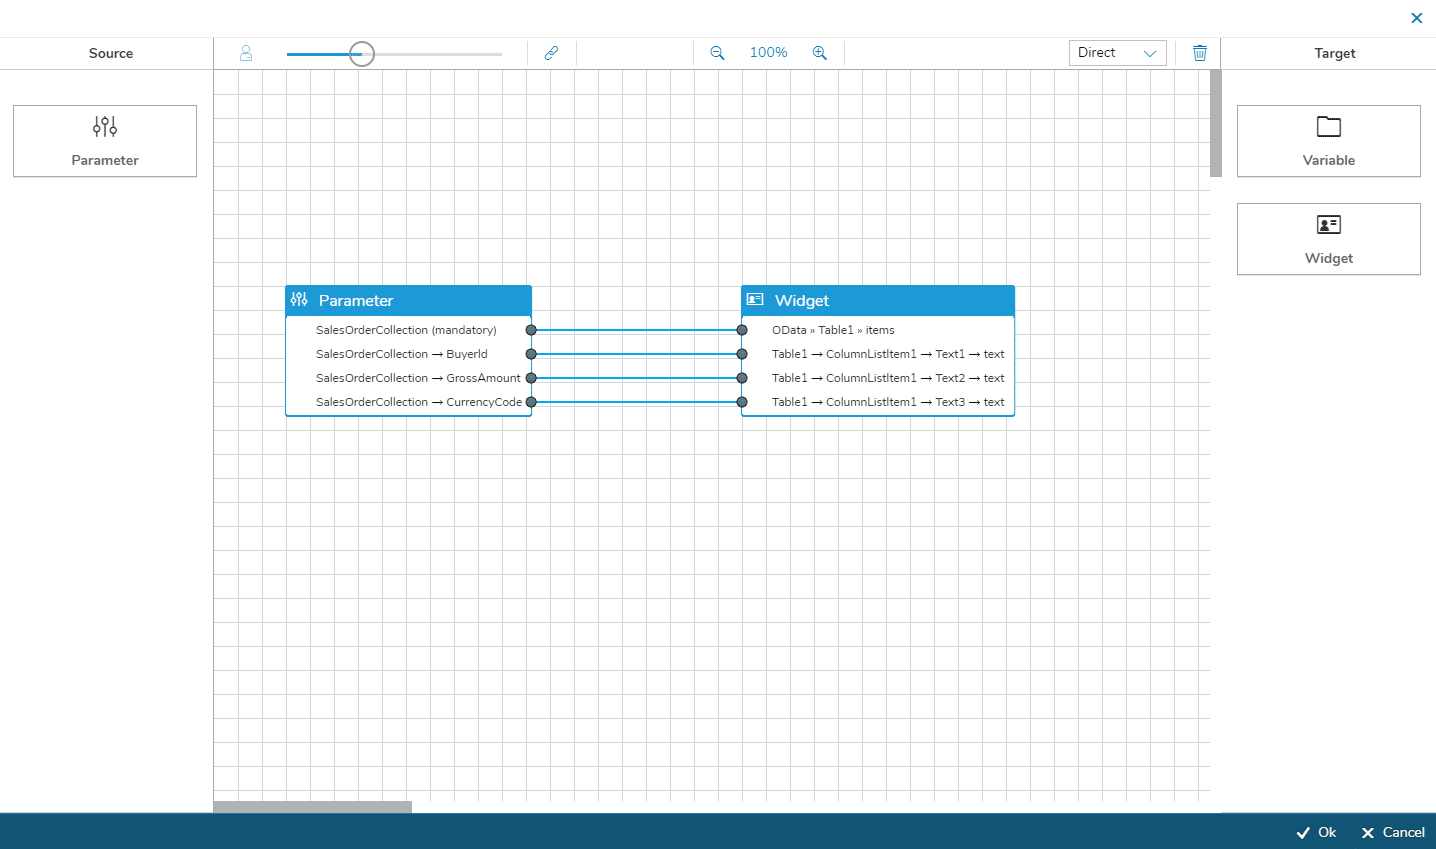
Now map the parameters into the table. The Output Mapping should look like this:
Connect the two shapes with each other:
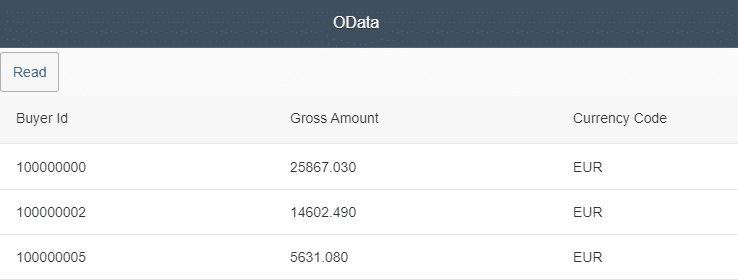
After successful deployment the data will be read and displayed after pressing the button.
Conclusion
Creating a connector in Simplifier that accesses an OData service is not difficult. Especially the creation of connector calls is very efficient and easy, since the Connector Wizard can be used for it.
It is always important to test the connector call before using it in the process logic for the application.
I hope I could help you with how to create a connector that accesses an OData service and how to address it in the process logic of an application.
Did you know that we also offer the Connector Wizard for SOAP and SQL connectors?

